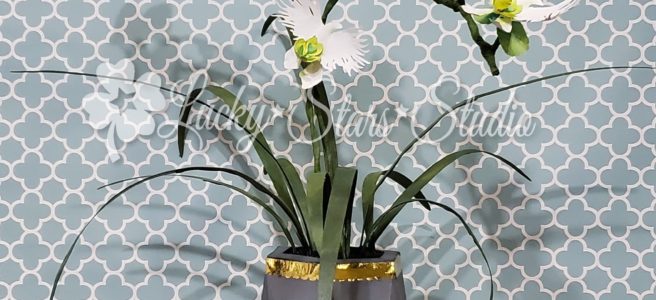
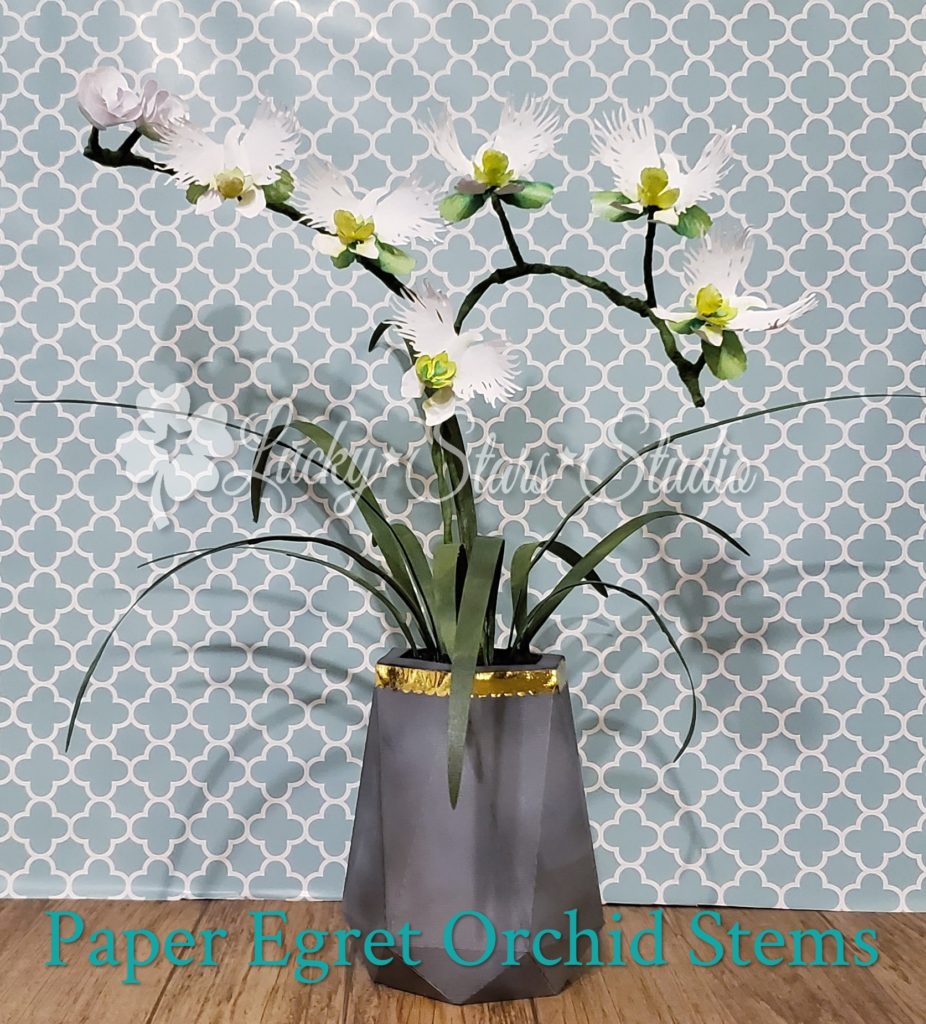
Today I’m sharing some Egret Orchid Stems made from paper and wire. Such a fun project to put together. I’m pretty happy with how they turned out!

I have a friend that is a plant killer (her words, not mine) and I wanted to give her a plant she couldn’t kill. I also wanted to try out making out a 3D flower and thought I’d make my own design.
Looking online at different flowers, I came across this beautiful Egret Orchid and knew this was the one I wanted to make.
How I Made Them
I took the photo of the Egret Orchid and imported it into my Silhouette Software and traced it, fiddling with the settings until I got a version I was happy with. I also had to simplify the cut lines and delete a bunch of edit points to make the shape manageable. I used this tutorial from Silhouette School (love that website!) to learn to trace images. I use this function all.the.time. I even trace shapes from my library if I need an outline. Such a versatile function!
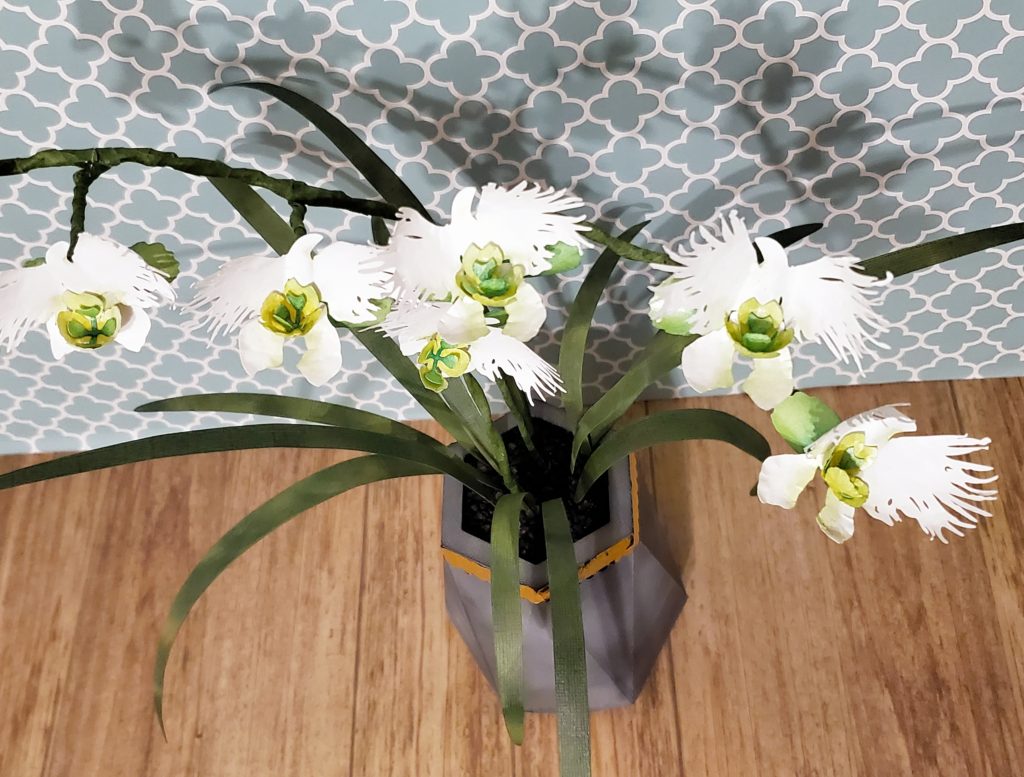
Once I had the top wing portion and the bottom petal portions created, I found some other orchid shapes in the Silhouette Design Store I could use to create the rest of the orchid shape. I cut them out, inked them for dimension, and glued them together.
The vase was really easy to put together. I inked the paper with several colors to give it a cement look and then glued the pieces together. Inside the vase is floral foam to hold the wire stems. Next time I would put the floral foam inside before I put the vase together. It was a little tricky getting the floral foam inside the narrow top. I also would have liked to have weighted the bottom with something so it wasn’t quite so light. I did pour some of the little pebbles in the bottom, but that’s not enough.
I used the leftover hexagon from the top of the vase to cover the floral foam. I covered it in the black rocks and poked some holes where I wanted to place the stems. I then stuck the leaves in. I used hot glue to secure the stems and leaves and added more rocks to cover the glue.
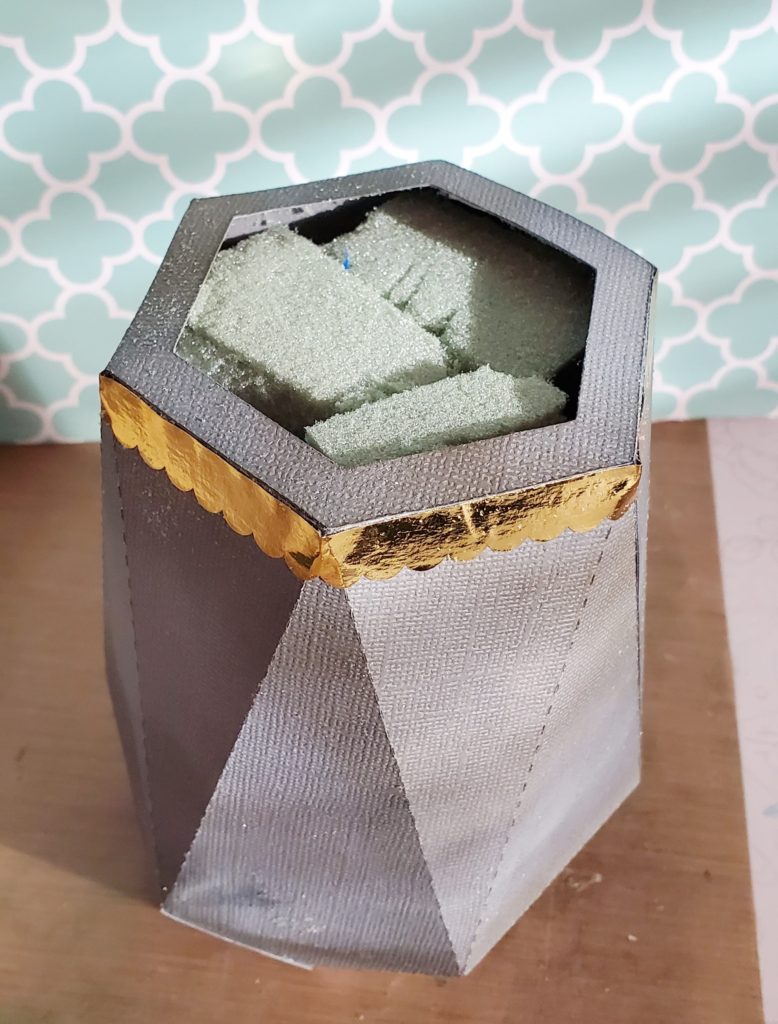
Vase with floral foam to hold the stems and leaves 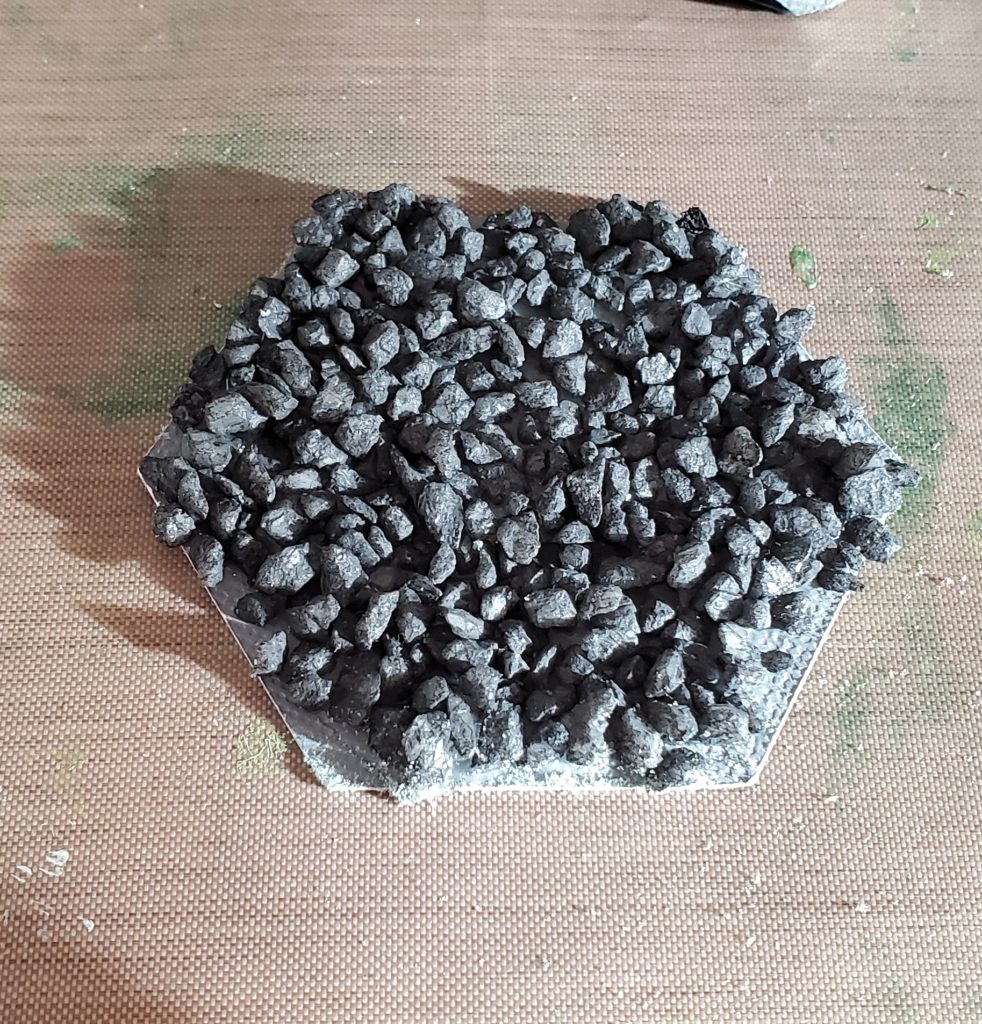
Hexagon center covered in small back pebbles to cover the floral foam 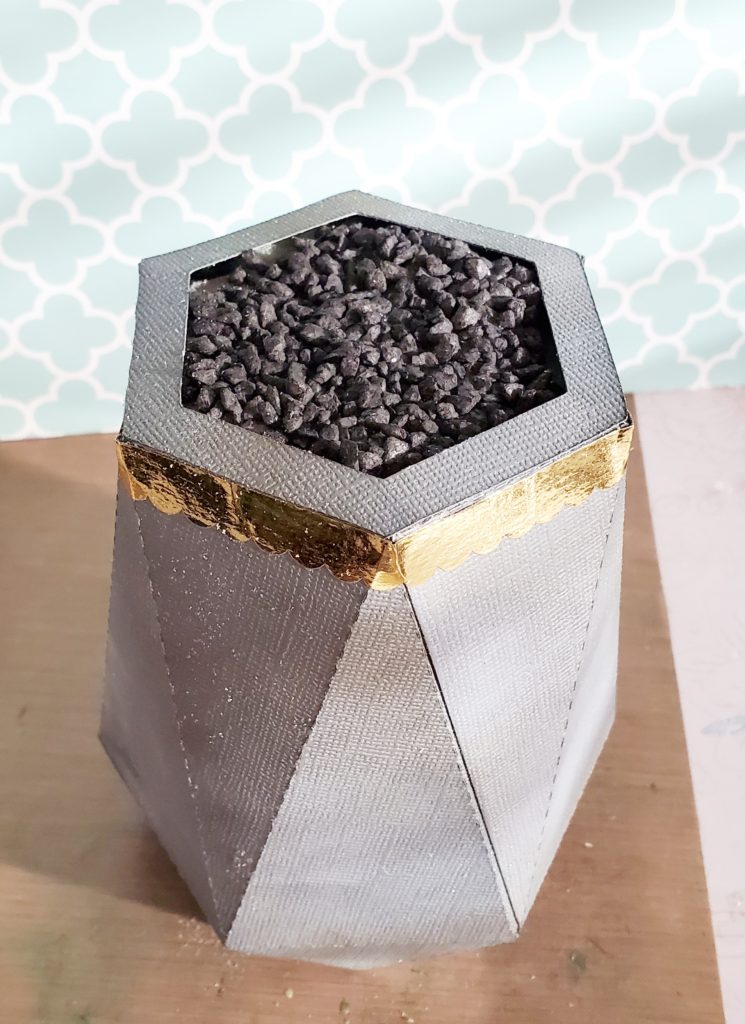
Vase with the hexagon cover put in place. 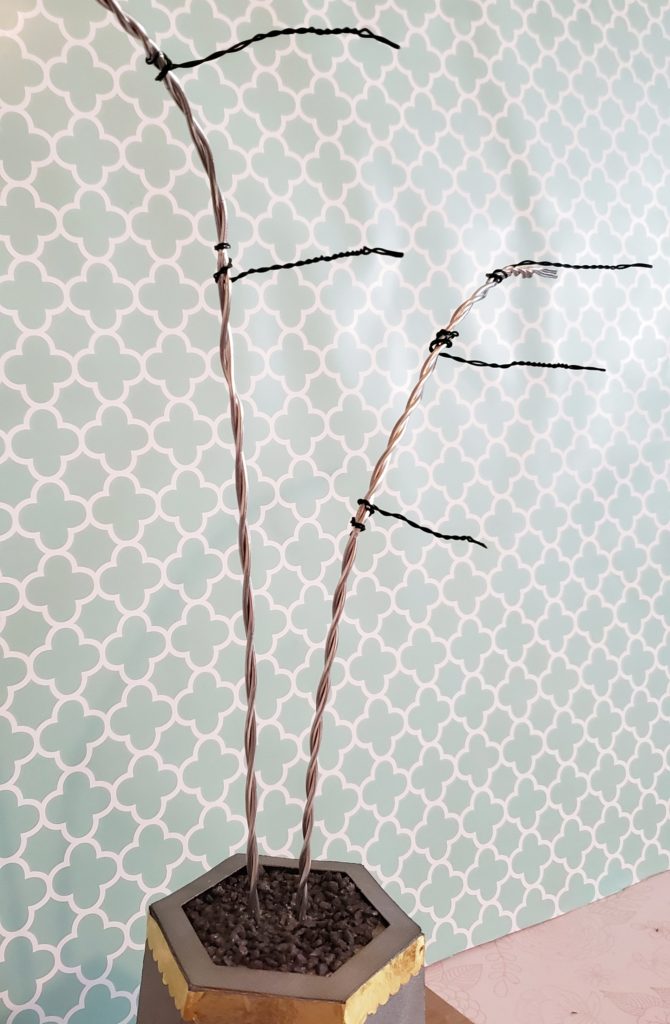
Wire stem structure 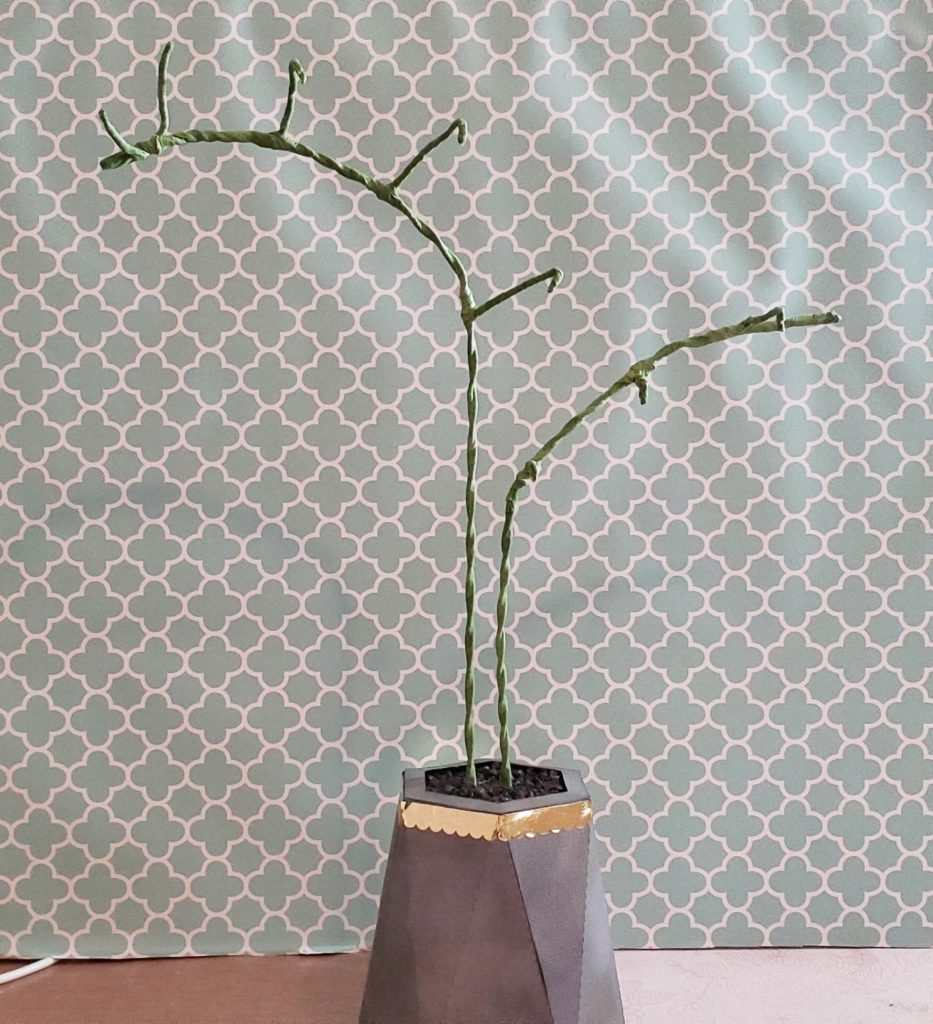
Stems wrapped in floral tape and stuck in the vase.
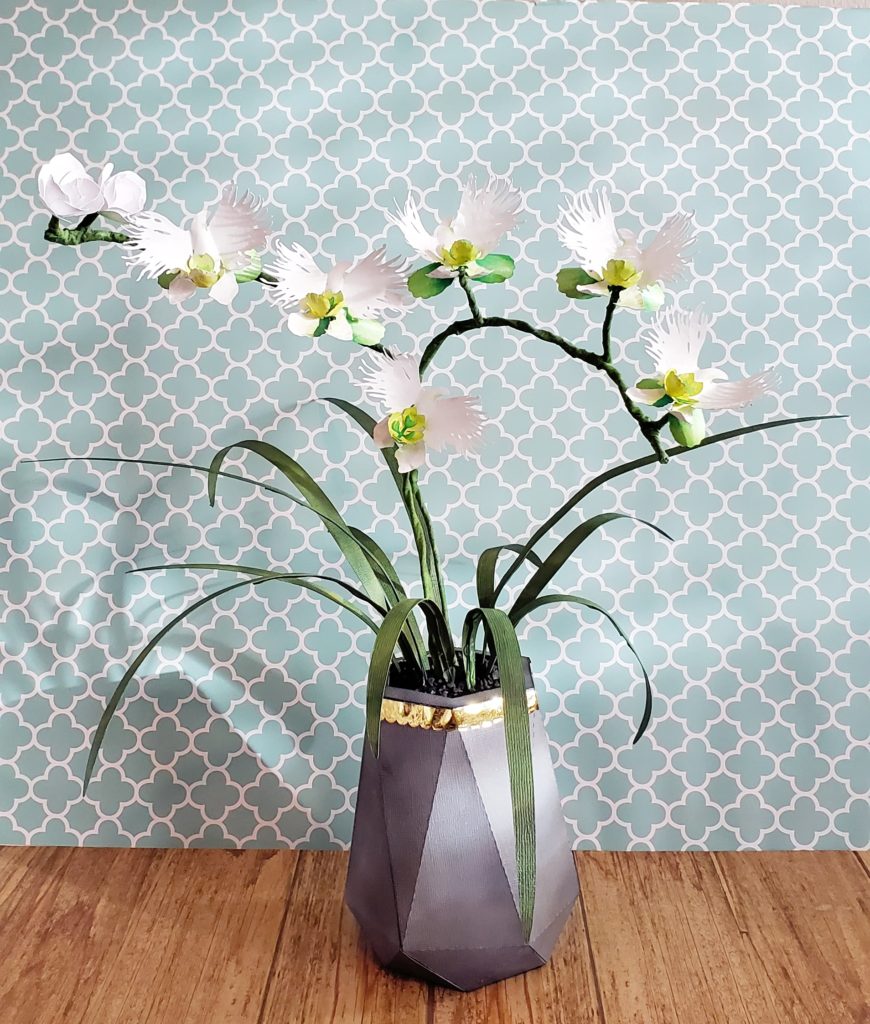
To create the two main stems, I took a three-foot piece of 12 gauge floral wire, folded it in half, and then twisted it to make it stiffer. For each of the flower stems, I took shorter pieces of 22 gauge wire and did the same thing and wrapped one end around the 12 gauge stem, leaving the other end free. One branch for each flower or bud. Then I wrapped the whole thing in floral tape to make it look like one stem. The twists in the wire give the stem a cool, natural texture. The flowers are hot glued to each of the smaller stems.
The leaves were simple. I wanted a leaf that was similar to the Egret Orchid’s actual leaves, and found one in the Silhouette Design Store. I elongated them in Design Studio and cut them in a medium green paper. Then added several different green inks to give each of them dimension. I cut lengths of 22 gauge wire and attached them to the back of the leaves with hot glue. I left the wire longer than the leaf so I could use it to stick into the floral foam. When the glue was dry, I used the wire to shape the leaf so they had some life.
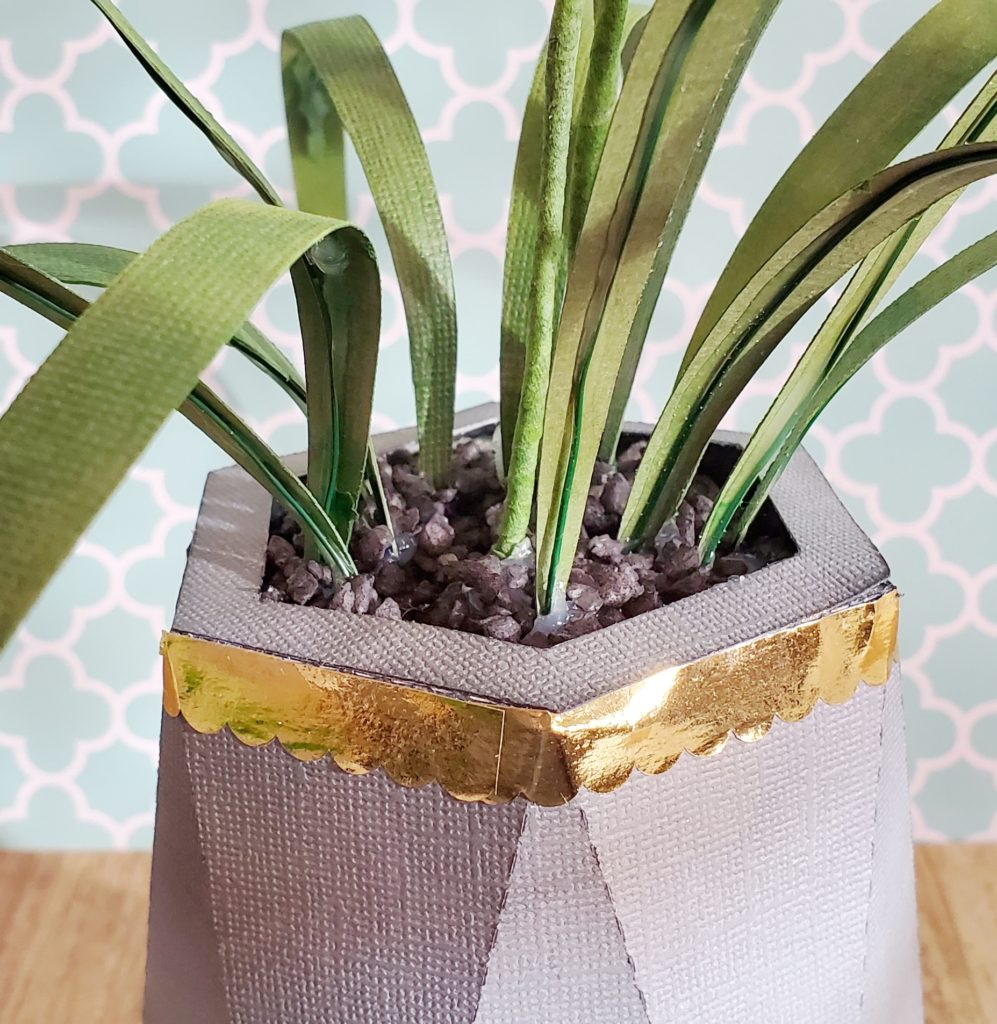
Leaves in the Vase 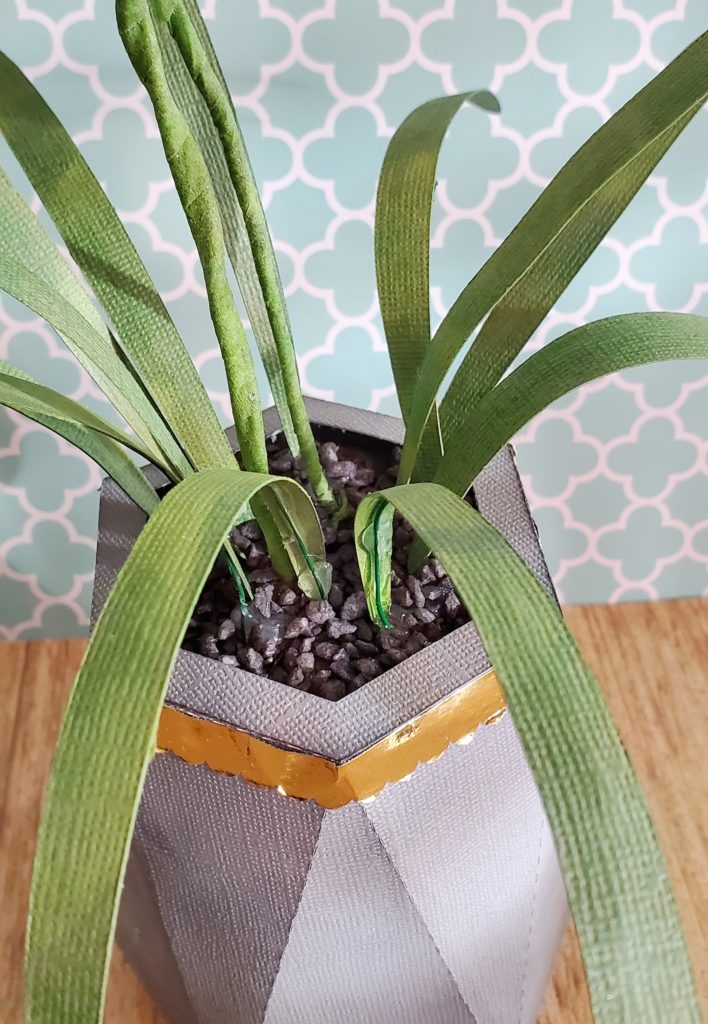
Leaves in the Vase 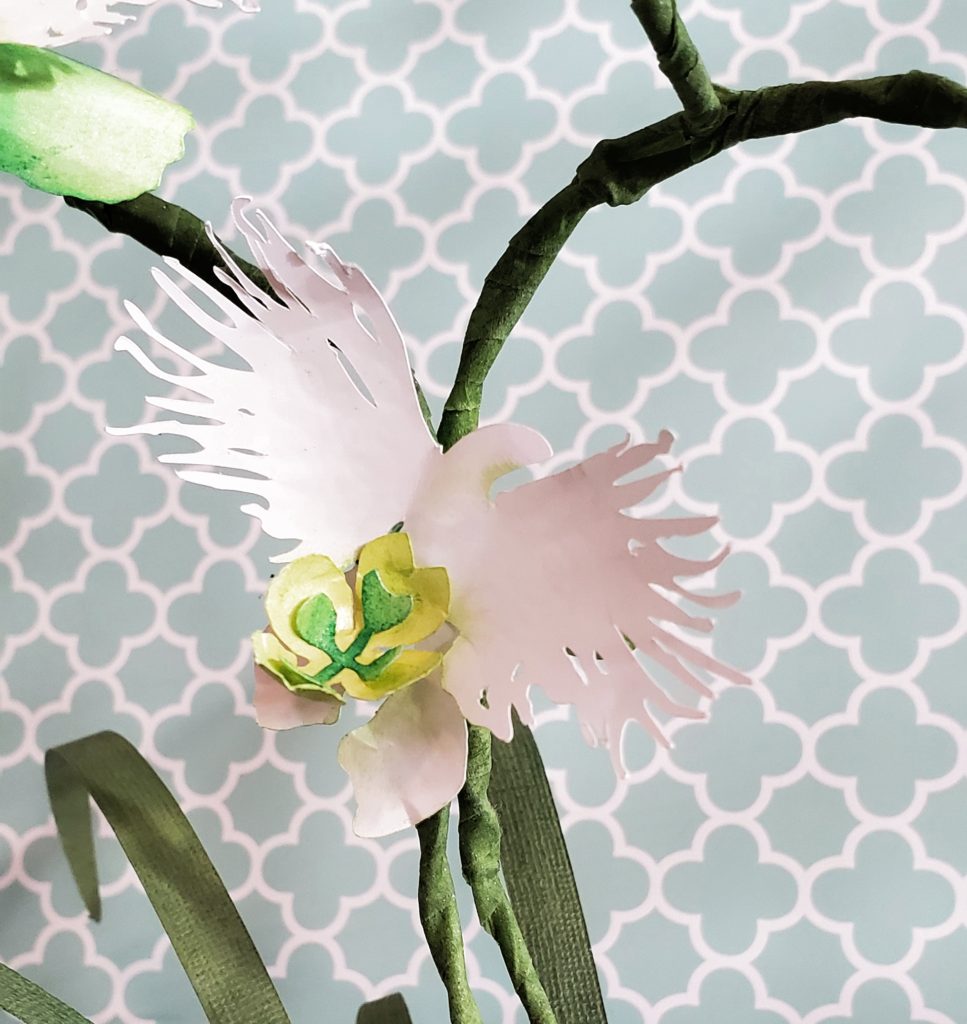
Paper Egret Orchid 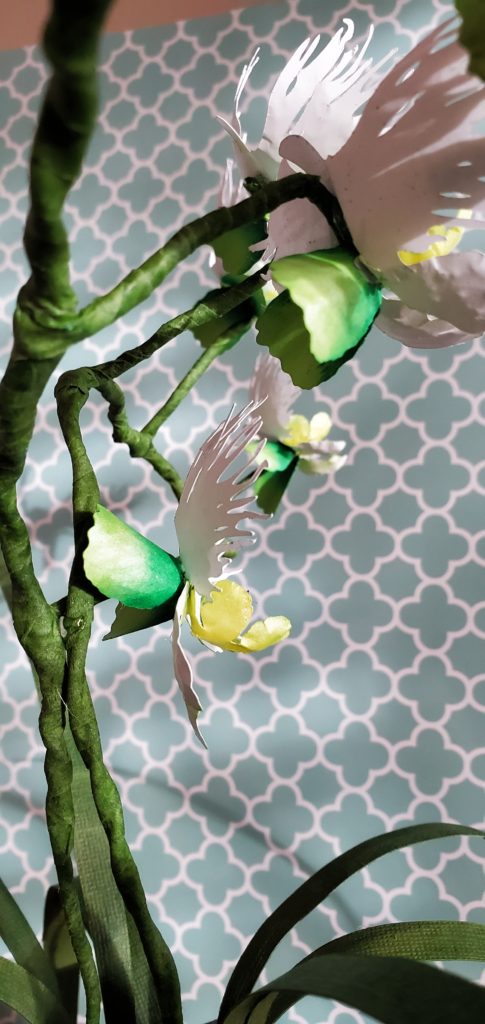
Side of Paper Egret Orchid 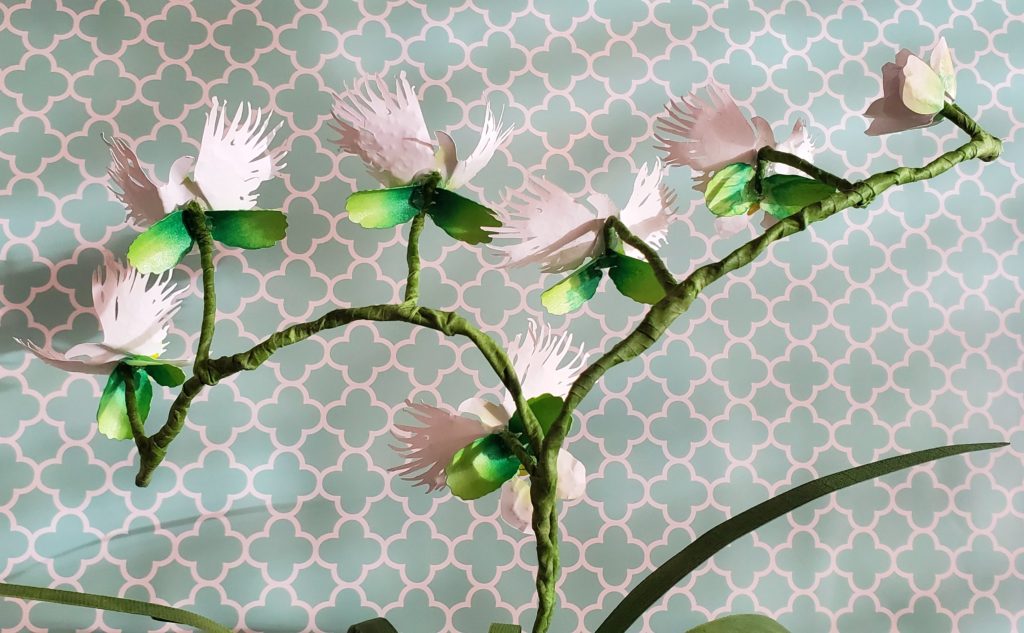
Back of the Paper Egret Orchids 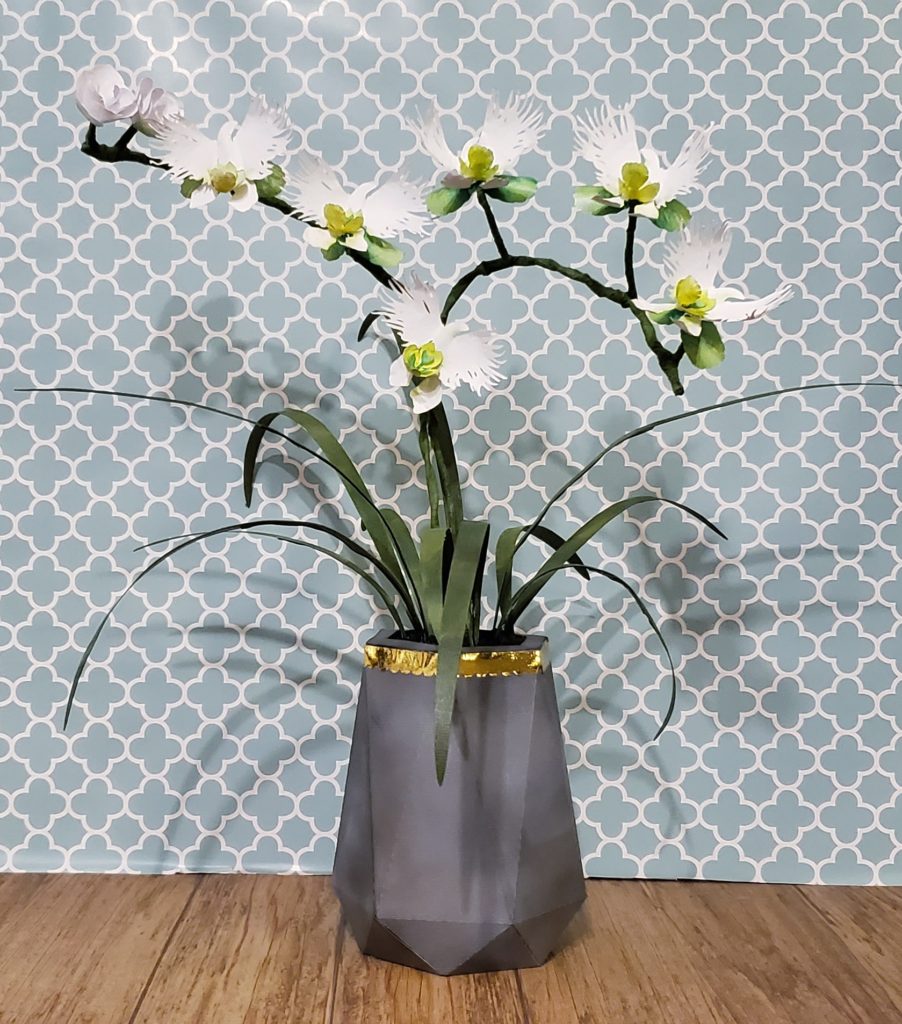
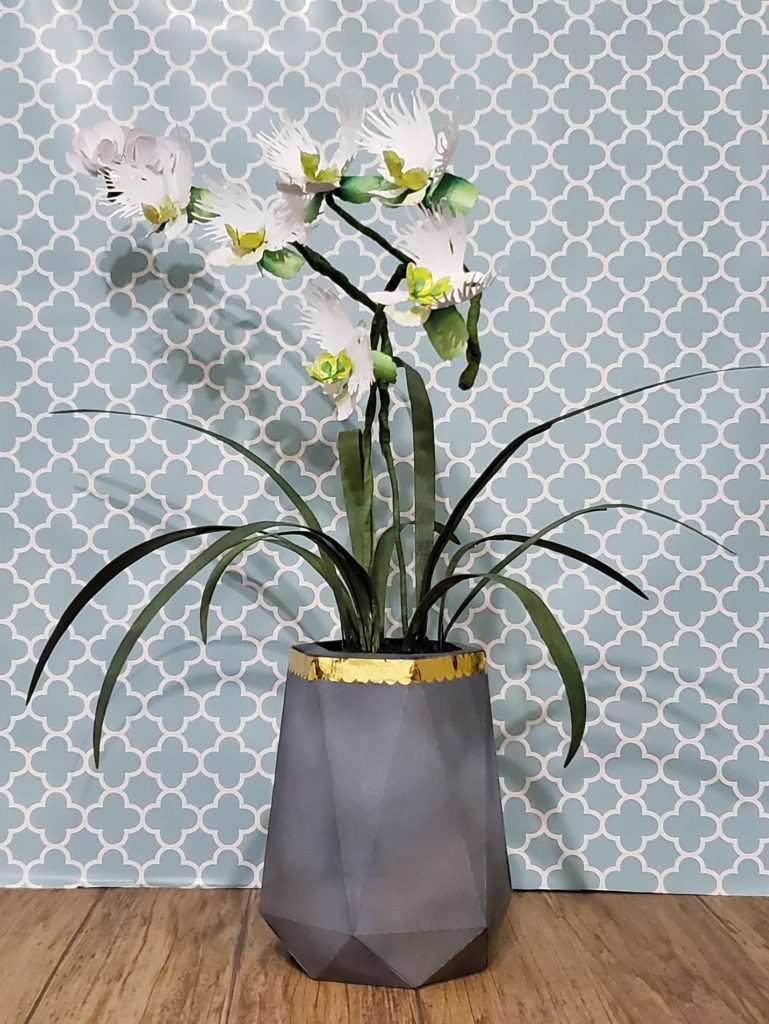
I’m pleased with how the paper Egret Orchid stems turned out. Figuring out how to do the flowers took me a long time, so I’m really happy with how they turned out. I learned some things and next time I’ll do some things differently, but I thought this little project turned out pretty good.
Materials Used:
- Vase:
- “Large Low Poly Vase” cut file, Silhouette Design #: 300319
- 12×12” Cardstock, Medium shade of Gray
- Tim Holtz Distress Inks: Weathered Wood, Black Soot, Walnut Stain, Picket Fence
- Ranger Ink Blending Tool
- Gold scalloped washi tape from my stash
- Flowers:
- Buds: “Magnolia Flower” cut file, Silhouette Design #: 26534
- Yellow Green Center from “3D Orchid Flowers” cut file, Silhouette Design #: 56210
- White Paper: Arctic Paper G Print 130g
- 8.5×11” Mint Green cardstock for back petals and center of orchid
- Inks: Pearl Lime, Gamma Green, Sunflower Yellow
- Leaves:
- Leaves from “3D Daffodil” Silhouette Design #: 40988
- 12×12” medium-dark Green Cardstock
- Inks: Pearl Ivy, Cottage Ivy, Tea Leaves
- Other materials:
- Silhouette Cameo (I have a Cameo 1 & 3, but they’ve been discontinued)
- Silhouette Studio Business Edition
- Floral Tape
- Floral Wire 22 gauge and 12 gauge
- Floral Foam (I got mine at the Dollar Store)
- Black pebbles (Also from the Dollar Store)
- Embossing Stylus Tools
- Fiskers 12″ Rotary Paper Trimmer
- Adhesive:
So there you have it. Pretty paper Egret Orchid stems for Christmas. And they won’t ever die. 🙂


