Handcrafting an Elegant Orchid and Rose Fascinator Hat DIY

This might be my favorite project I’ve made to date. I saw an incredible flower headpiece photo online and knew I wanted to make something inspired by it for an office St. Patrick’s Day lunch. We were supposed to wear our most outrageous outfits. I wasn’t feeling outrageous, but I was feeling big—as in a big hat. Haha.

Making the Hat Base

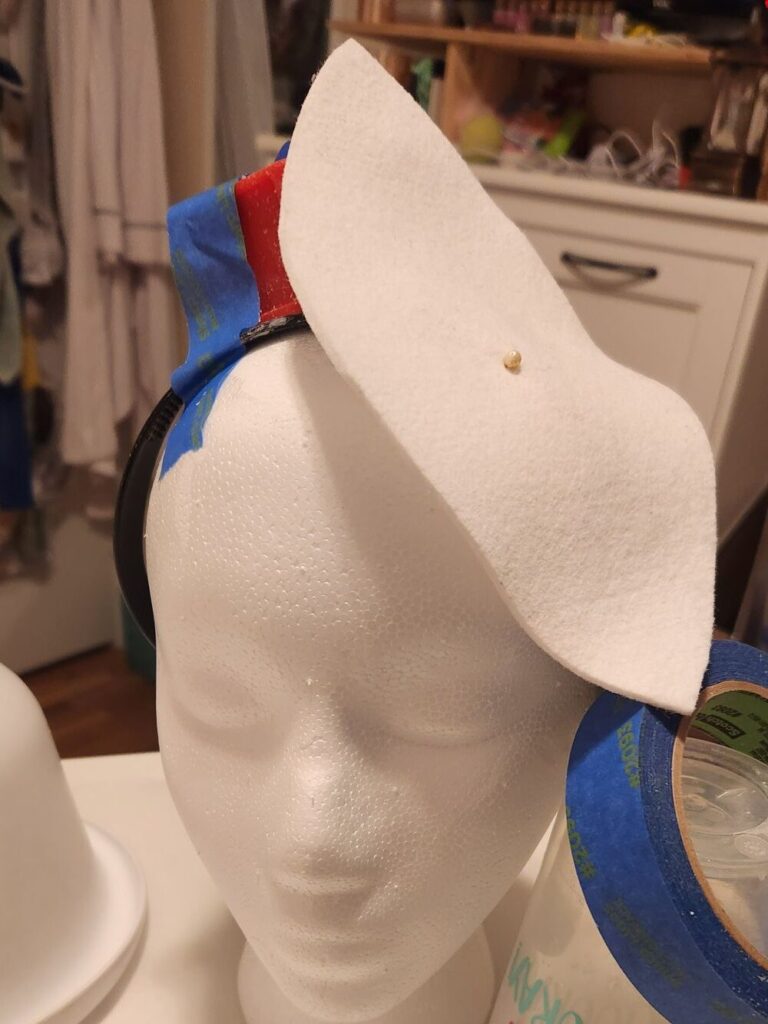
I had made a small fascinator a few years ago. It’s a small, cute pink and white one. But this needed to be big. Statement making. Over the top, perhaps? lol. I wanted it to angle over my eye and go up in the back. So I needed to figure out how to make that happen. I found some tutorials online and realized that I needed fabric stiffener. I drew up a rounded diamond-ish shape I liked and then soaked it in stiffener, shaped it, and left it overnight to dry. Surprisingly it worked! I then added a “loop” underneath so a headband can slip through and hold the hat in place. It mostly worked. It ended up being a little heavy for the style of headband I wore.
The Orchid and Rose Fascinator DIY
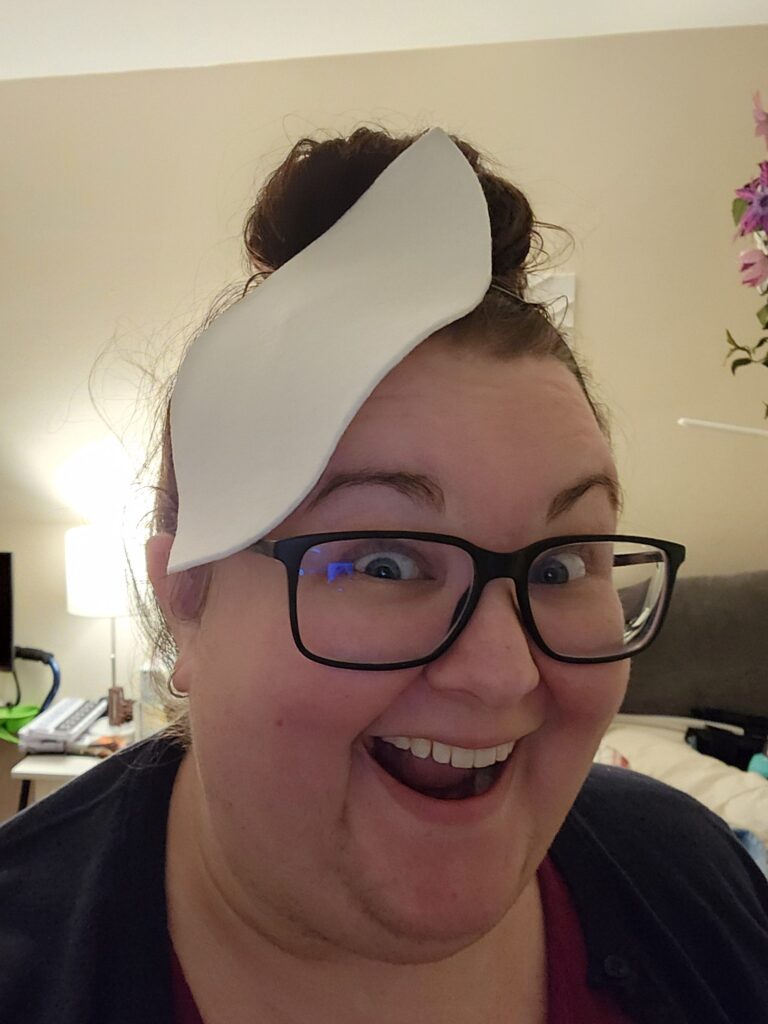
Rigging up a solution to shape the felt base the way I wanted while the stiffener dried. It worked!
Woman wearing glasses wears a shaped piece of felt on her head. It's the base of a hat.
Shaping the hat worked!

Creating the Flowers

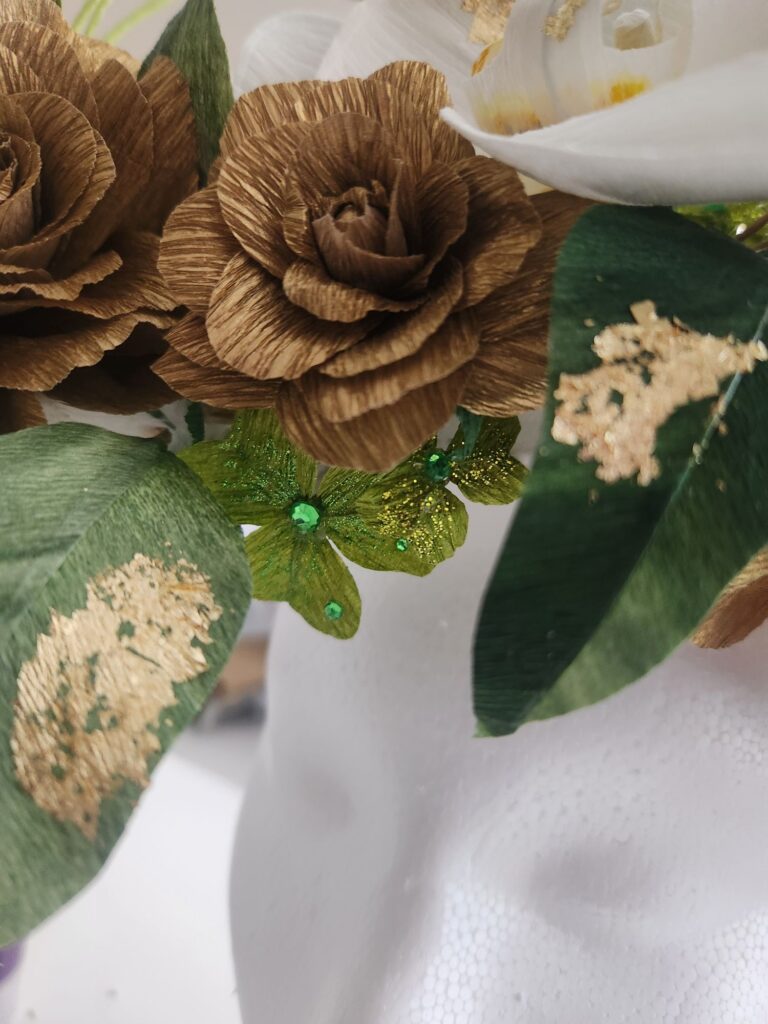
Then I got to work on flowers. I loved the huge orchids on the inspo photo so I made three big ones, with some flower buds up at the top so it looked more like a branch. I used the branch as the basic armature of the hat. There needed to be some accent flowers. Since this was for a St. Patrick’s Day party, I went with seven gold roses.
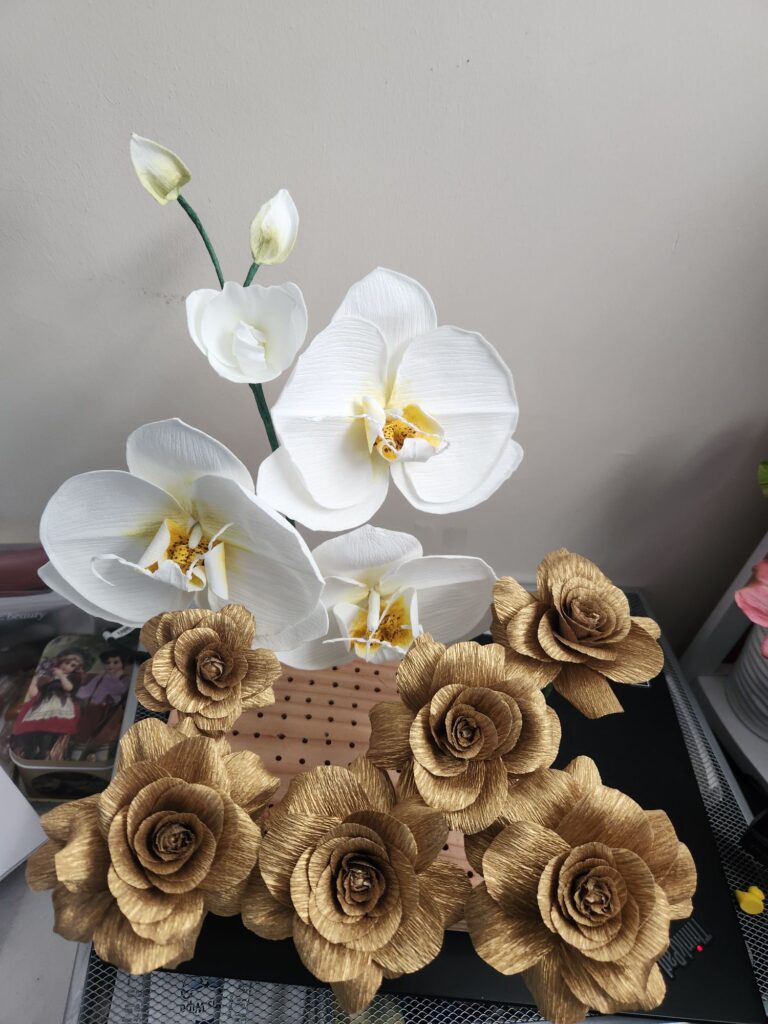
Paper Orchid branch and roses.
The paper orchid branch and roses are ready to be added to the hat base. I ended up making another small rose to tuck into an empty spot.

The full-sized orchids are about six inches across—they are big! The biggest rose is about five inches and gets progressively smaller.
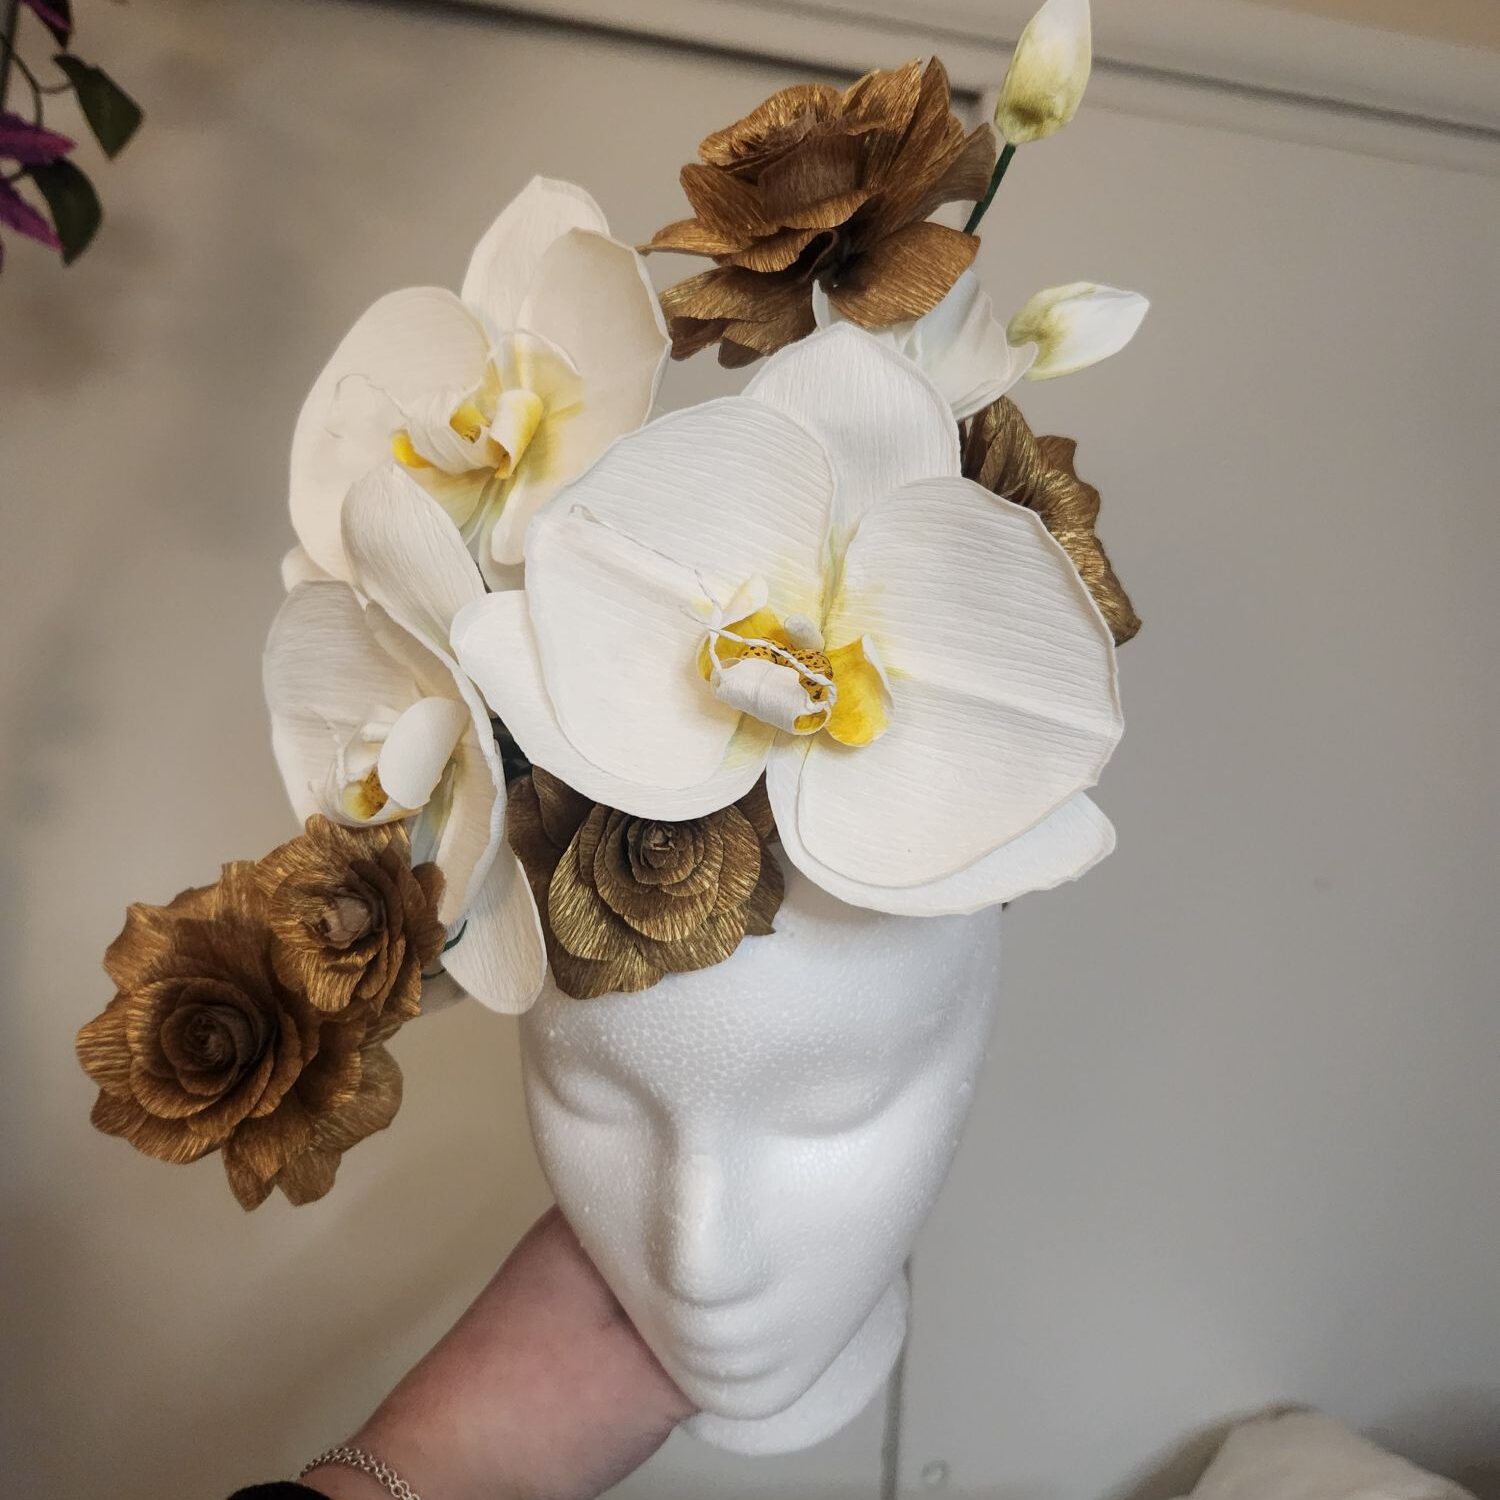
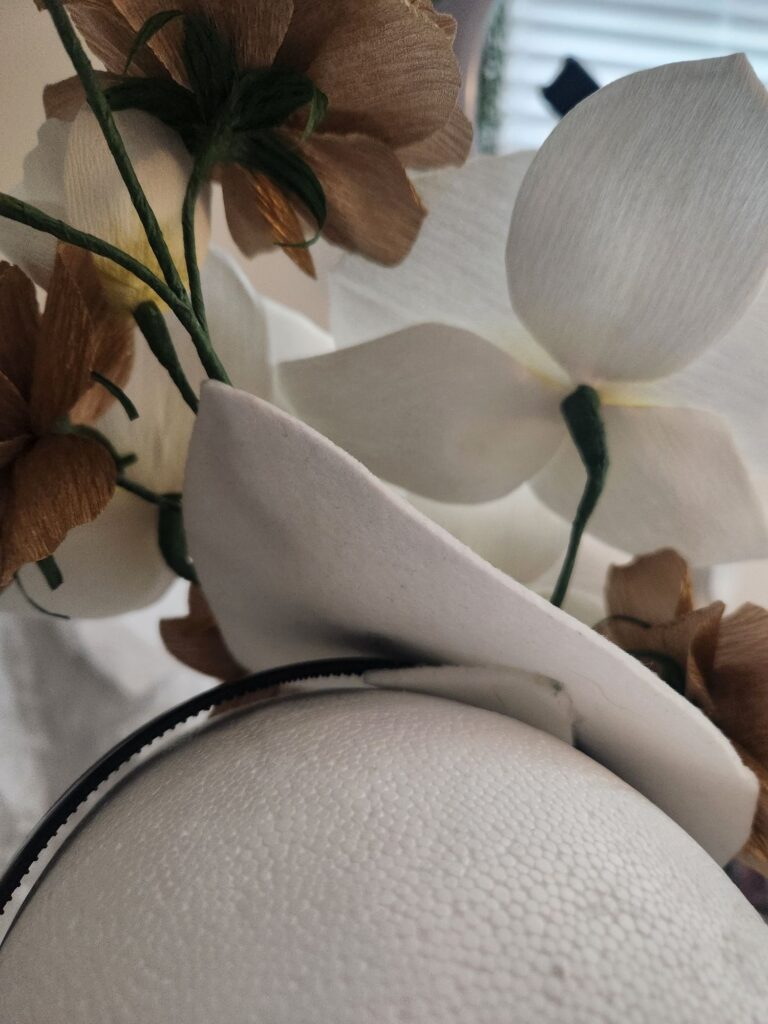
White Orchids and Gold roses sit on a mannequin head.
Testing out rose placement.
A headband holds the hat on the head for this orchid and rose fascinator diy.
Here, you can see how the headband slips through a “loop” underneath the hat base.

Making the Leaves

Once I had the roses added, I knew I needed some greenery. Maybe lots of greenery?

Green crepe has a bad habit of fading and bleaching out in the sun, so I was hesitant to use it for this project, because I wanted it to have longevity. There are sprays that can be used to help with color fixing, but they are not permanent. One way to help combat this is to paint or dye your own crepe. I chose to do this for my green. I’ve painted green crepe for my rose leaves before. This time, I wanted to try dyeing white crepe green. I picked up acrylic ink in a variety of blues, yellows, and greens (even a silvery green, which gave the leaves a cool, subtle shimmer). If you are looking for these paints, I suggest looking at Michaels and when they are on sale or if you have a coupon.

I decided on a leaf shape roughly similar to a blue gum eucalyptus (my favorite!) and cut my white crepe paper into strips that would be that leaf length. I mixed the paint with water and put the paper strips in to absorb the color. Then, I went back over the paper with additional drops of paint as it was drying but still damp to get more color variation. I LOVE HOW IT TURNED OUT. I will definitely be doing this method again. The color was amazing.
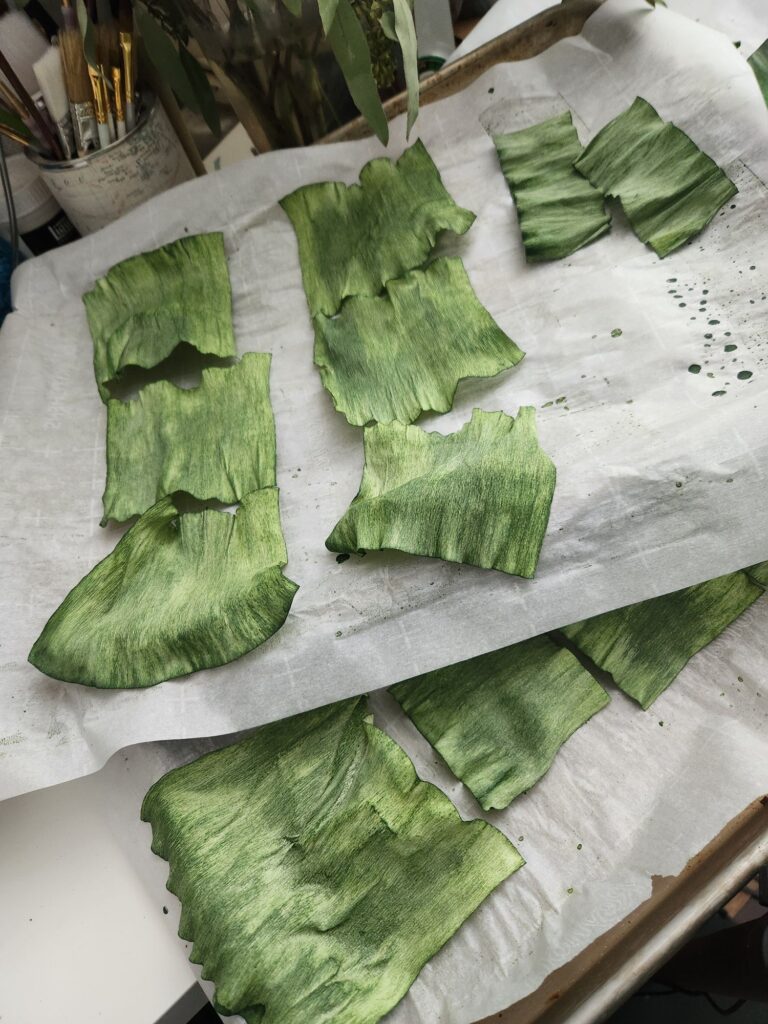
Green strips of paper drying on a metal tray.
Drying dyed paper on cookie sheets. These will become the leaves.
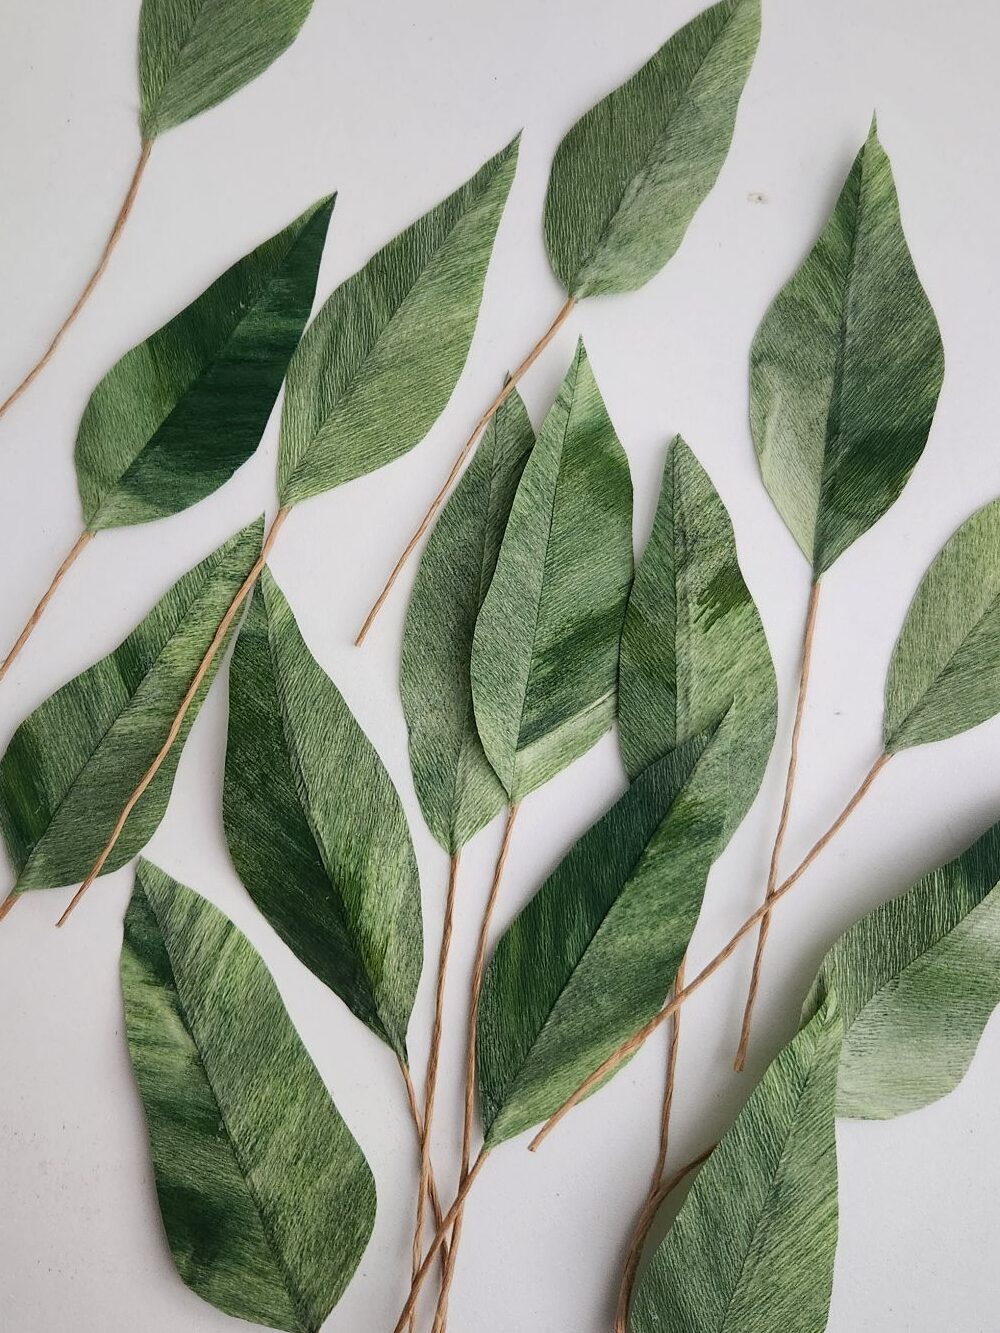
paper leaves of various shades of green lay scattered on a white background
I love how the variegation turned out on the leaves!

Adding the Greenery

Green leaves added to orchid and rose hat diy.
Leaves added to the back of the hat.

I glued the leaves individually to the armature so I could place and shape them where I wanted. The nice thing about having wired leaves (and petals, if the flower calls for it) is that you can shape the leaf and have it go wherever you like. It was fun to have the leaves curl, bend, and weave throughout this project.

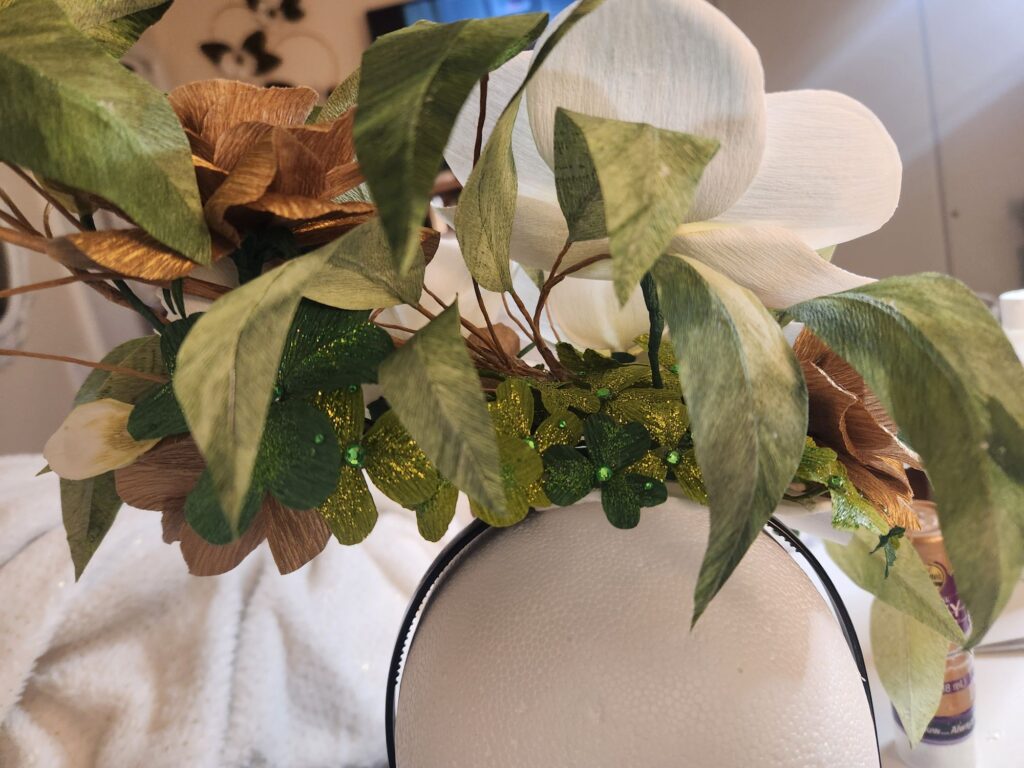
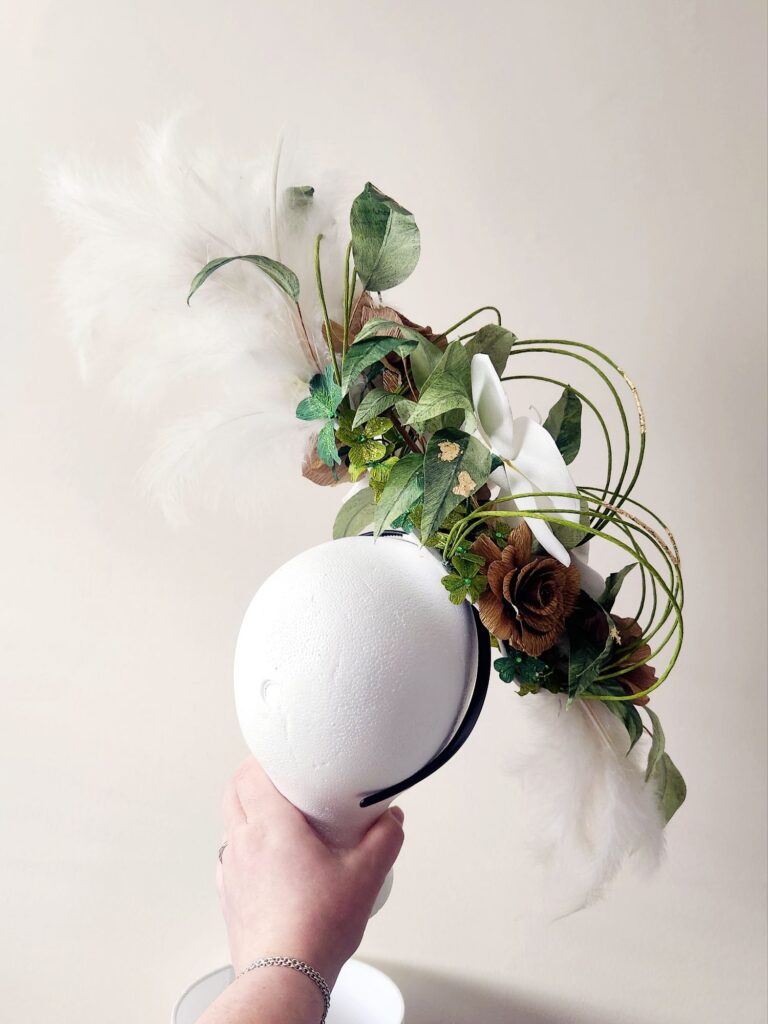
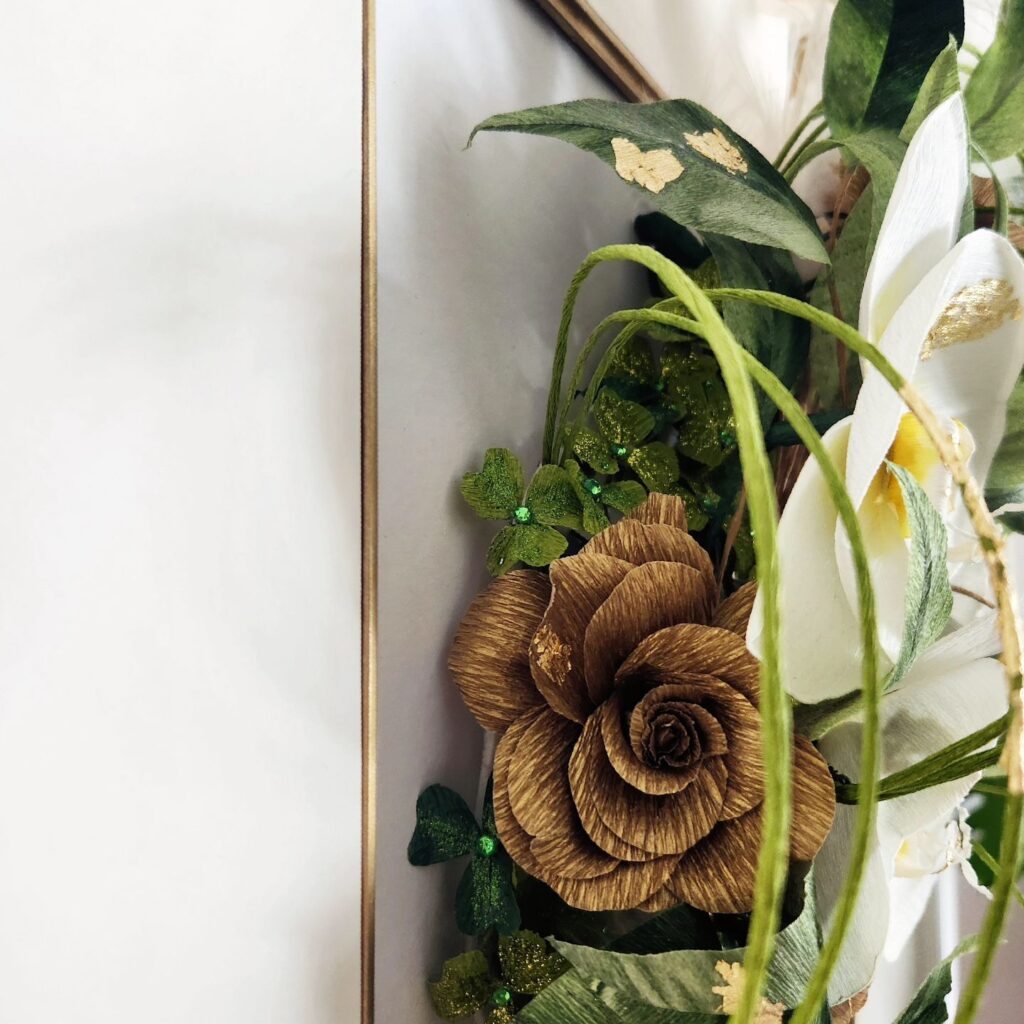
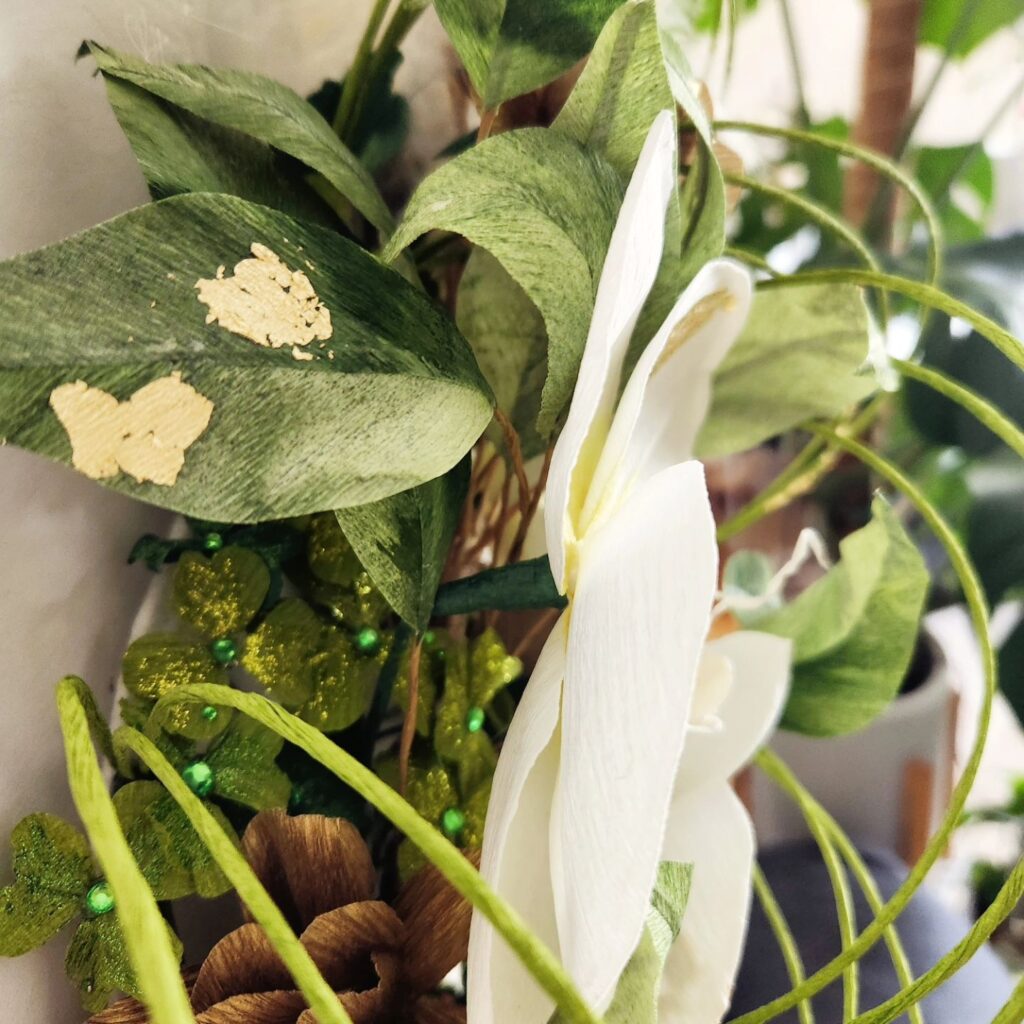
I needed “ground cover” in a blank spot in the back, so since it was St. Patrick’s Day, I added tons of little clovers. I used the template I put together from my redwood sorrel (which isn’t related). There is a four-leaf clover in the clover patch. It’s hiding in the back a little, towards the bottom (not really visible in the photo below).
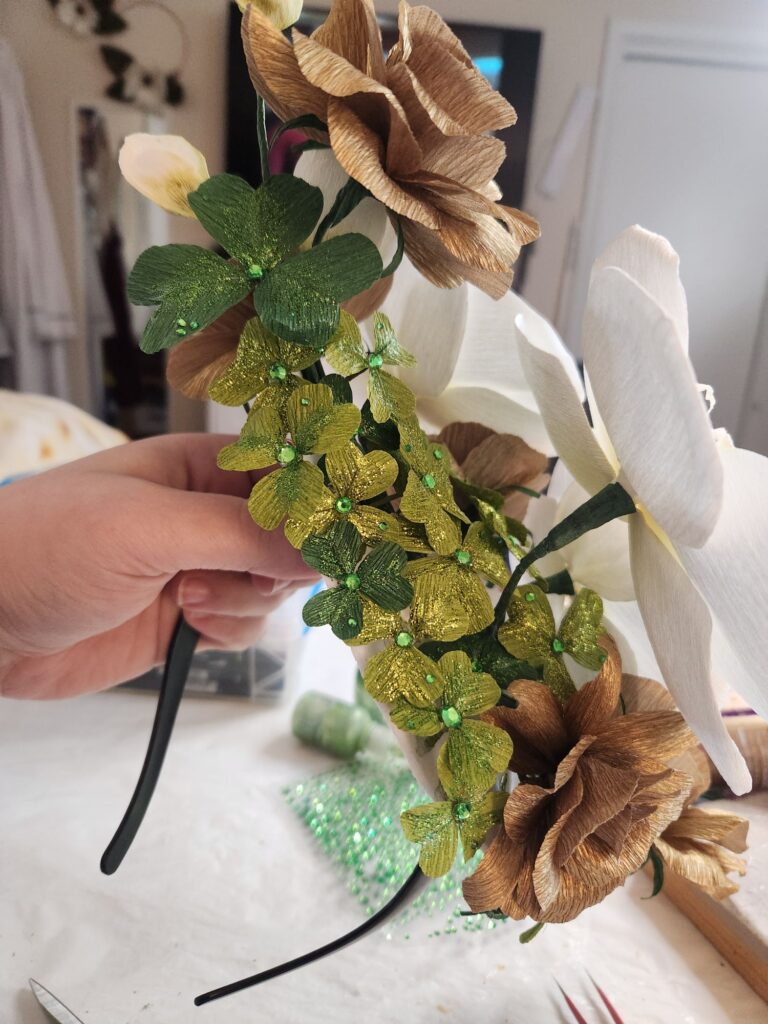
Clovers in the back of the Orchid and Rose Fascinator diy
Clovers having their moment in the back of my orchid hat. I added a little bling and sparkle to give it my “extra” signature. haha.

Finishing Touches

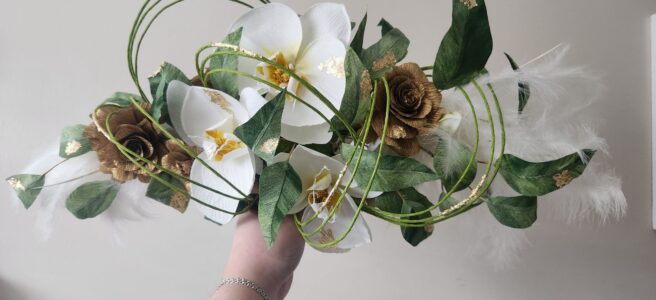
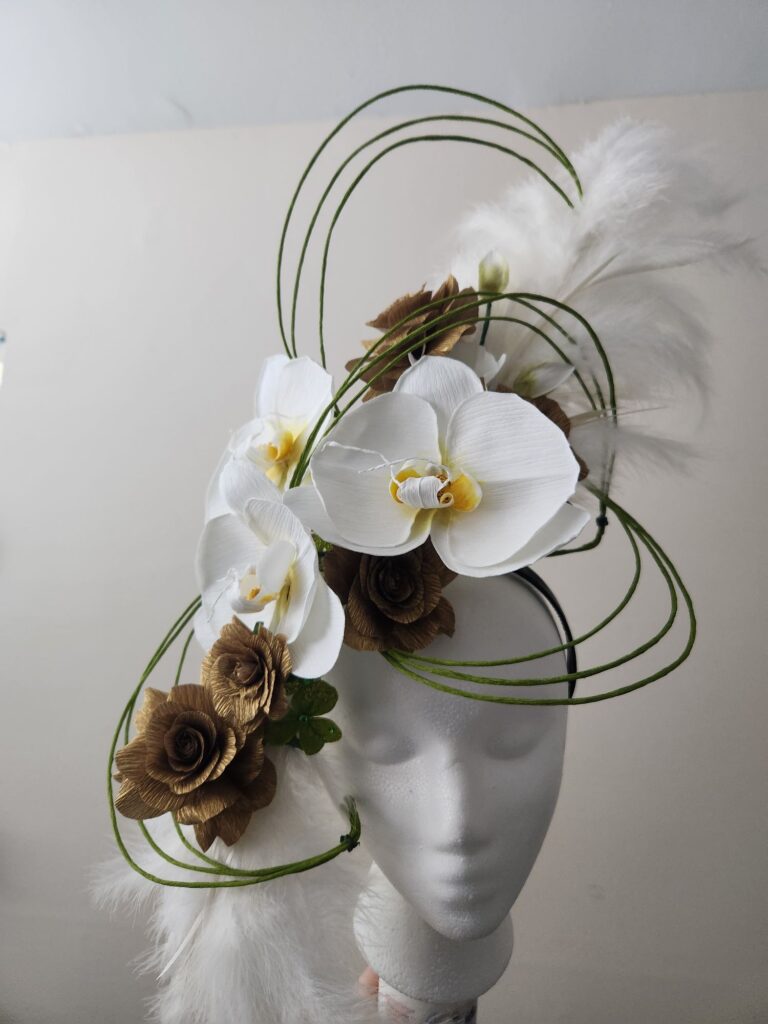
Next were the finishing touches. Adding the leaves, the green wire loops I’d made, and feathers I’d picked up at a local craft store.
testing wire loops for the hat.
Testing out the placement of the wire loops and feathers I made.

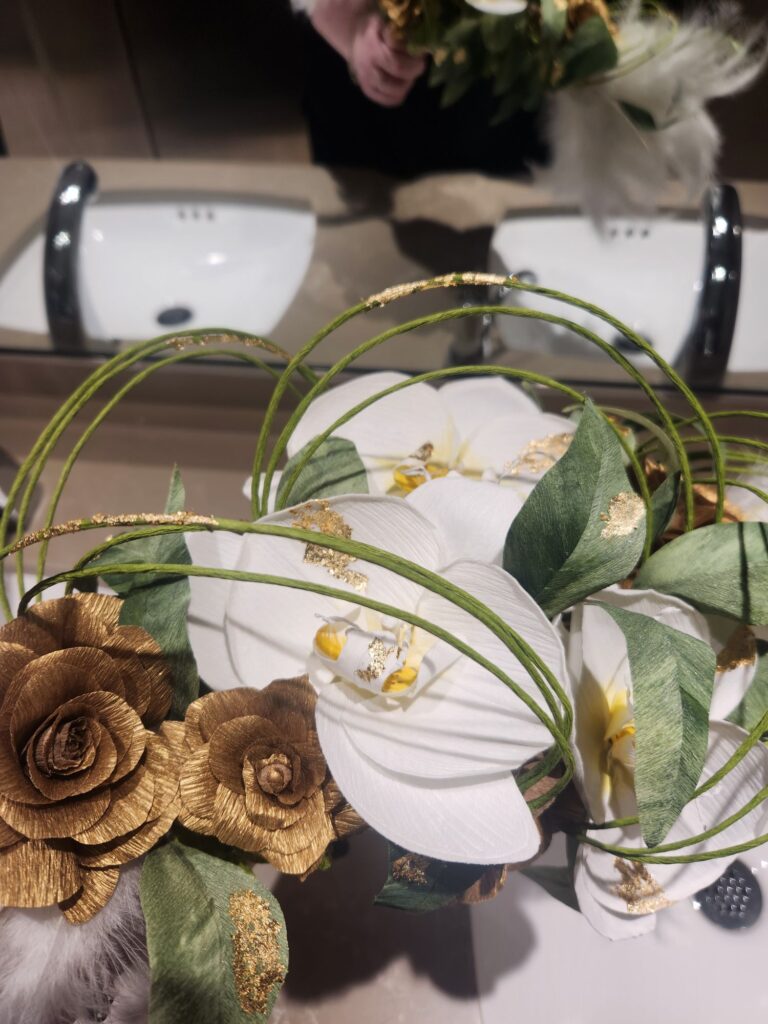
The wire loops were 20 gauge wire wrapped in green crepe paper. I made 15 lengths and grouped them into five groups of three. Then, I wove them in and out of the flowers and leaves.

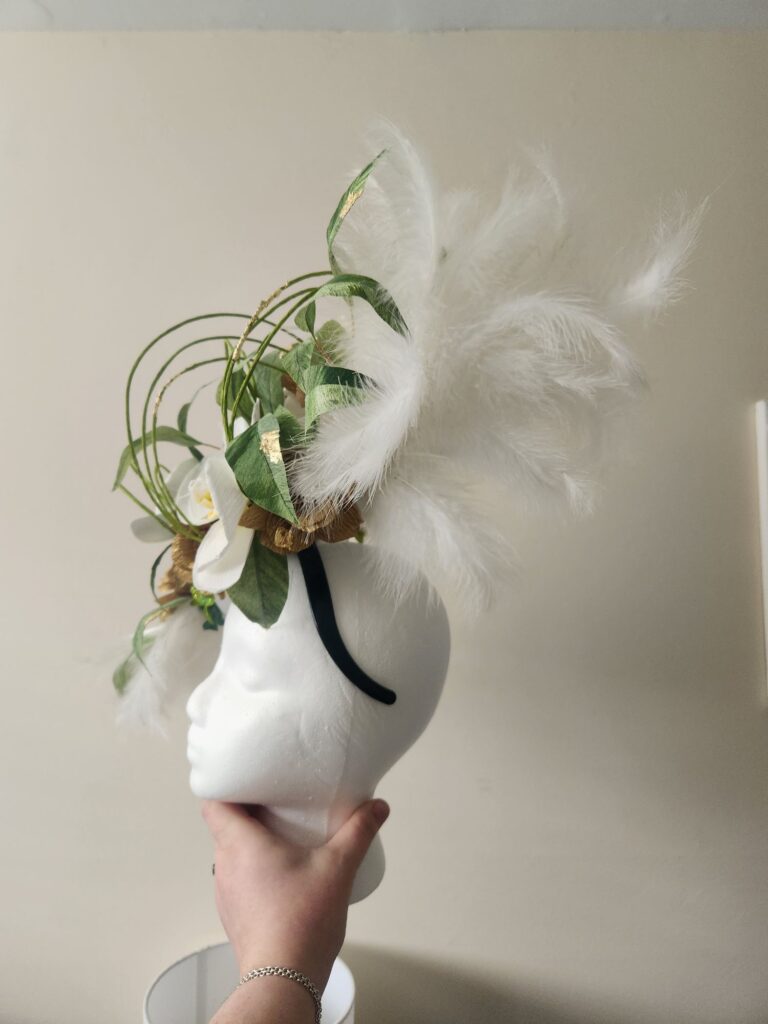
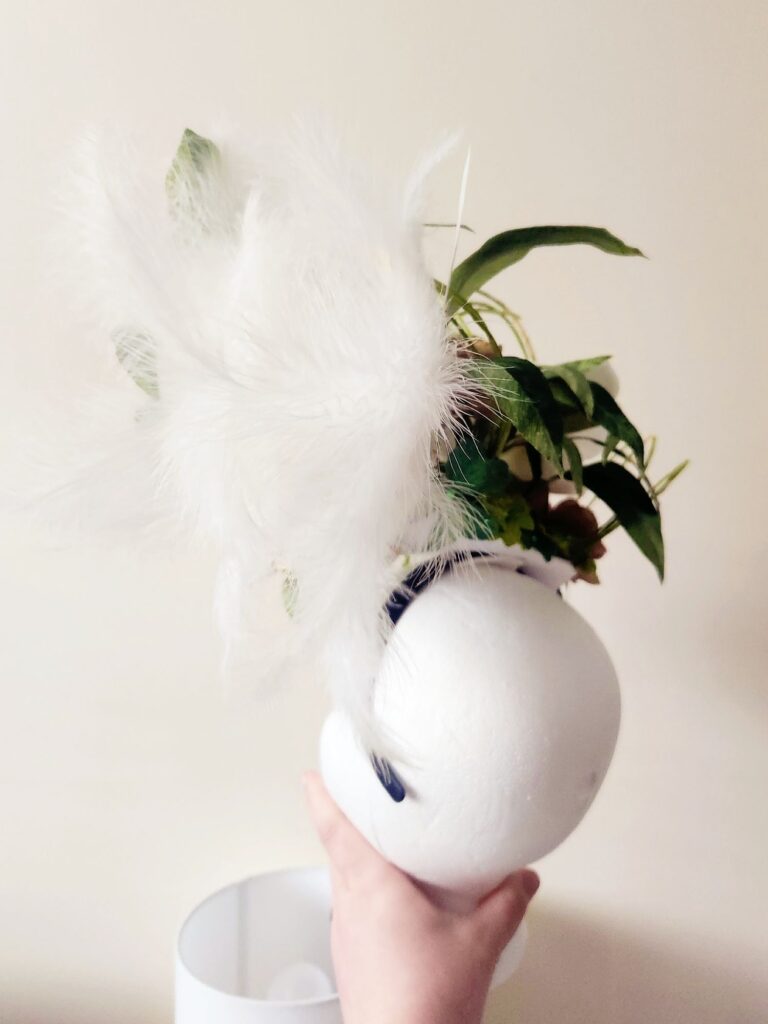
I found an ostrich feather “branch” at a craft store and loved it so much I just had to incorporate it. There are two sections at the top and one at the bottom. With these added, the hat is 24 inches long! I did make them removable. lol.

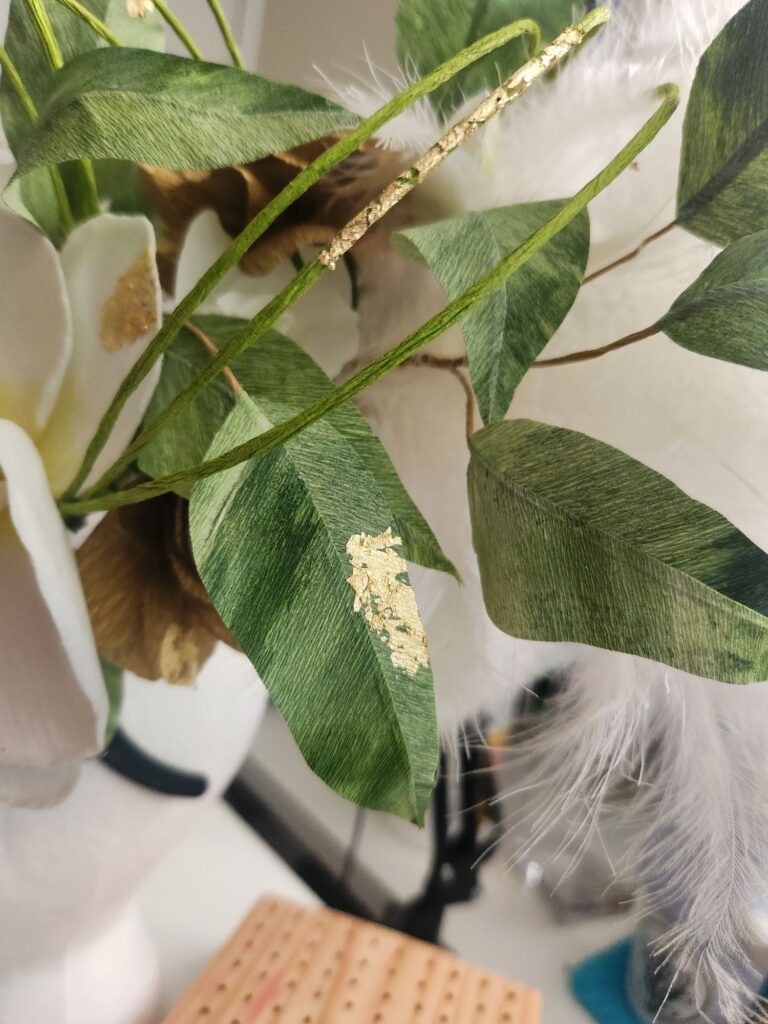
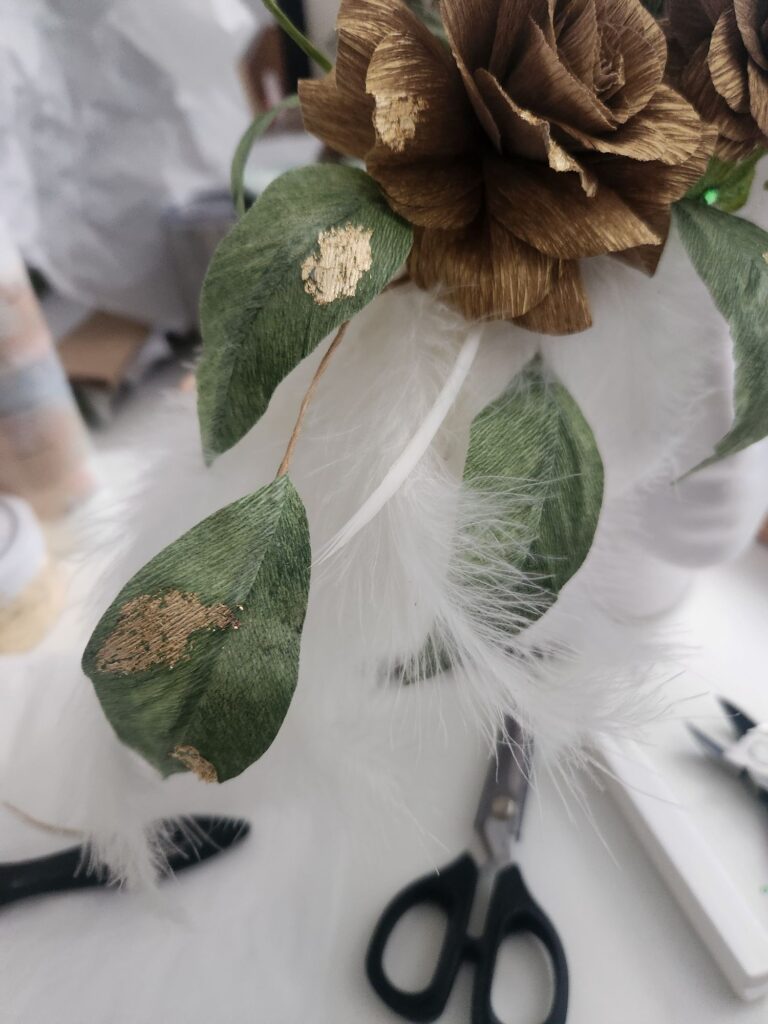
It needed something else. Some pièce de résistance. I had already added a touch of glitter in the back and didn’t want to add more. But gold leaf? YES. I added patches of it in random spots all over. I loved how it turned out.

  • Gold leaf added randomly to the leaves and petals.
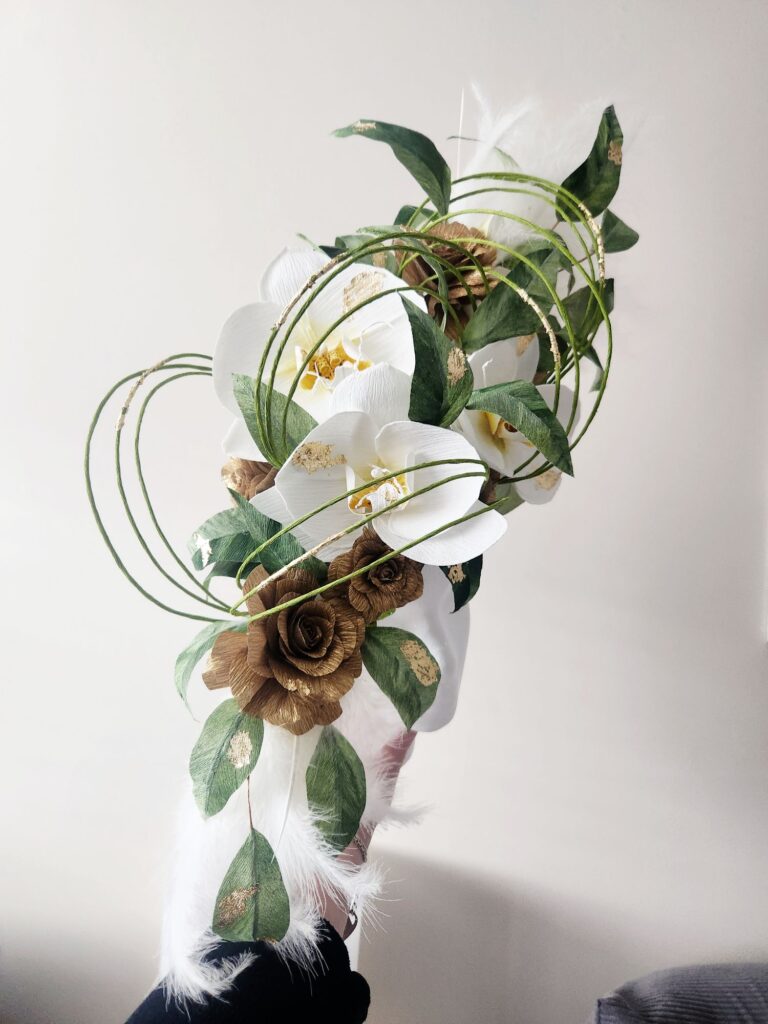
  • Orchid and Rose Fascinator

Finale

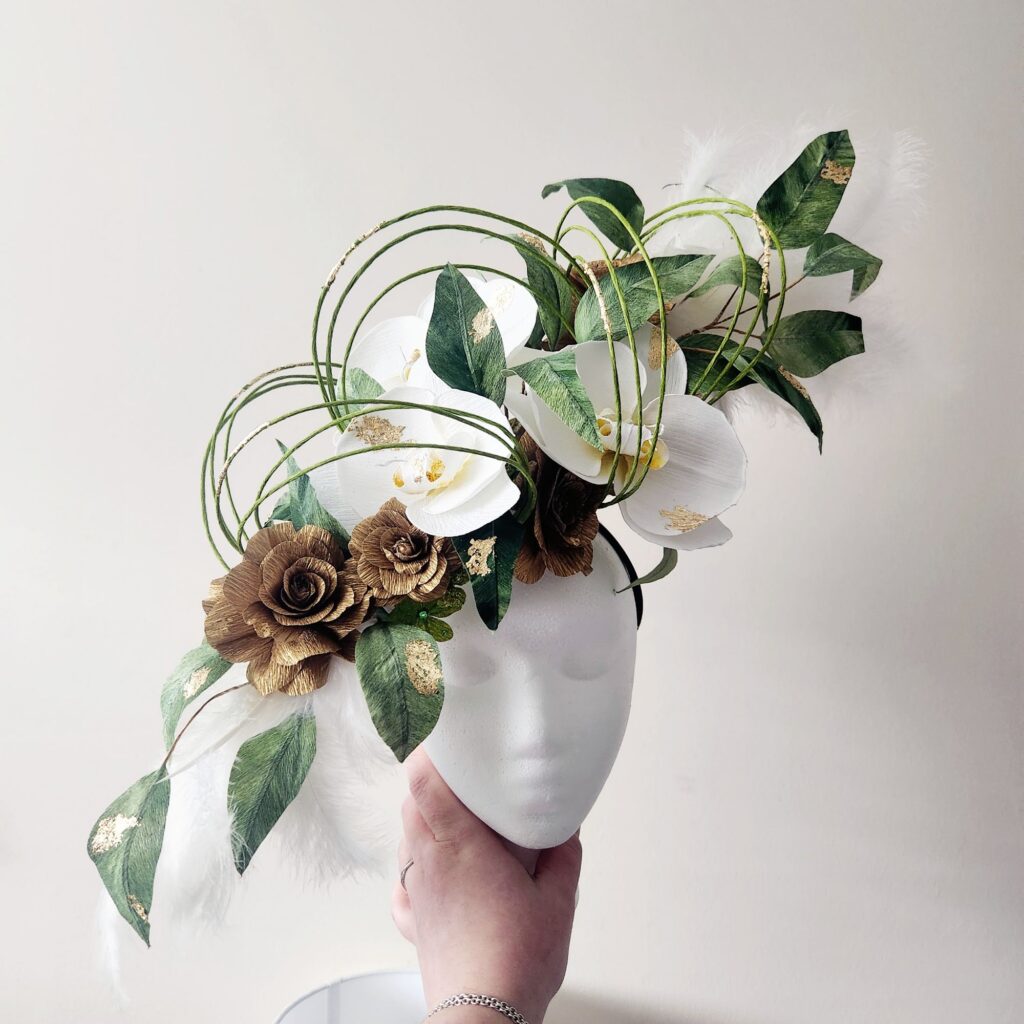
If you’ve made it this far, bravo! Let’s see how it turned out!

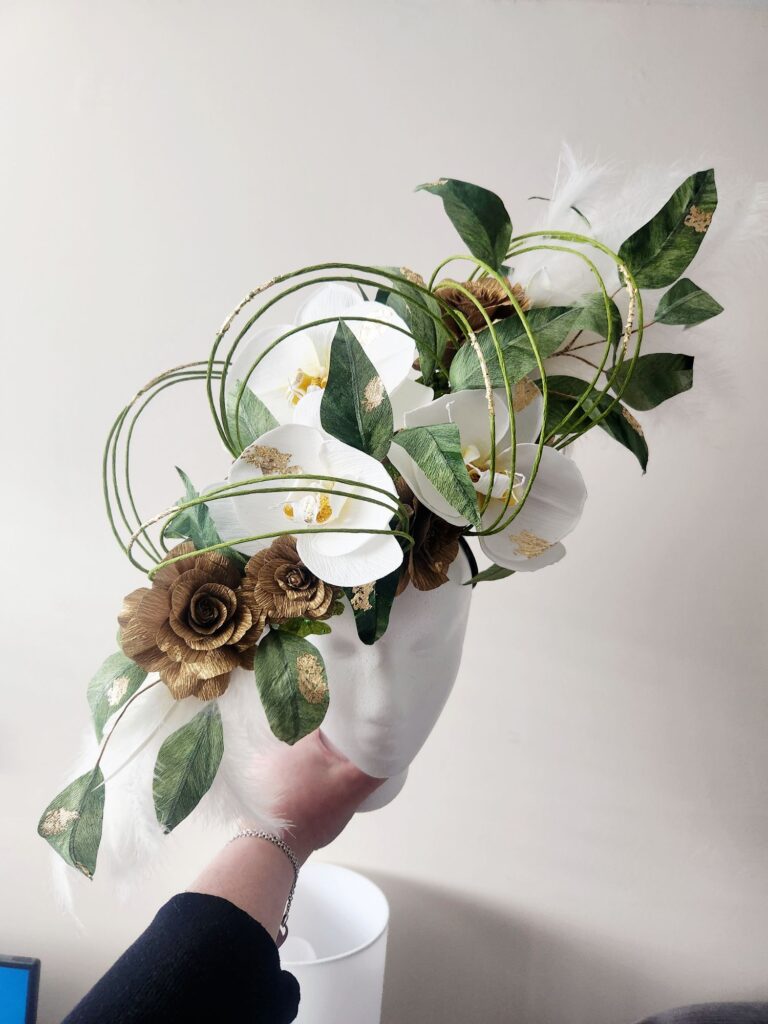
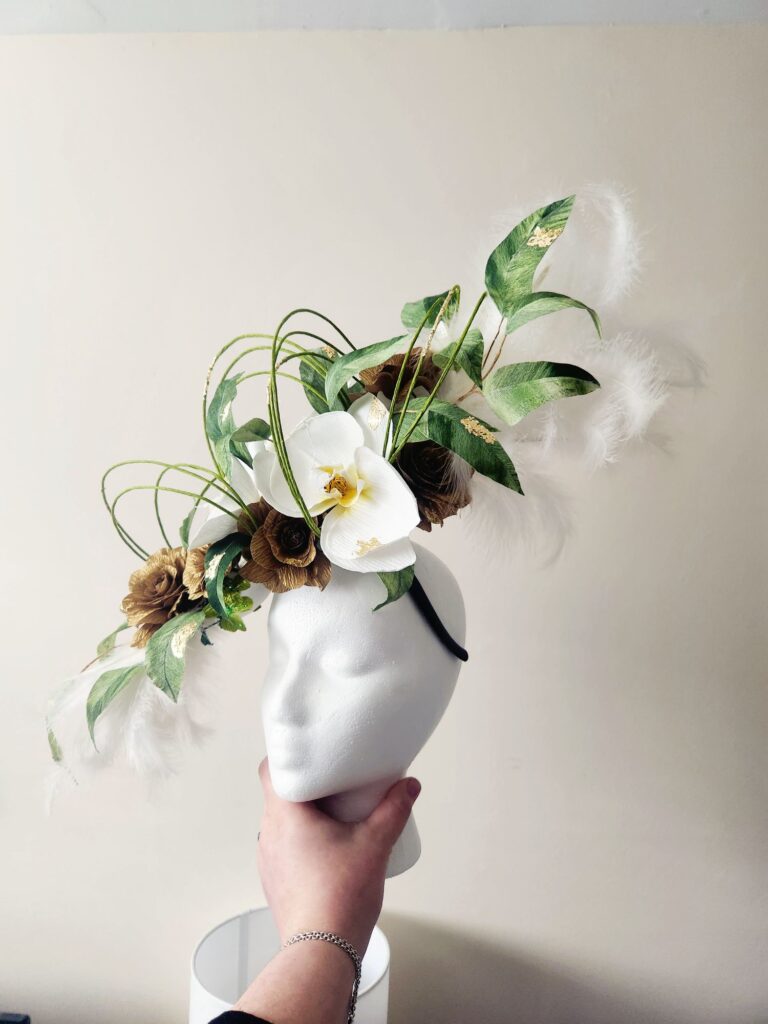
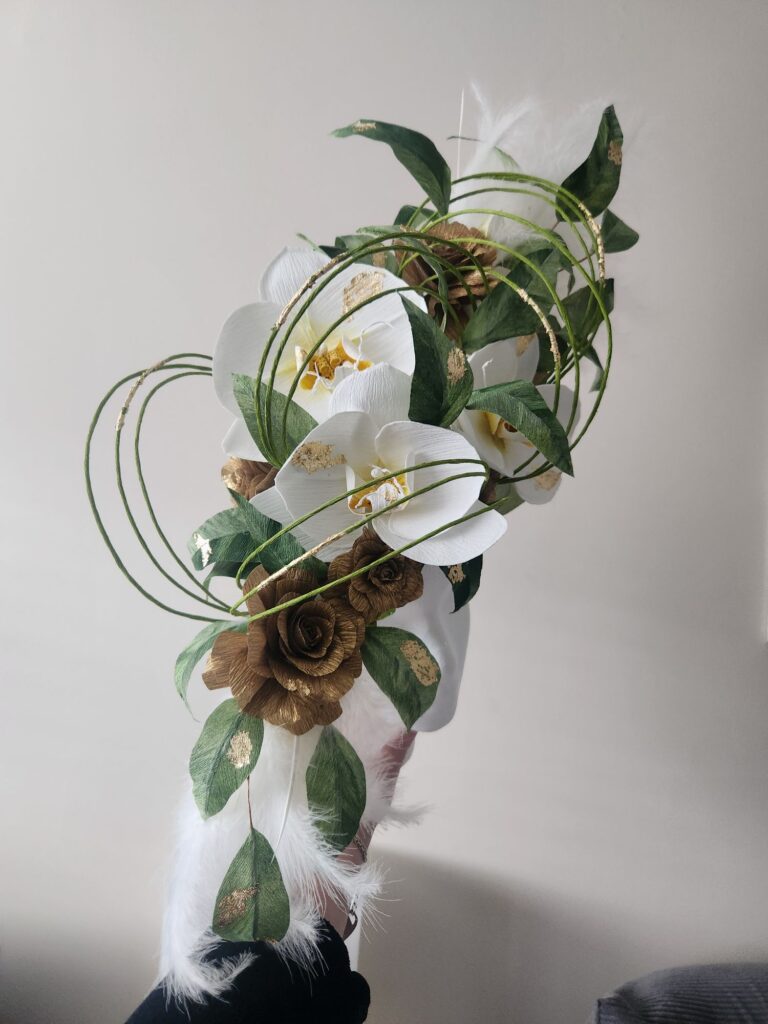
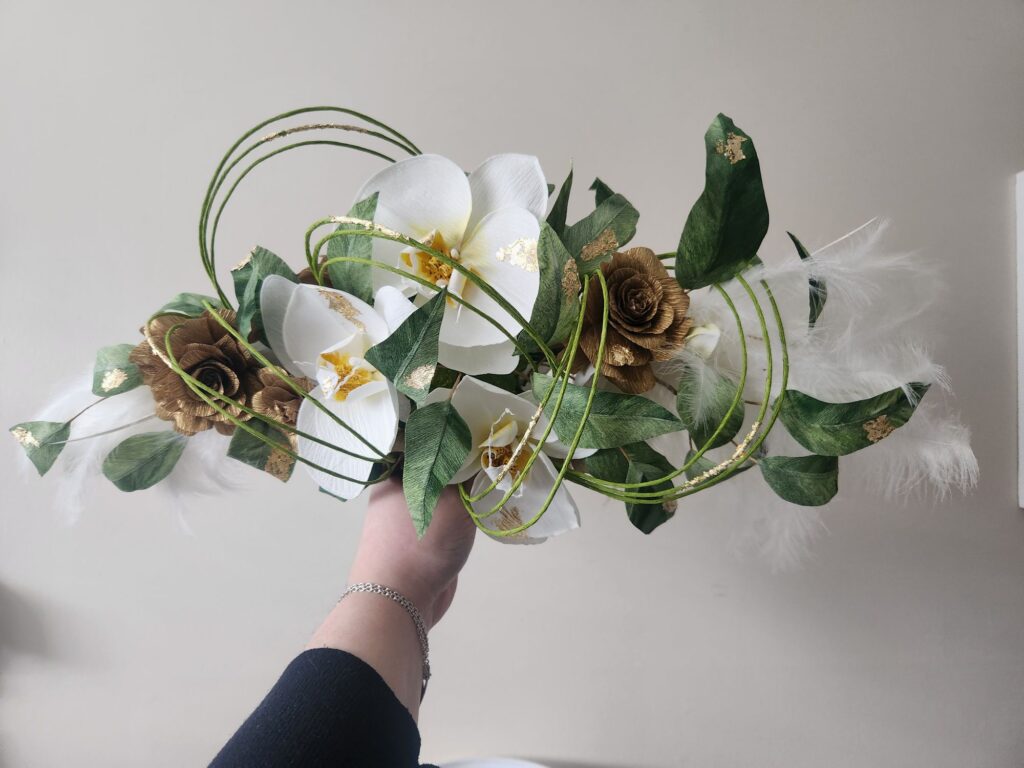
  • Orchid and Rose Fascinator
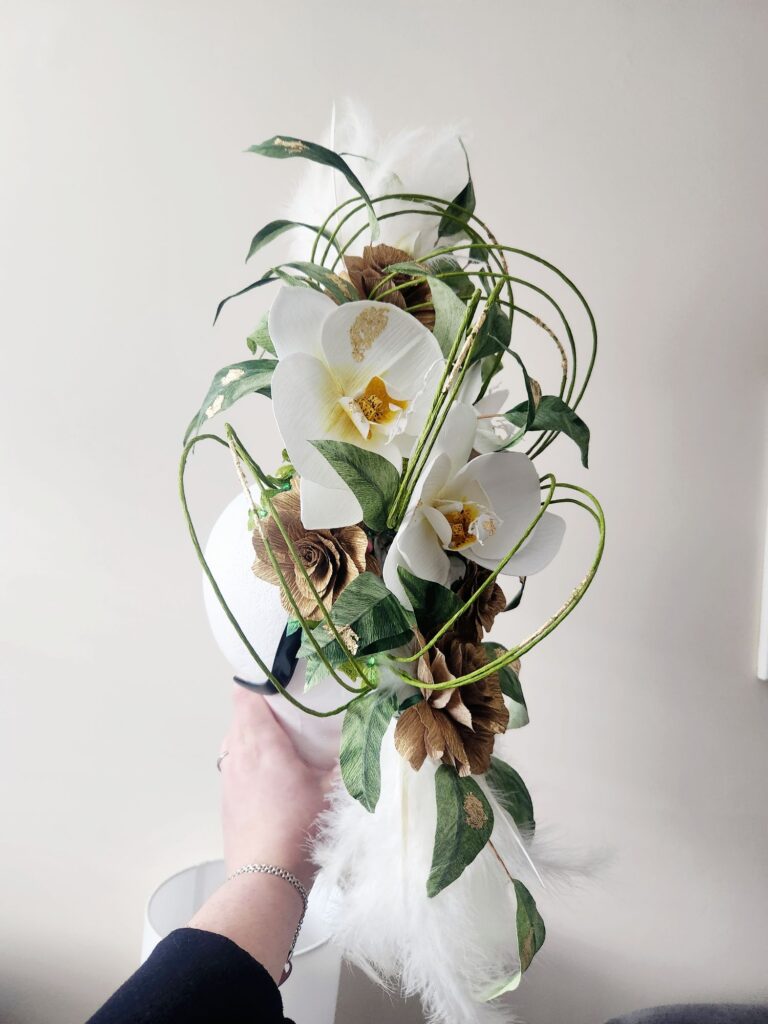
  • Finished Orchid and Rose Fascinator DIY
  • Orchid and Rose Fascinator
  • Orchid and Rose Fascinator

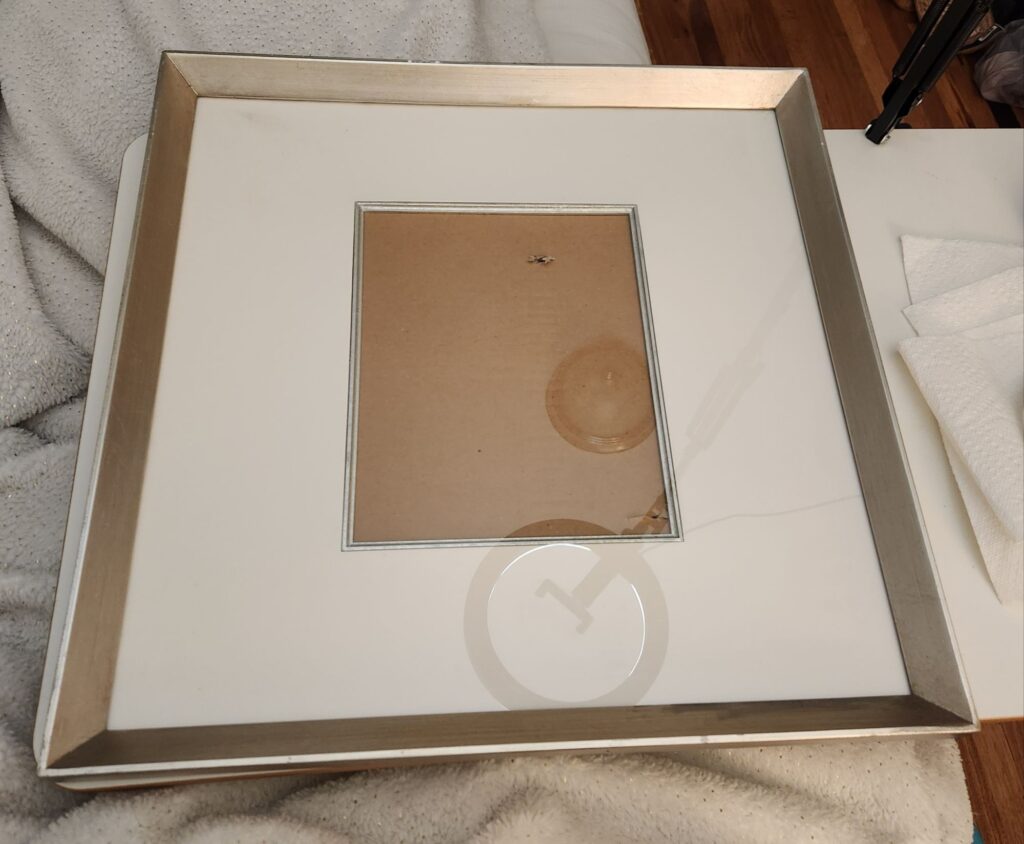
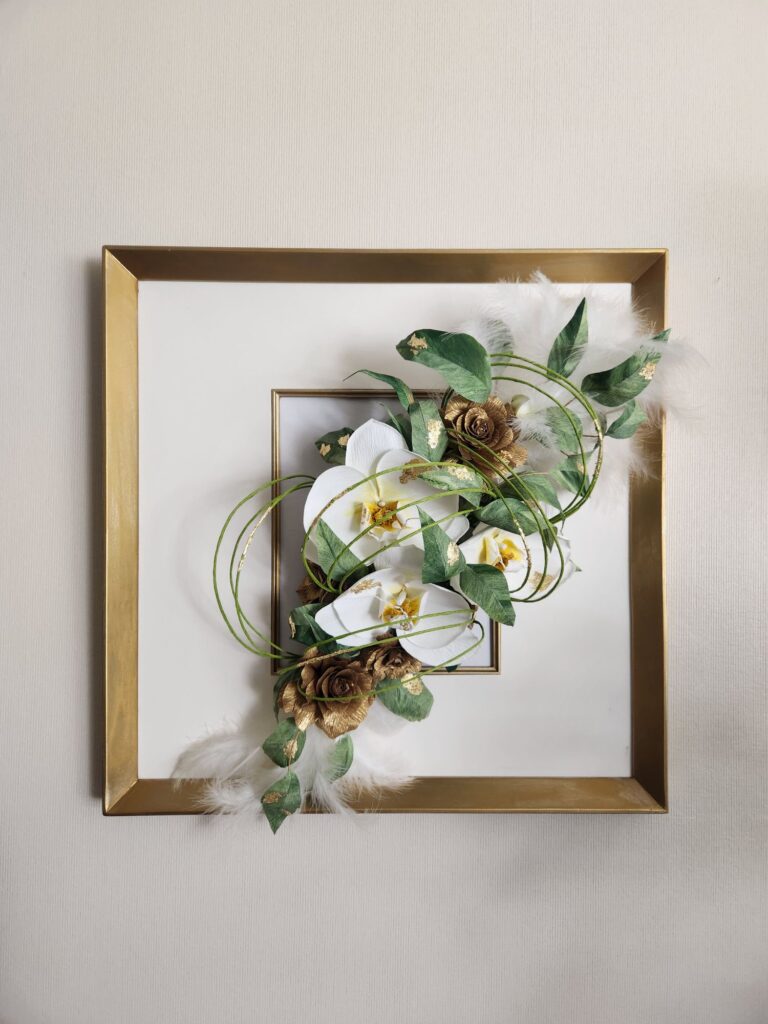
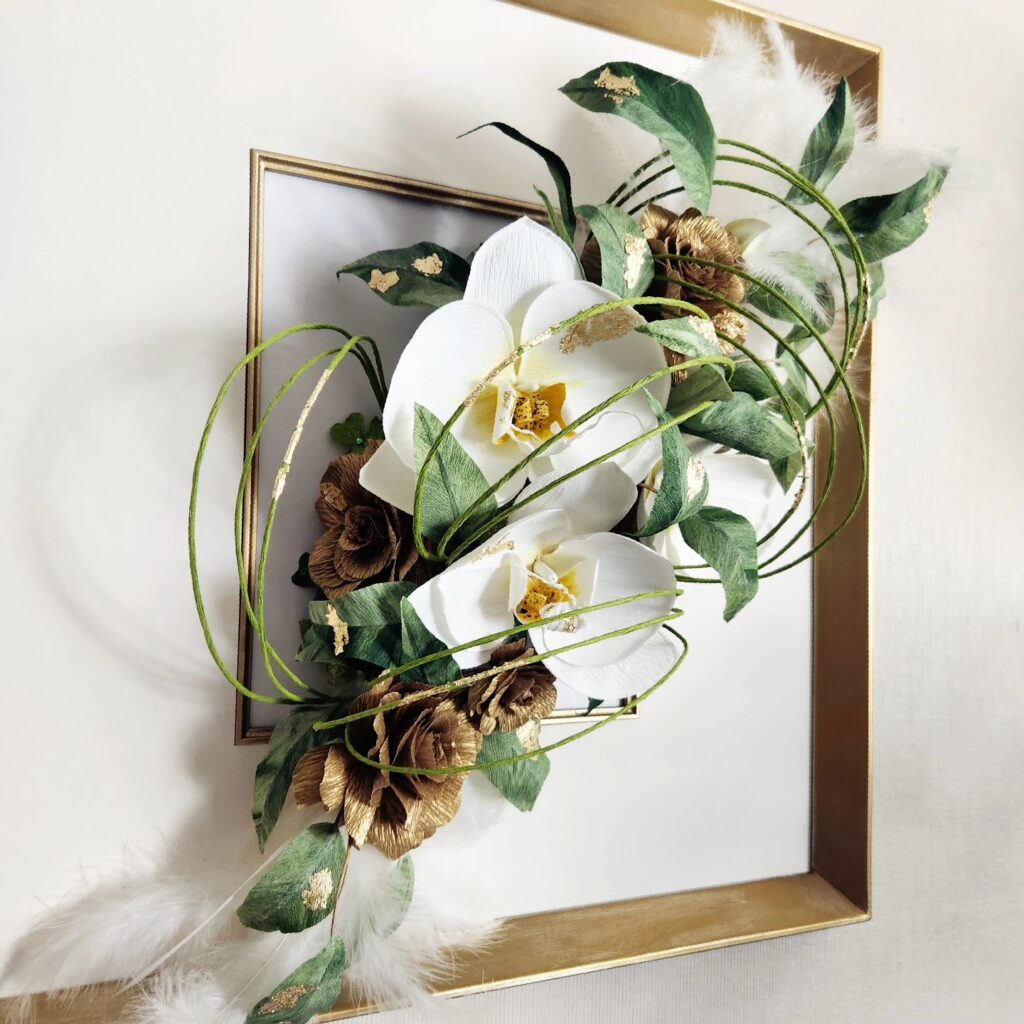
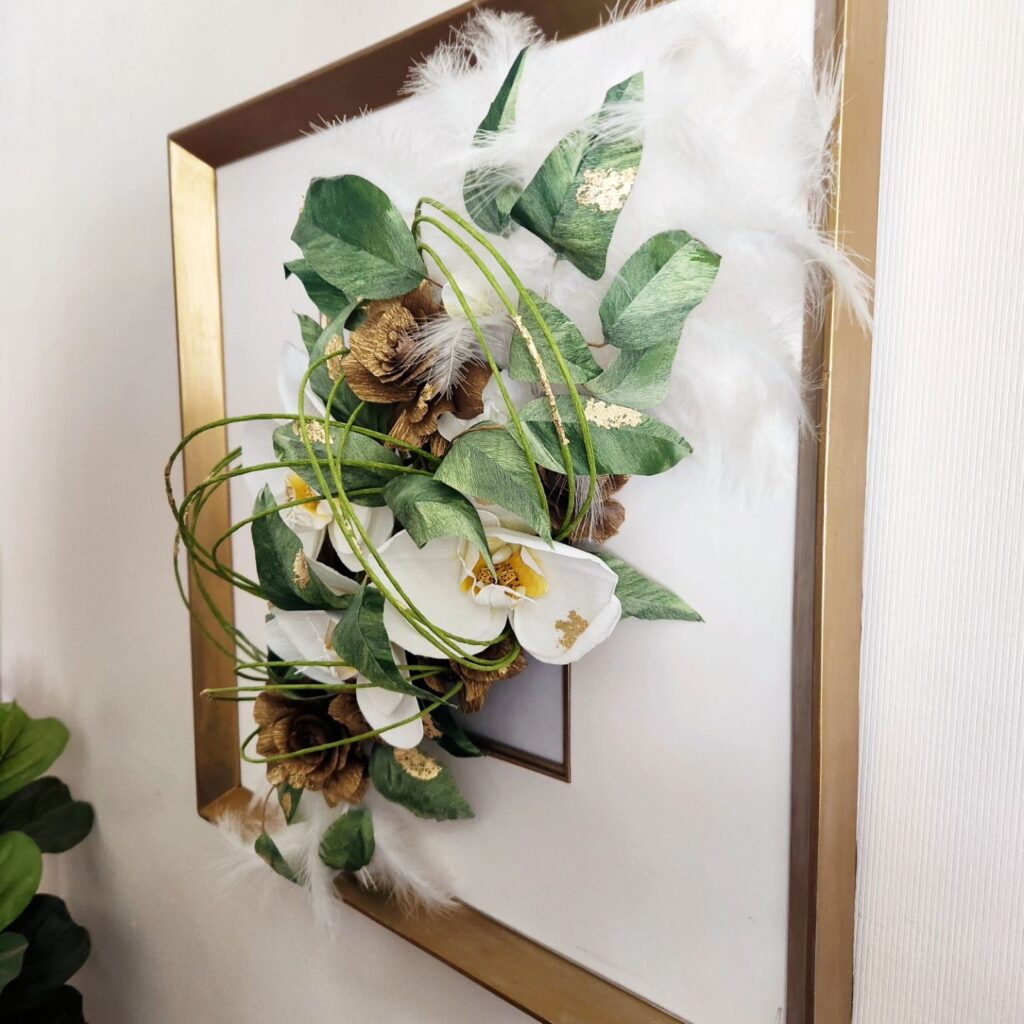
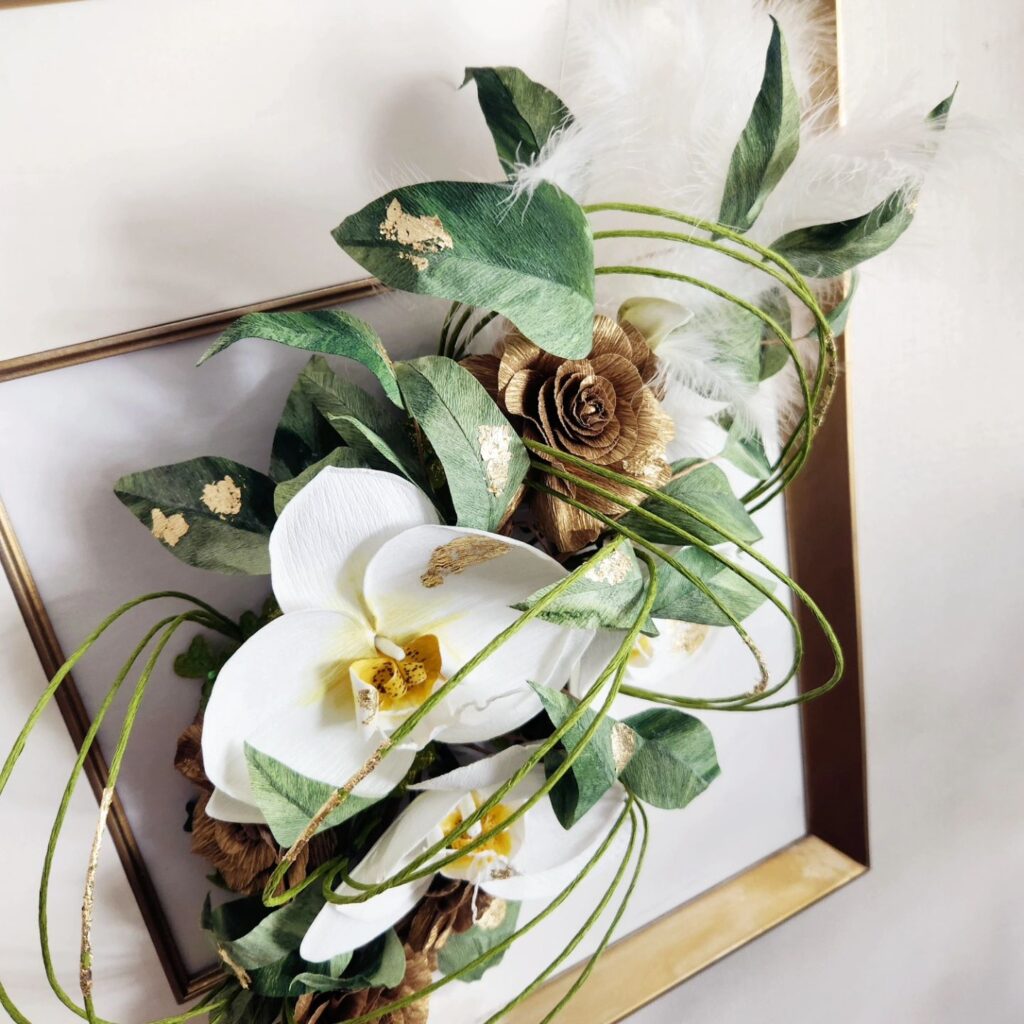
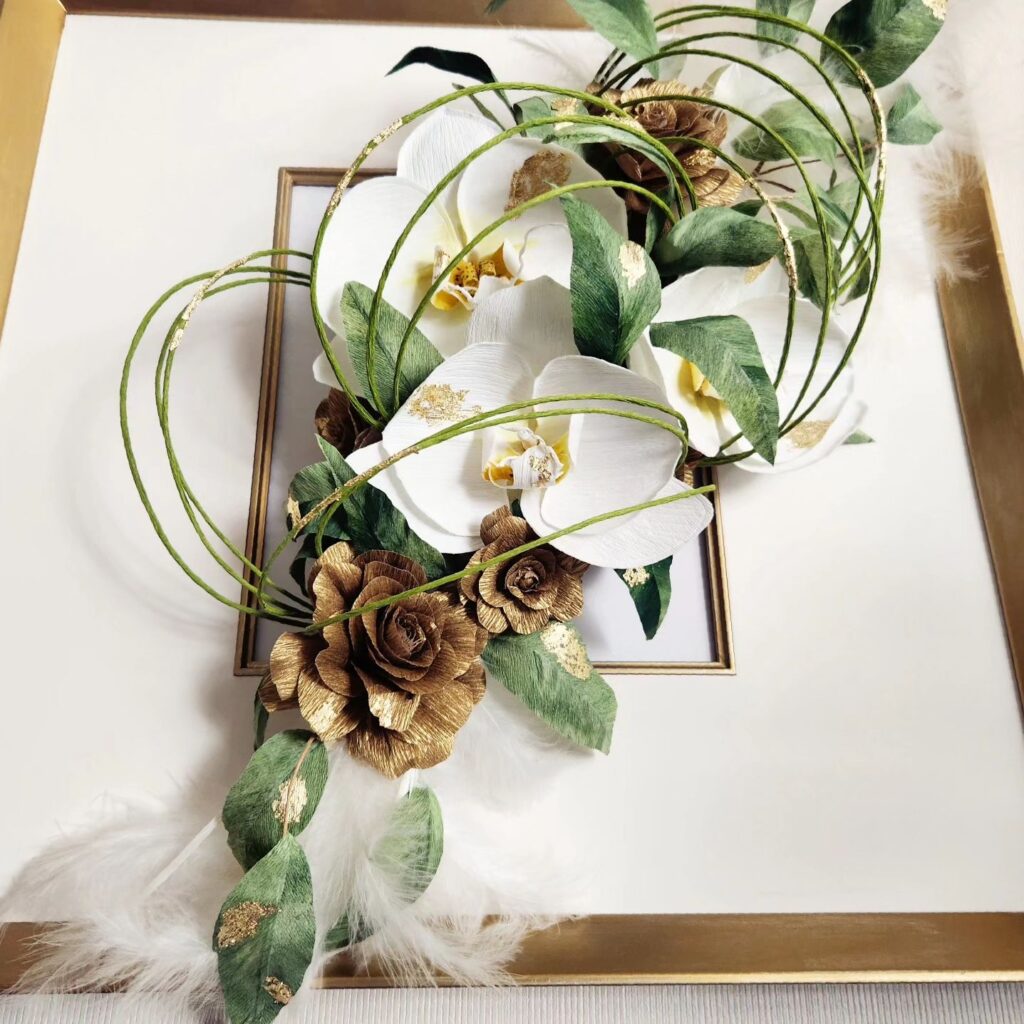
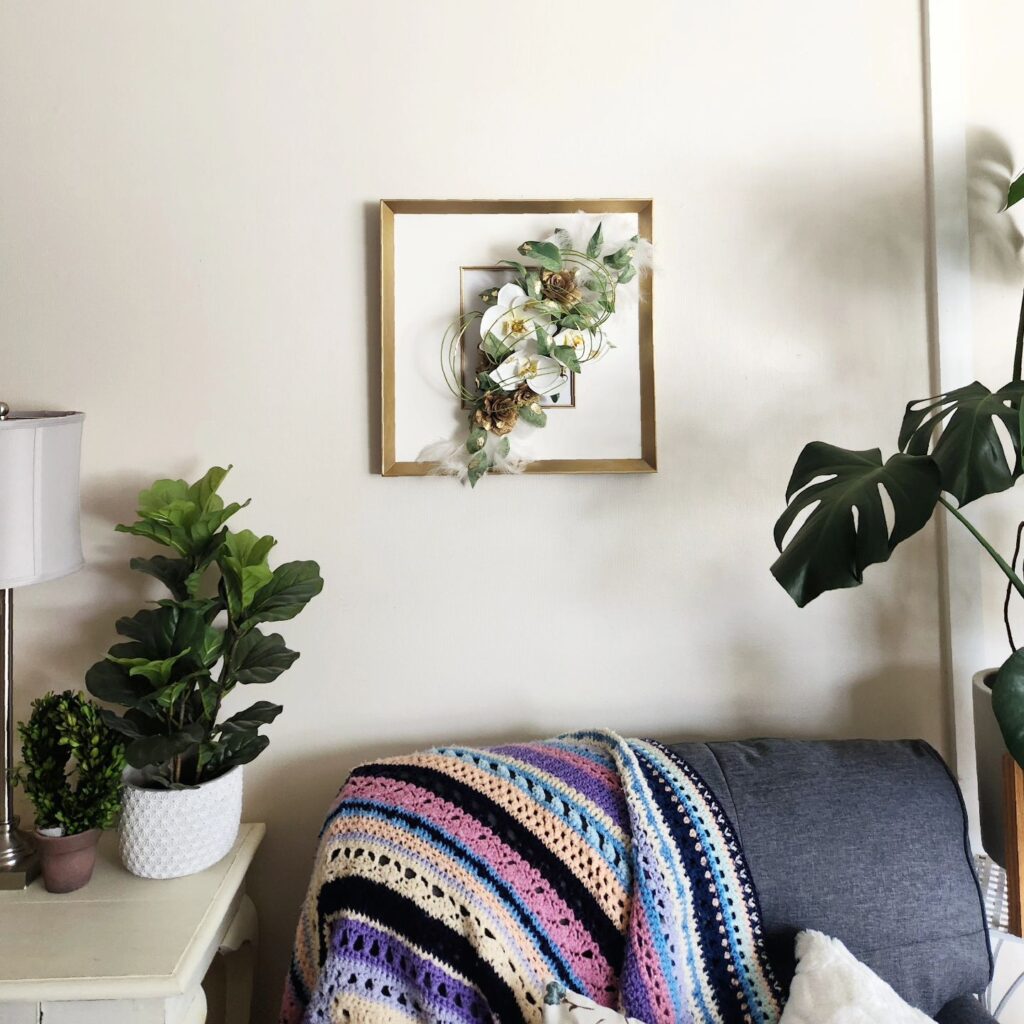
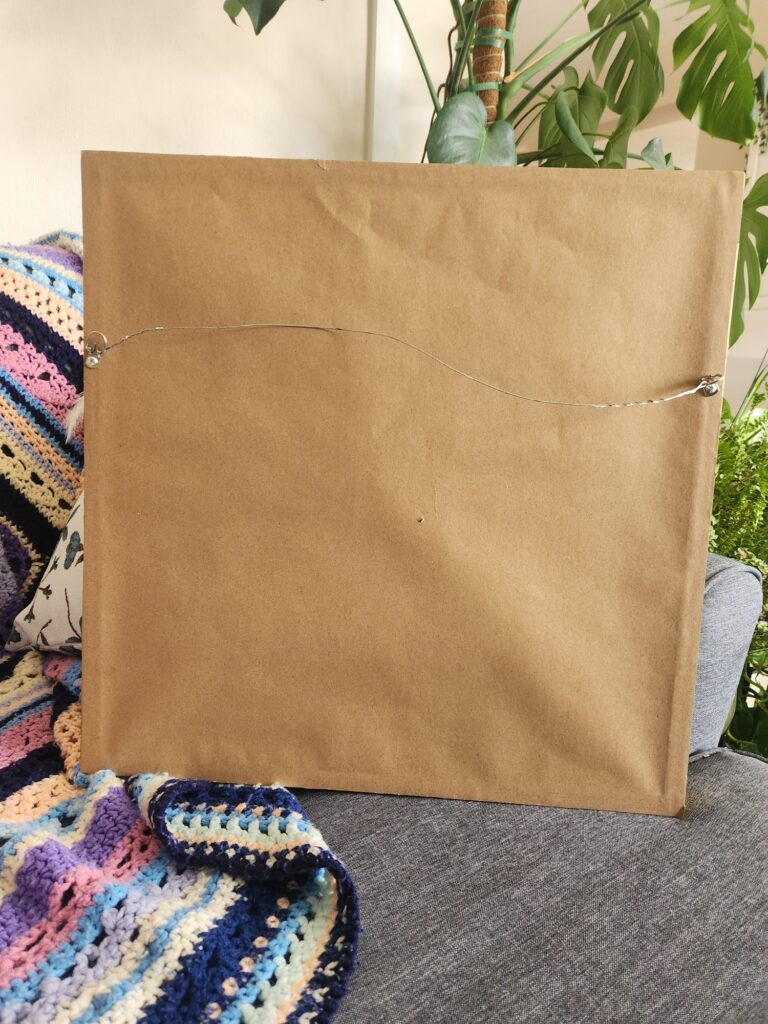
After it was a hit at the party (if I do say so myself, lol), I needed a way to store it safely. I found a large frame at a thrift store and thought it was perfect for mounting the fascinator. I refinished the gold with some rub ‘n’ buff. Then, I mounted the hat on cardstock. I used zip ties to attach it to the frame so I could clip it out if I wanted to use the hat again. I’m pretty proud of how professional it ended up looking!

  • Mounted and framed Orchid and Rose Fascinator
  • Mounted and framed Orchid and Rose Fascinator
  • Mounted and framed Orchid and Rose Fascinator
  • Mounted and framed Orchid and Rose Fascinator
  • Mounted and framed Orchid and Rose Fascinator
  • Mounted and framed Orchid and Rose Fascinator
  • Mounted and framed Orchid and Rose Fascinator

To wrap up this post, I entered it at the State Fair this year and got a First Place Ribbon!
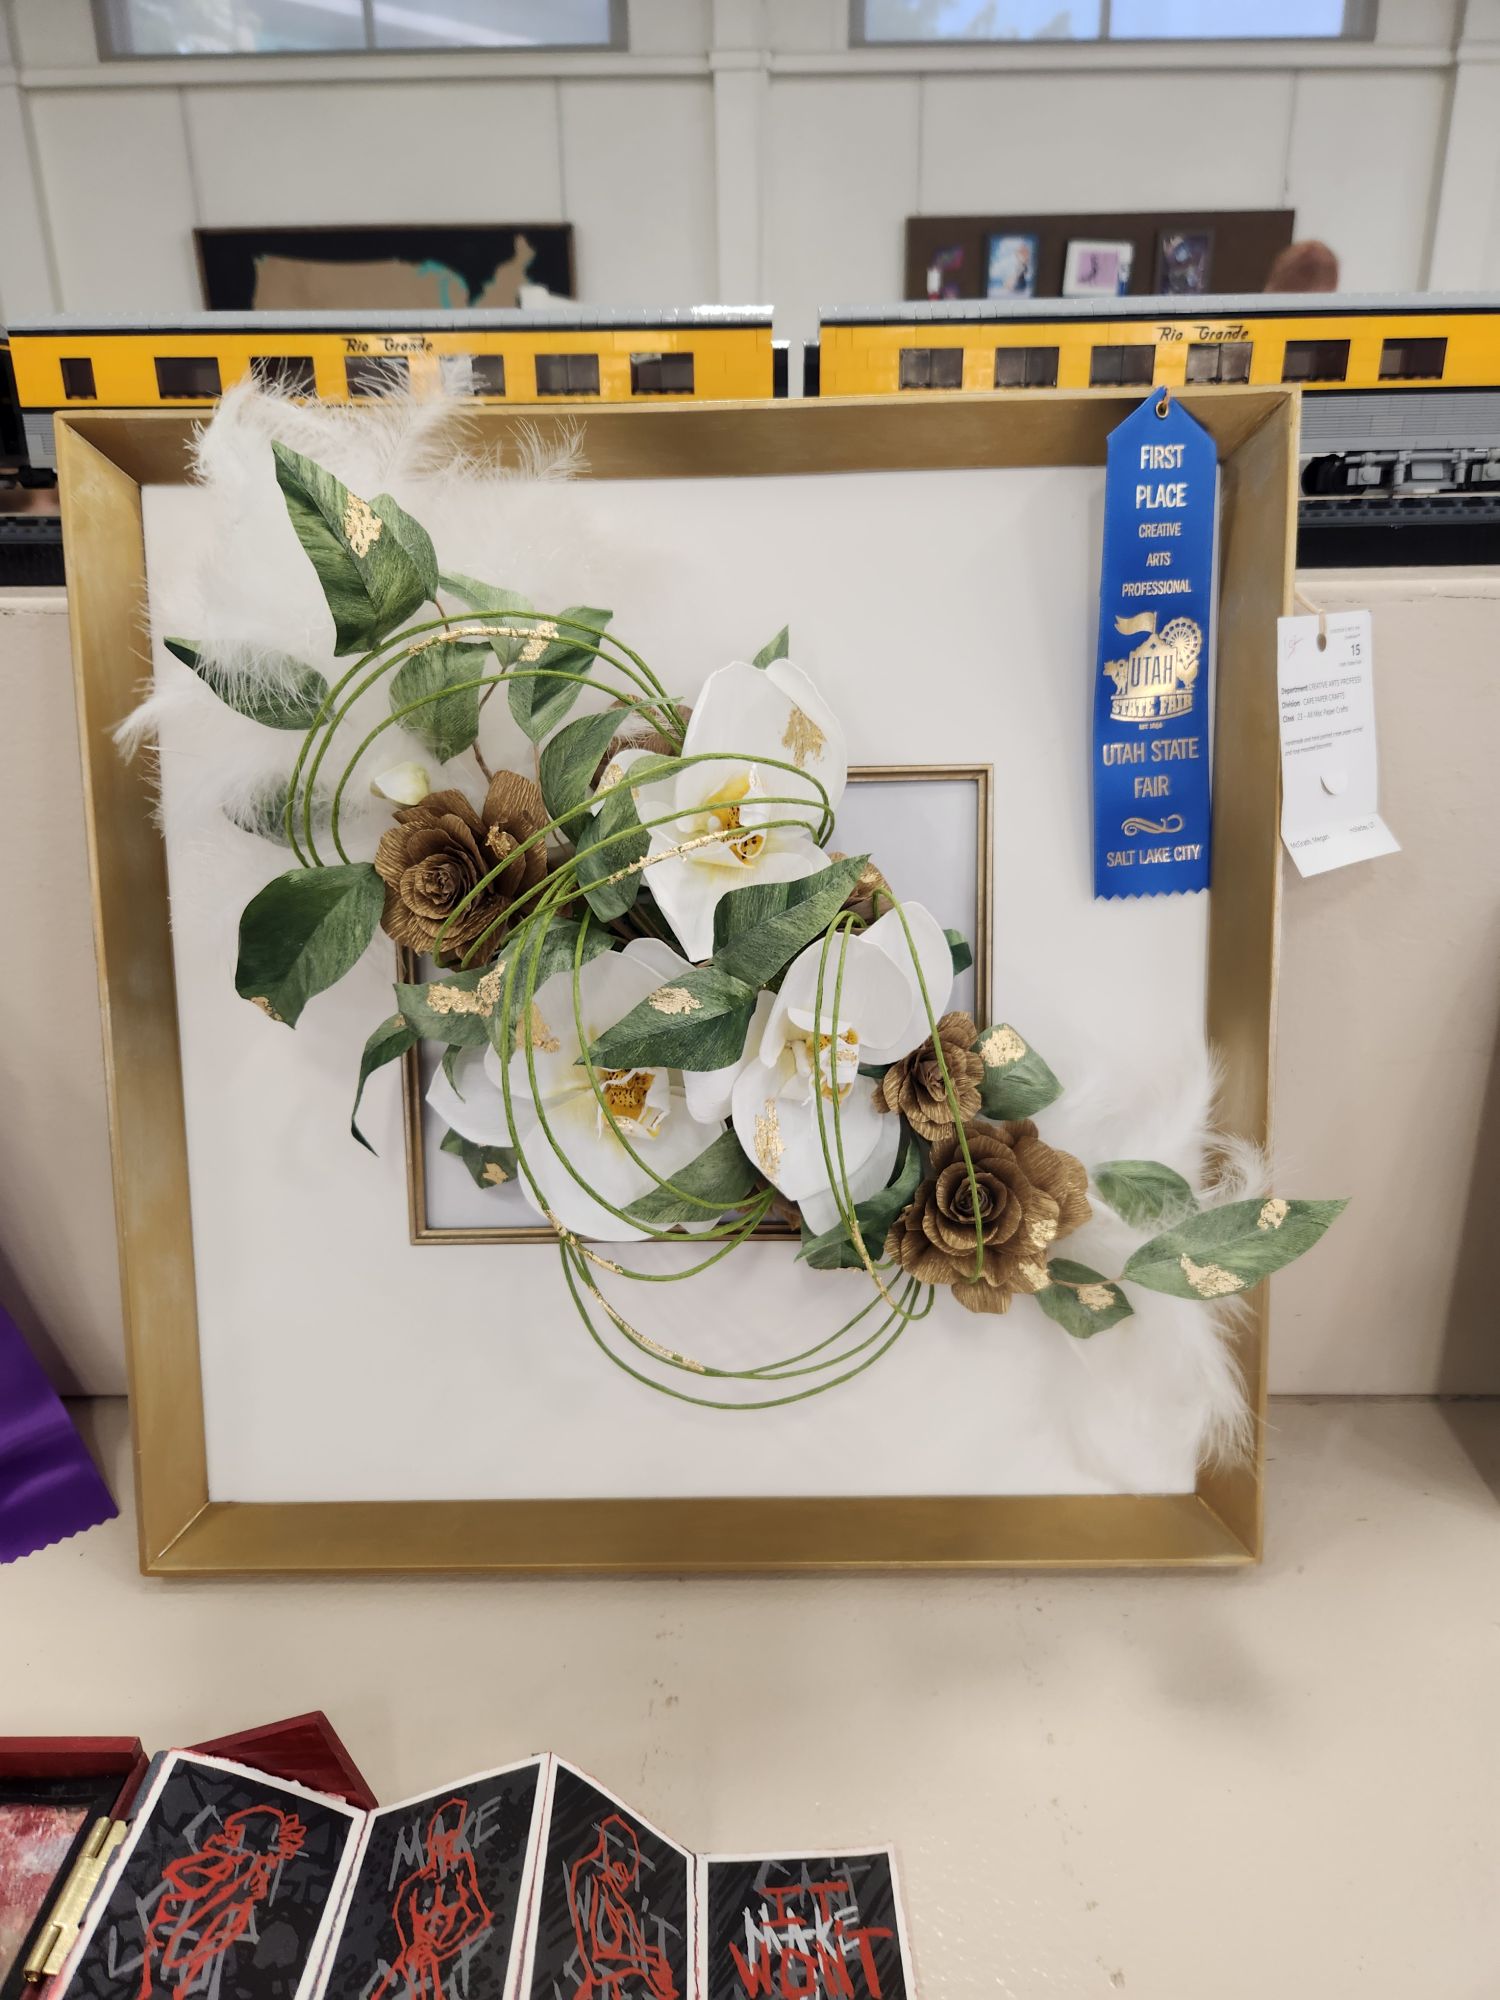
Mounted fascinator with a blue first prize ribbon attached.

Thanks for reading!

xoxo!
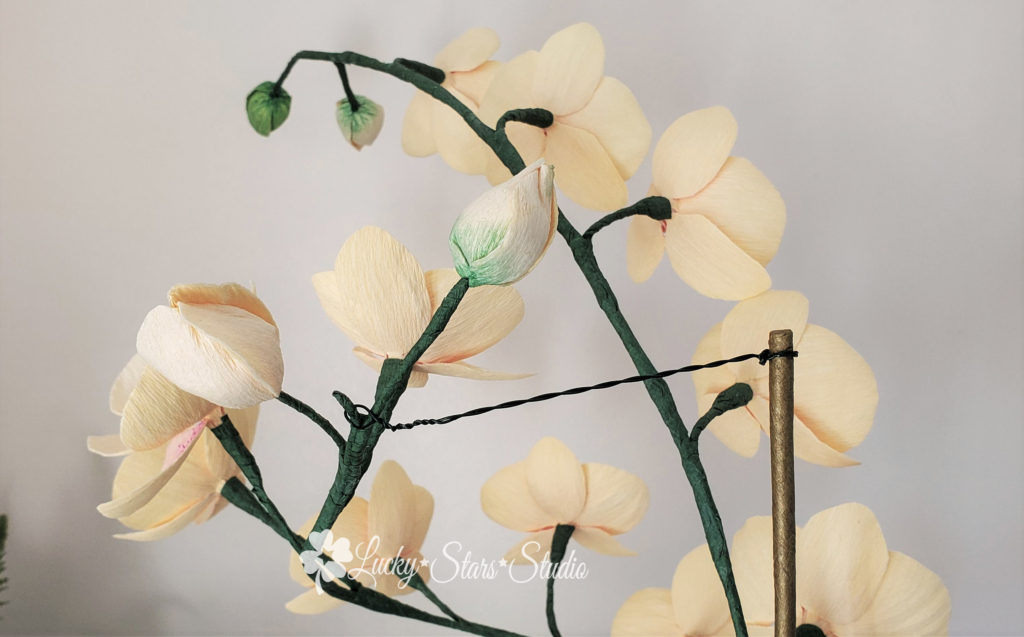
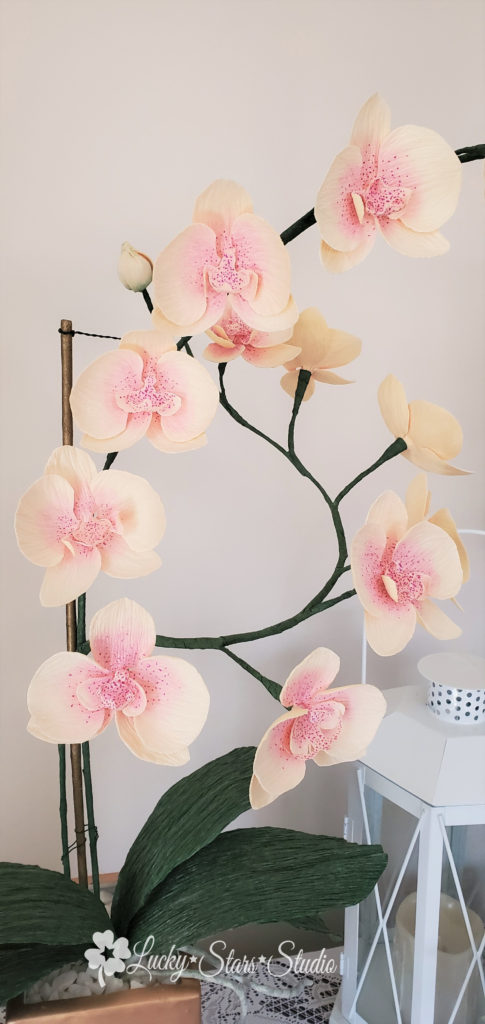
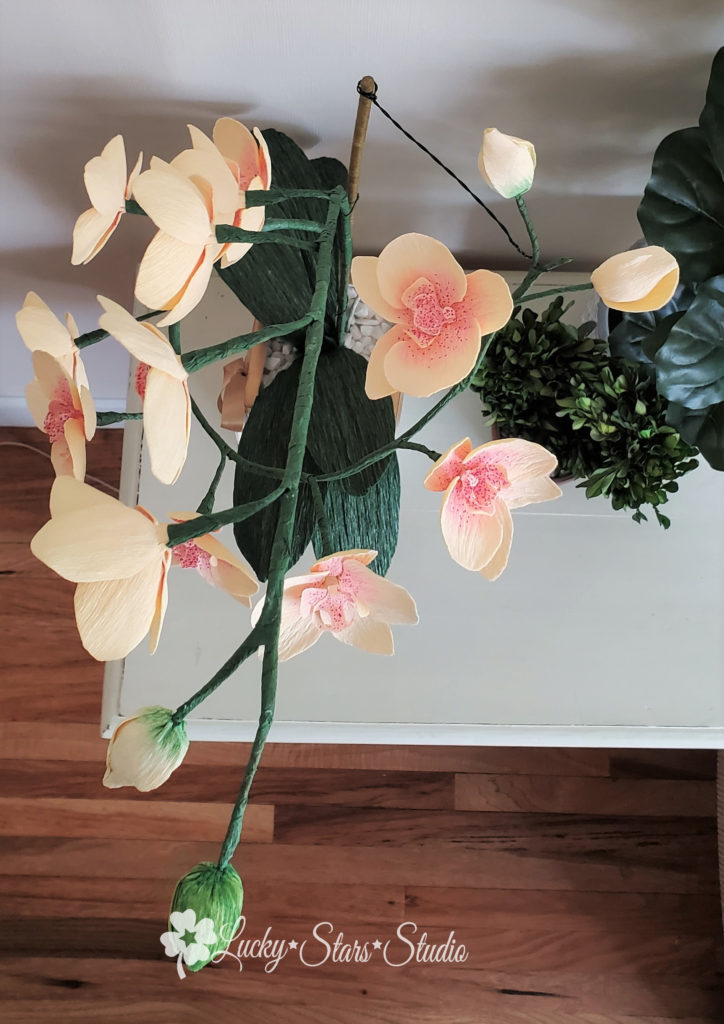
Crepe Paper Moth Orchid Arrangement

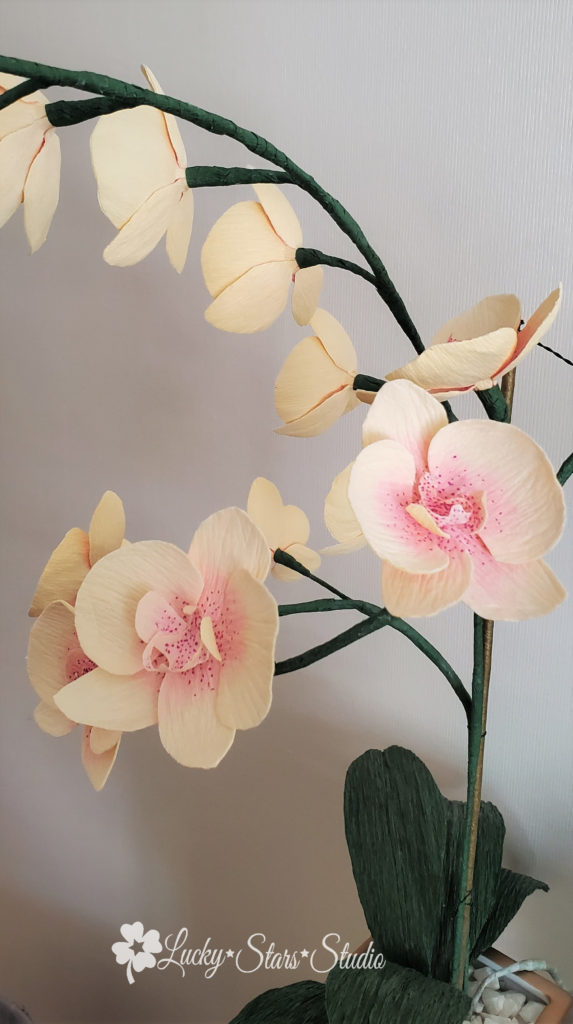
Cream Crepe Paper Moth Orchid

Preview in new tab

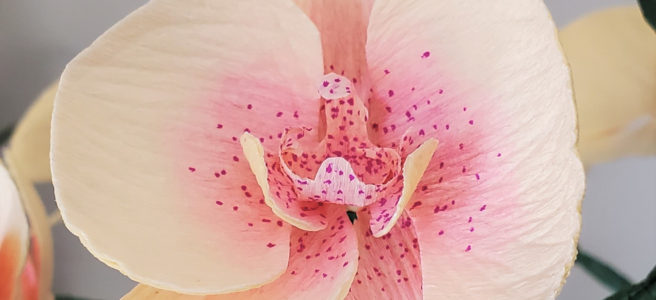
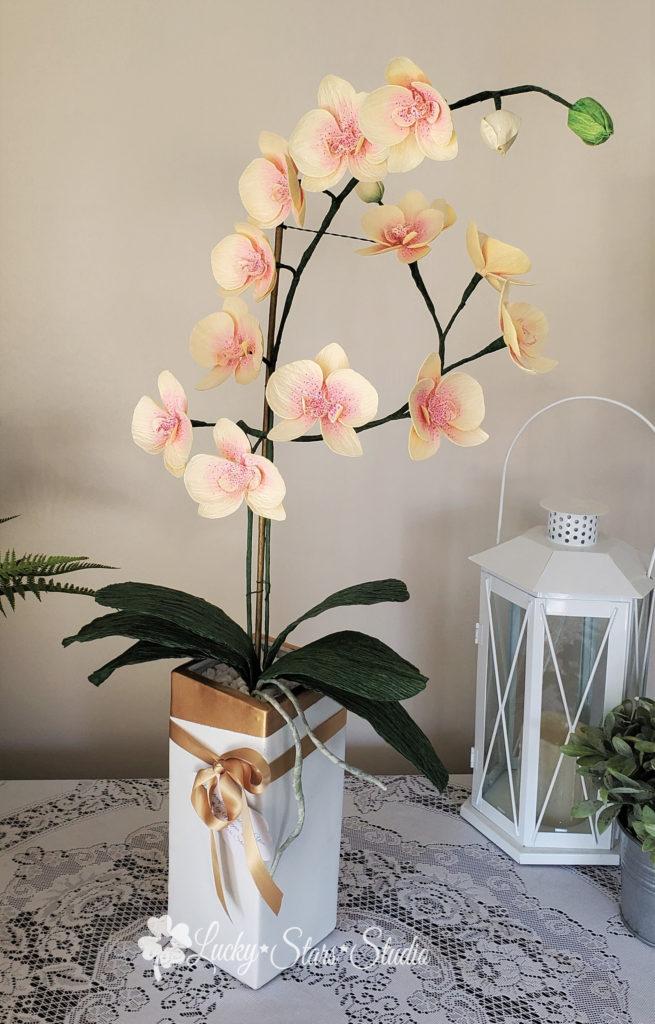
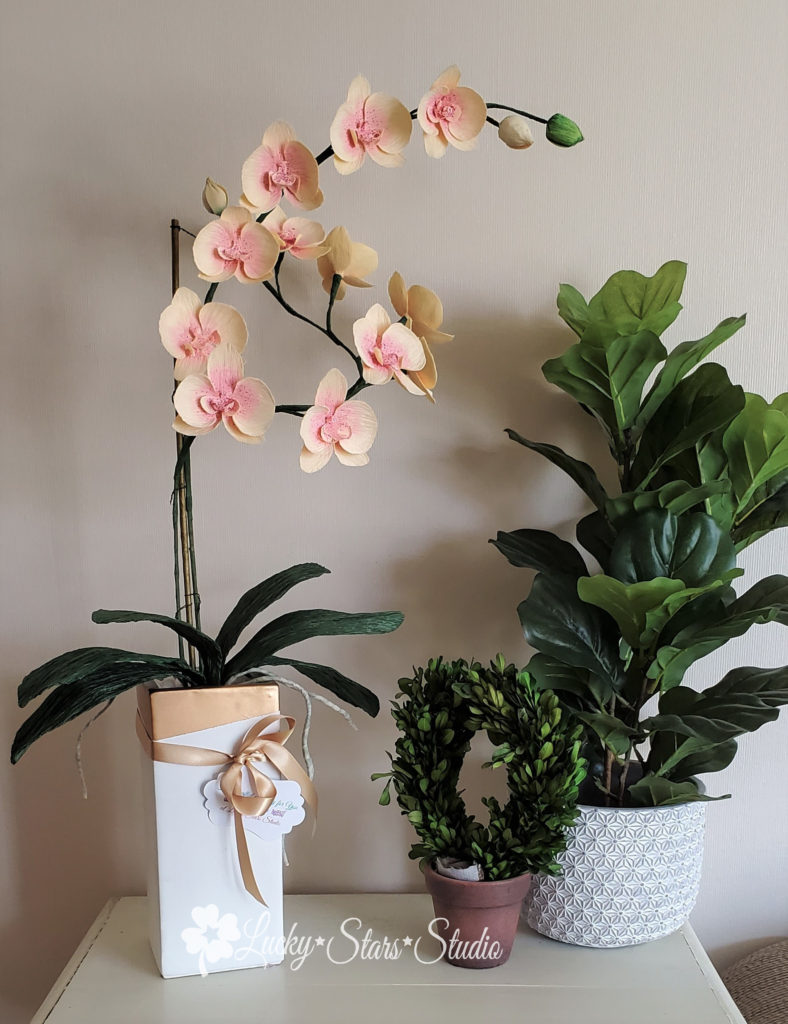
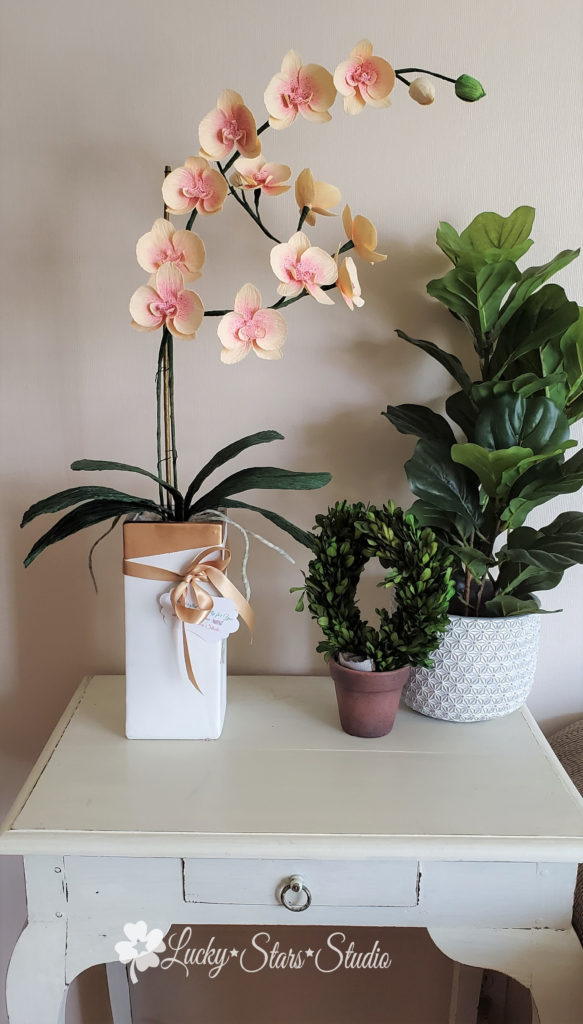
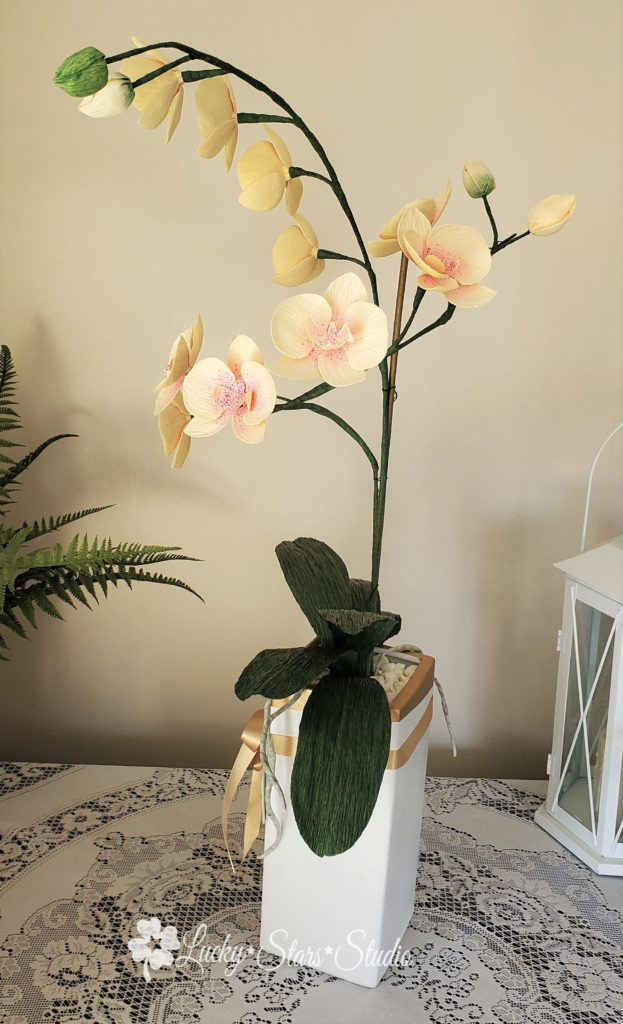
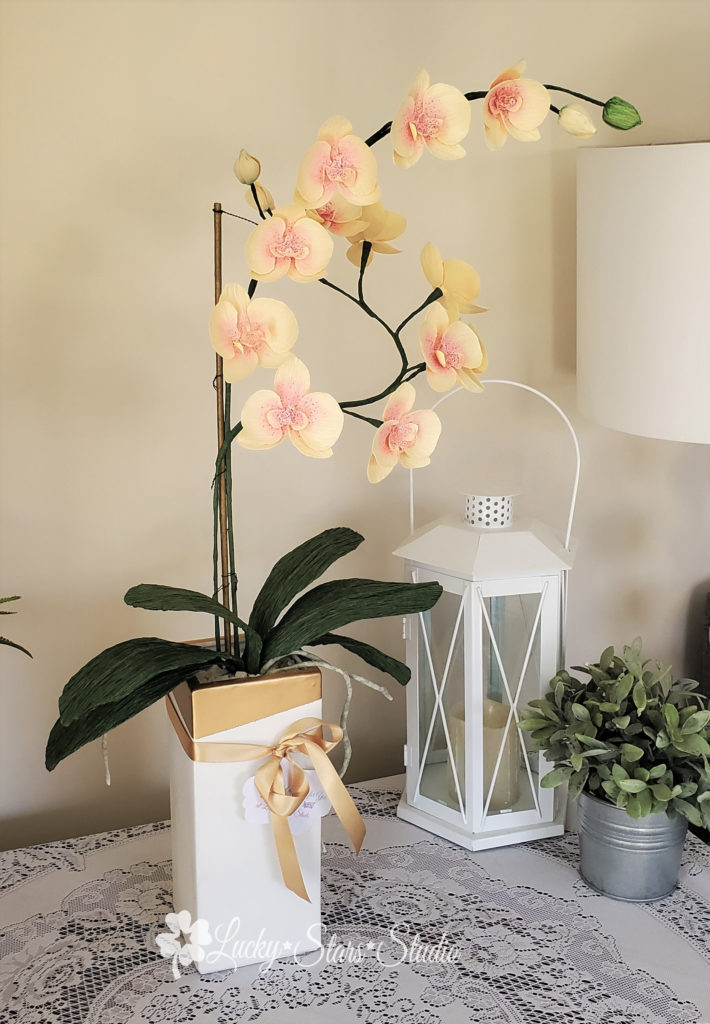
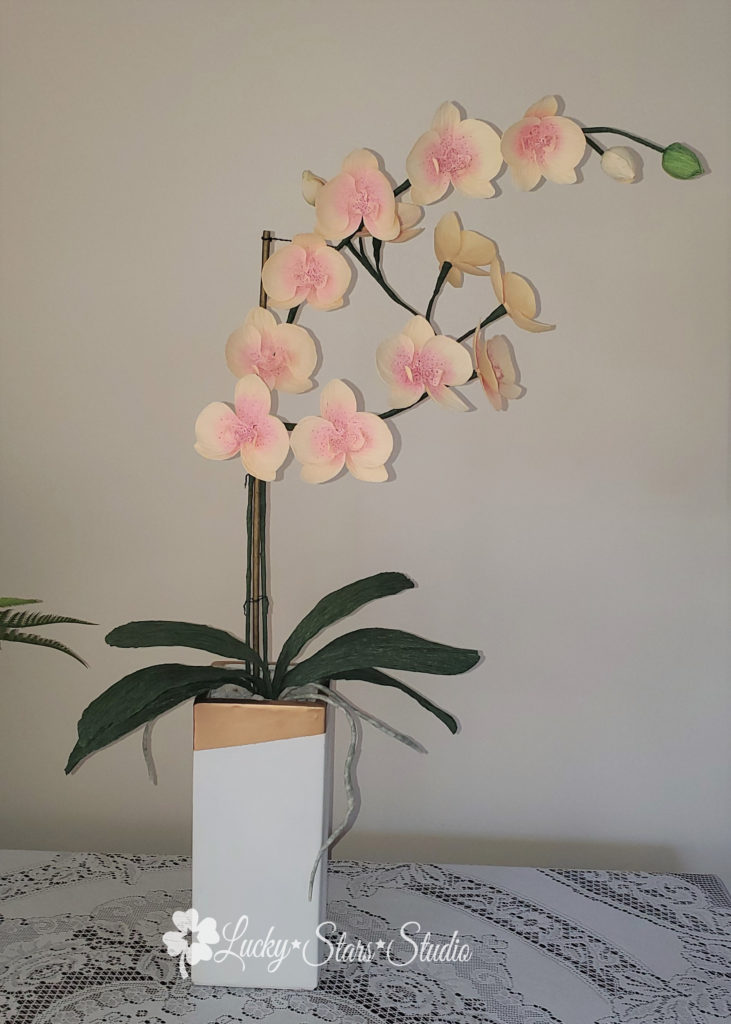
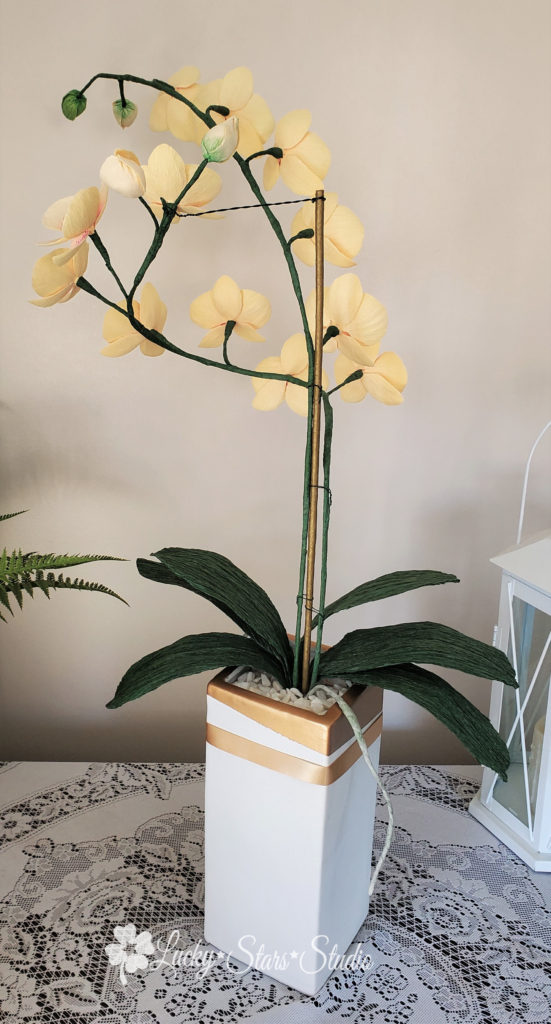
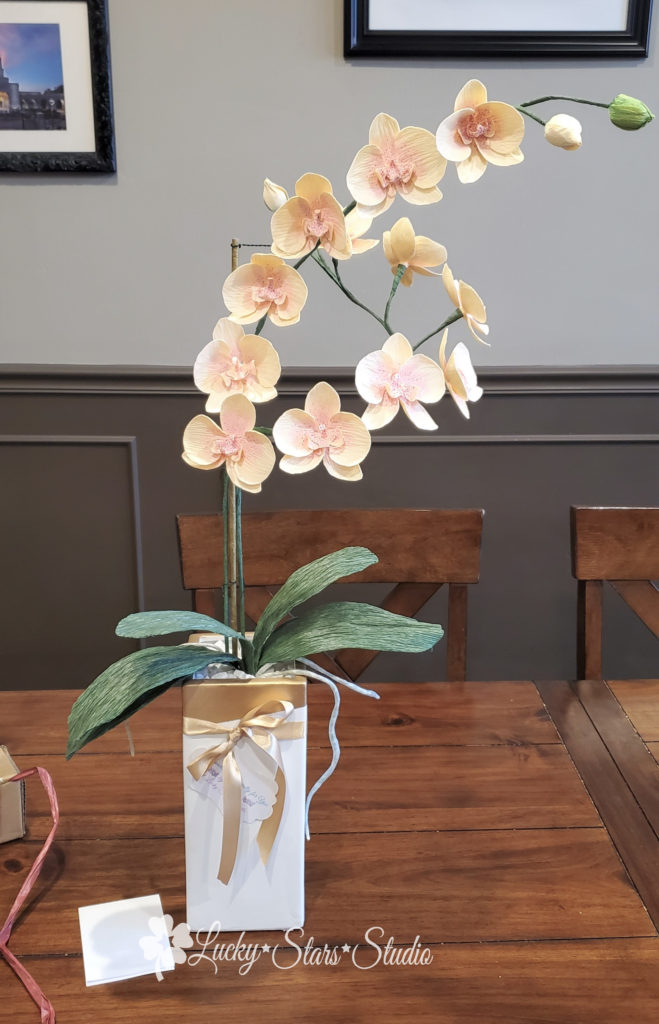
Last fall I had the opportunity to take a crepe paper moth orchid class from a master paper flower creator. (Seriously, check out her Instagram!) It was an incredible class and I was very excited to take the pages of notes I took and turn them into my own orchids. Once Christmas projects were done, I finally had time to create them. Then some friends bought their first home and I knew just what to give them! A custom orchid arrangement that won’t die! 🙂 The finished piece was about 27 inches tall.

How I Made the Arrangement

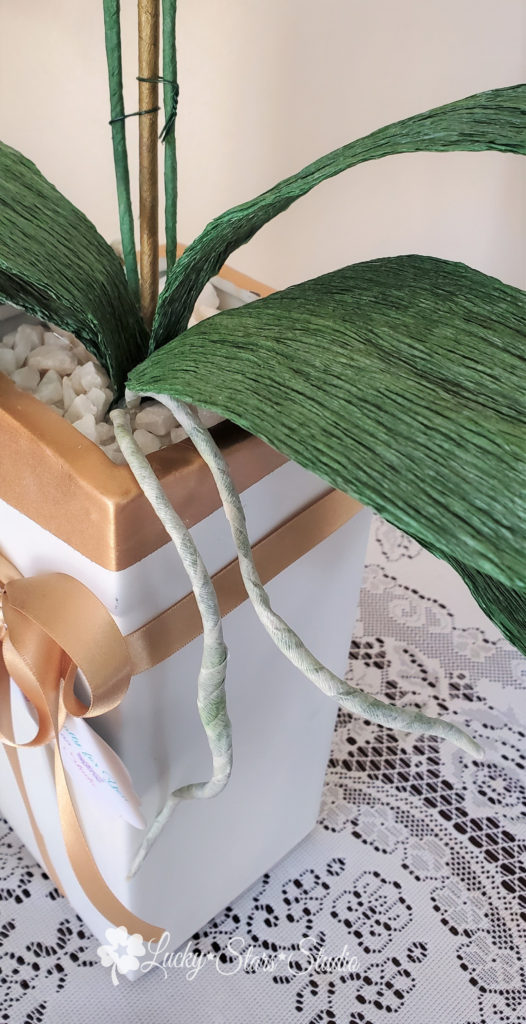
I found a great ceramic vase at a thrift store. It was originally a glossy green and I gave it a modern upgrade with white and 24-carat gold spray paint. I love how it turned out! It was tempting to keep the vase, but it was so perfect for these orchids.

I filled the vase with floral foam and topped it with cardstock so I could glue the white quartz pebbles I found at a local dollar store.

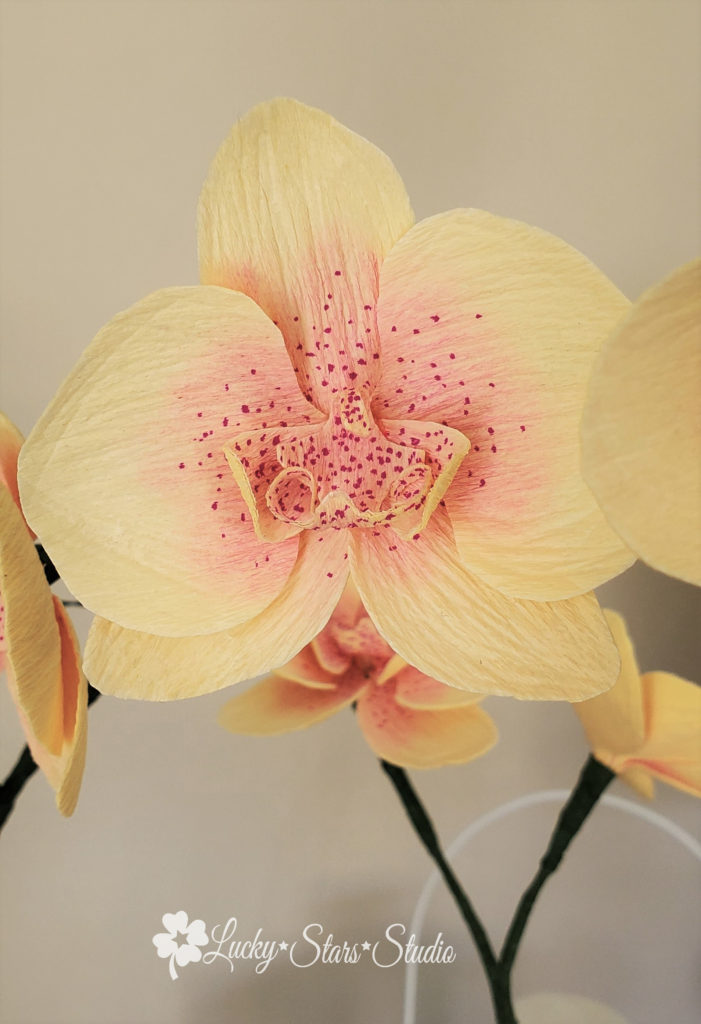
The flowers and buds were made using Lia Griffith doublette in Vanilla/Chiffon. I actually doubled up the doublette (so four layers total) so the flowers would have some thickness. For the pink centers, I used the palest pink in this chalk set and the light purple pen from the Staedtler Triplus Fineliners (love them!!). The stems are doubled or tripled up 18 gauge wire. The leaves are using a very heavy DCWV green crepe I have in my stash that worked out well. I also used Lia Griffith Crepe Paper in Cypress (from this pack) to wrap the stems.

This was such a fun project to put together! I’m loving learning more about crepe paper flowers!

xoxo,
mm

The Cupcake Caper Storybook

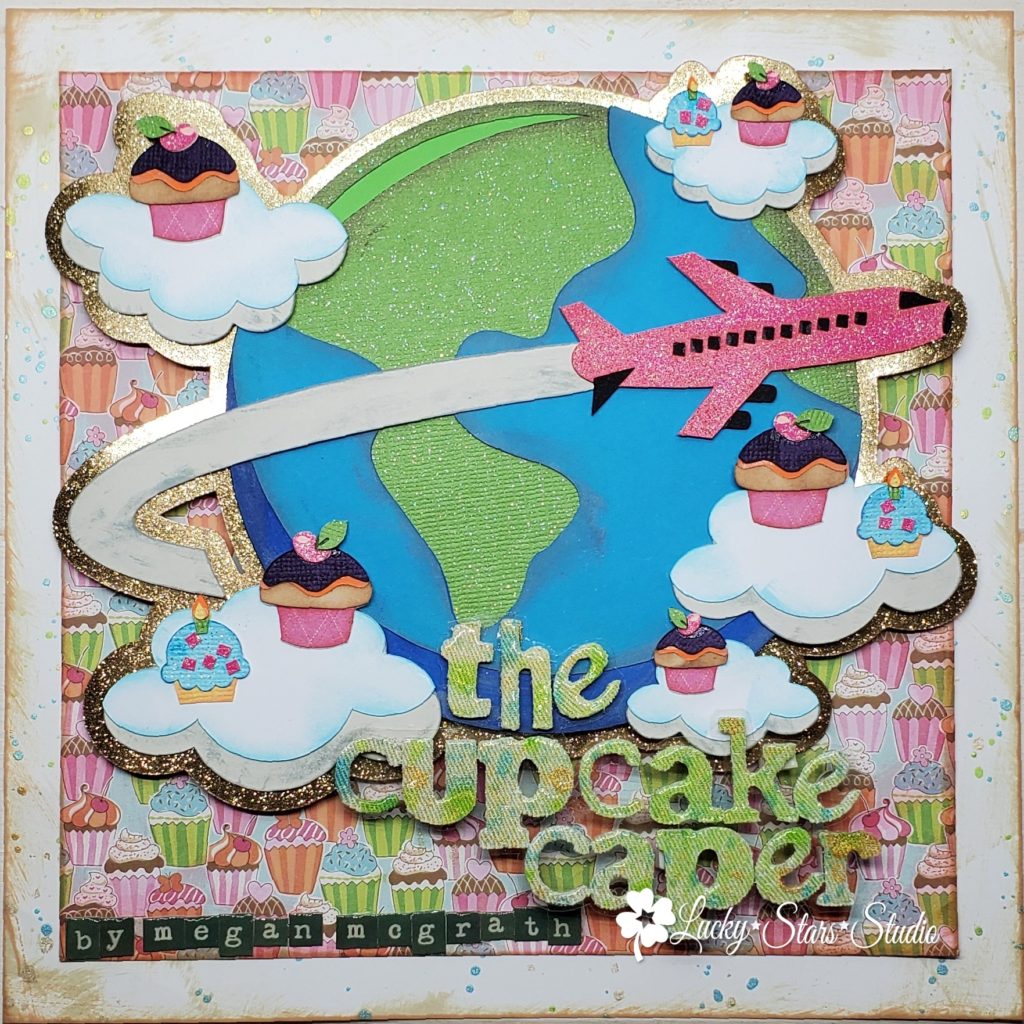
Cupcake Caper cover image

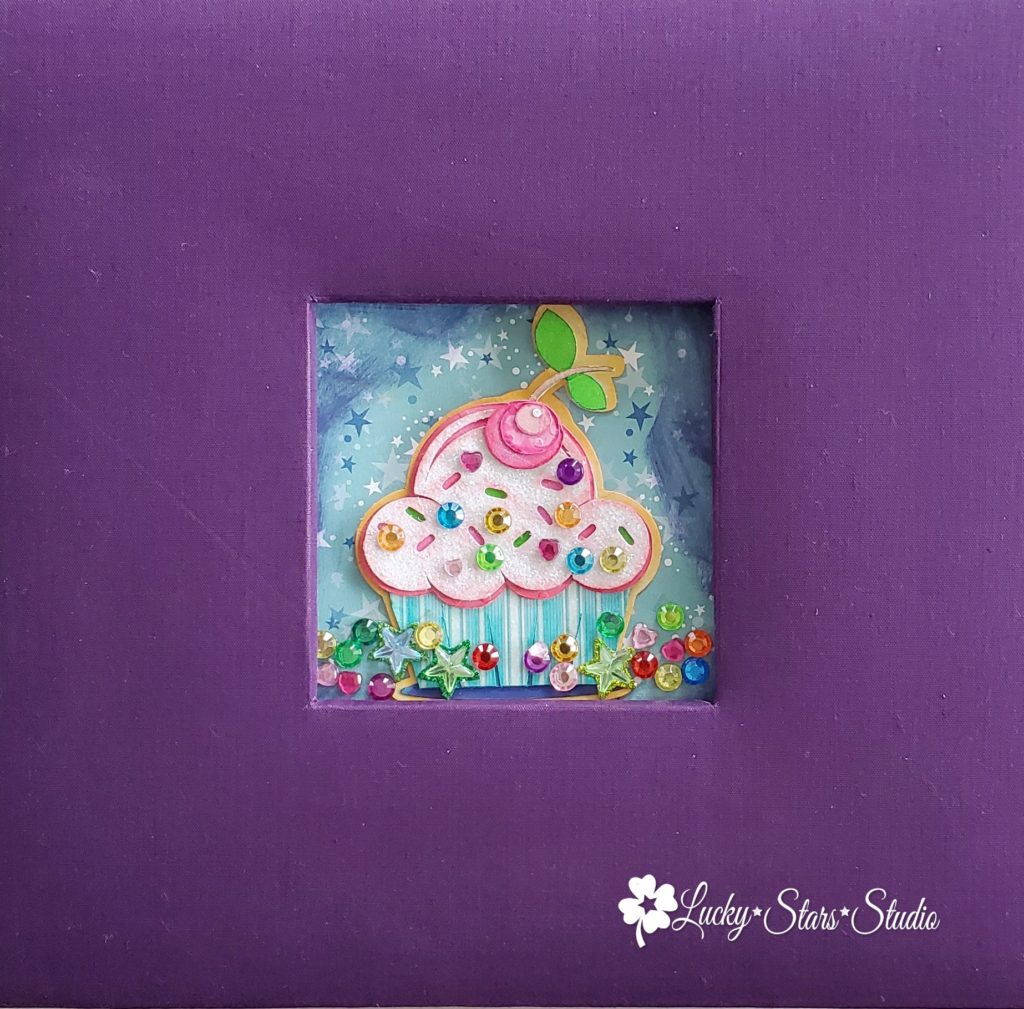
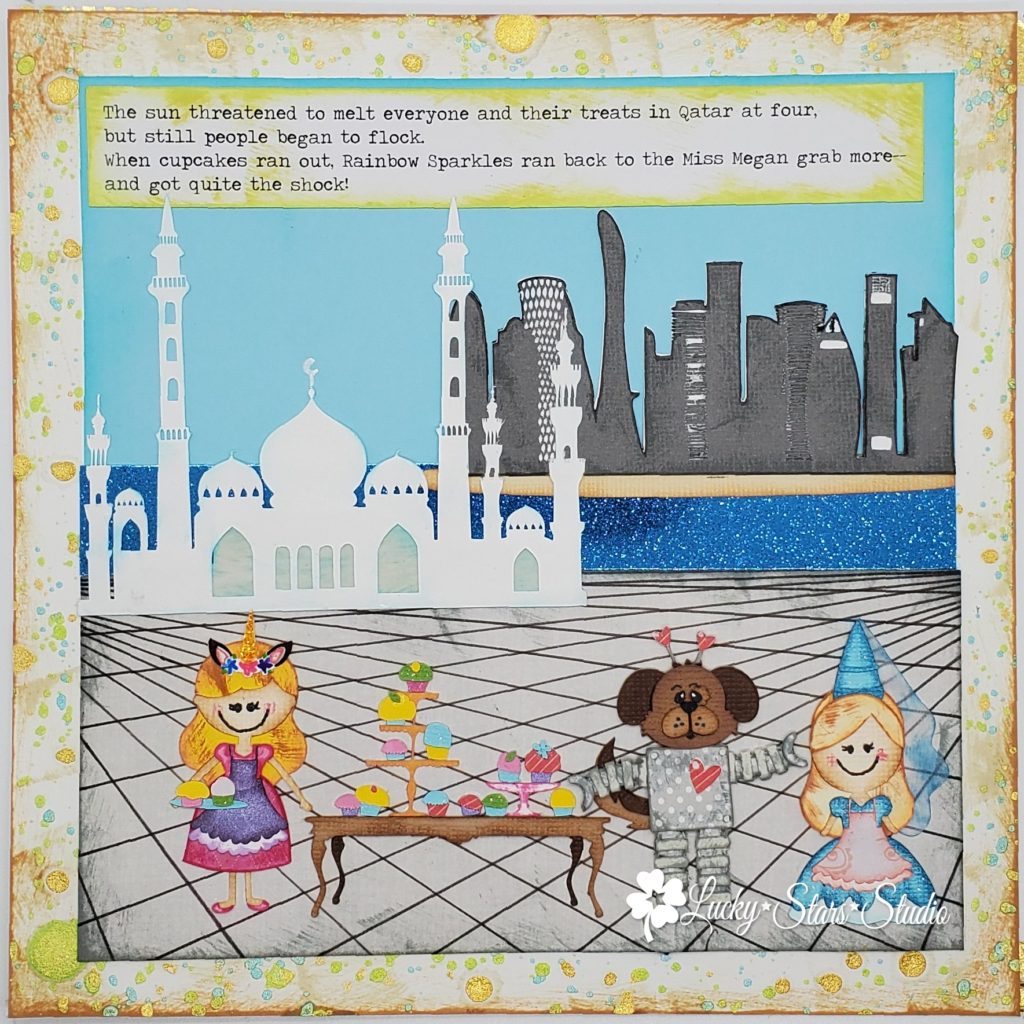
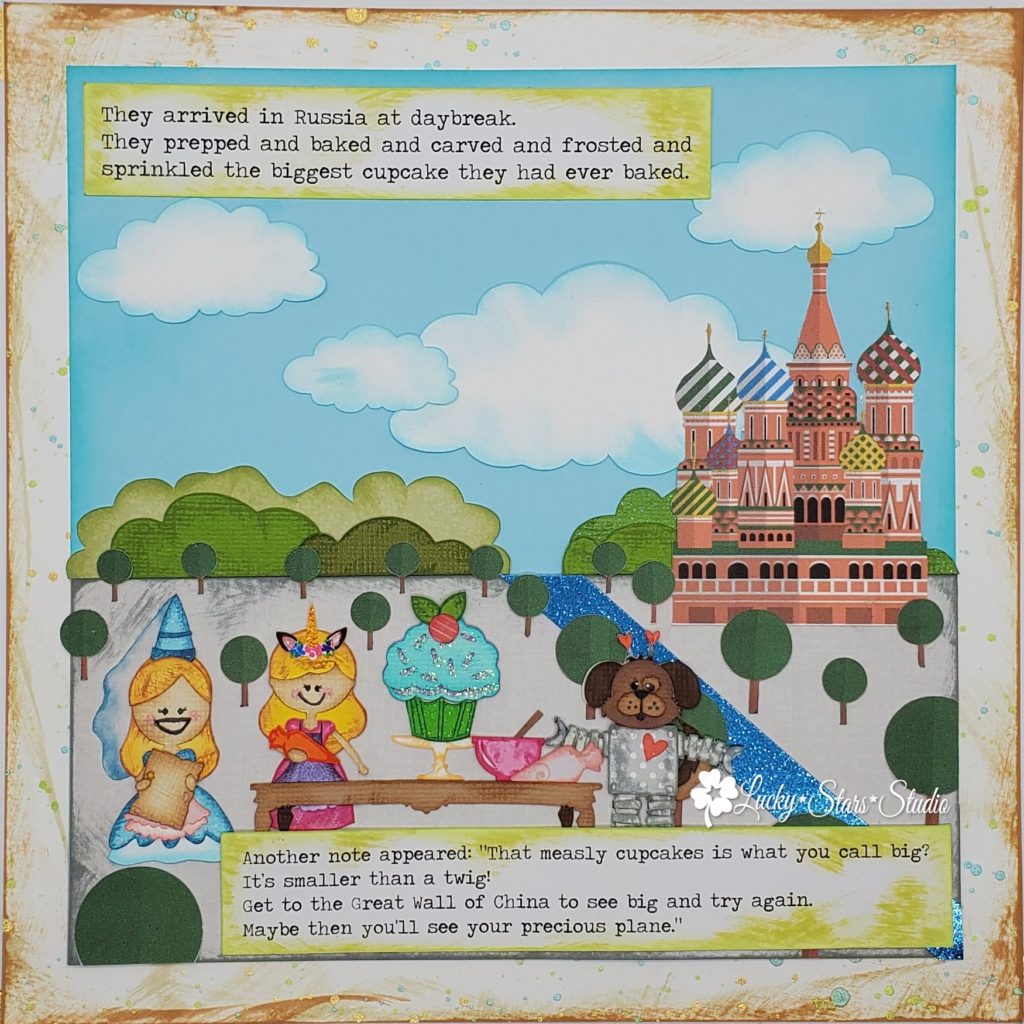
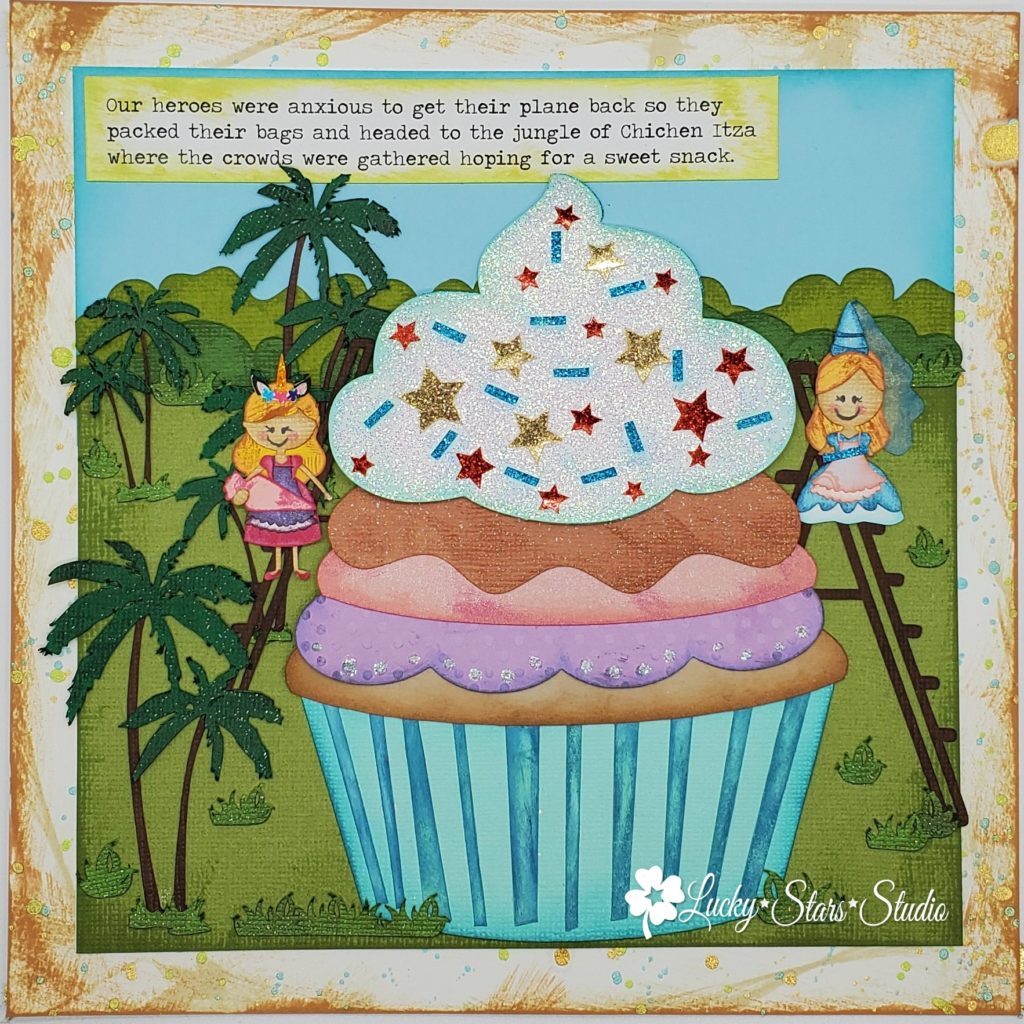
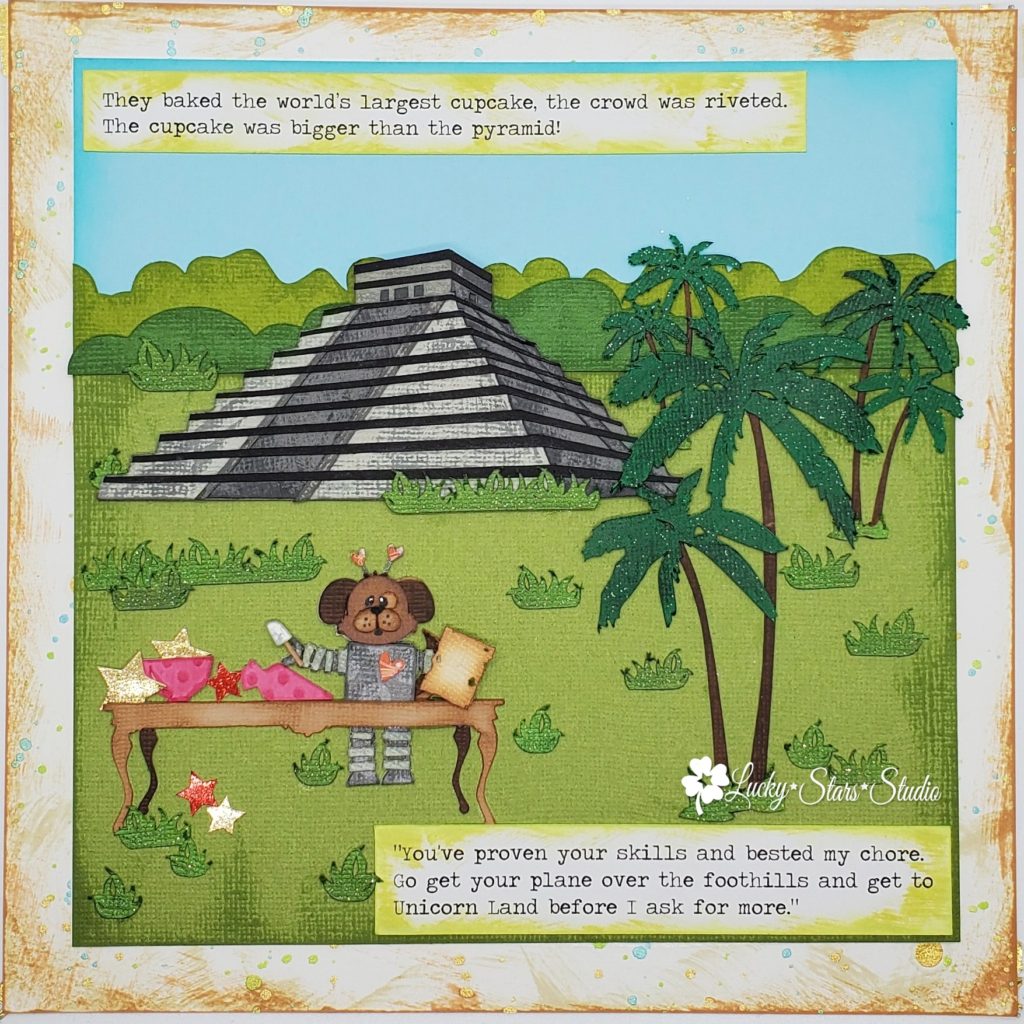
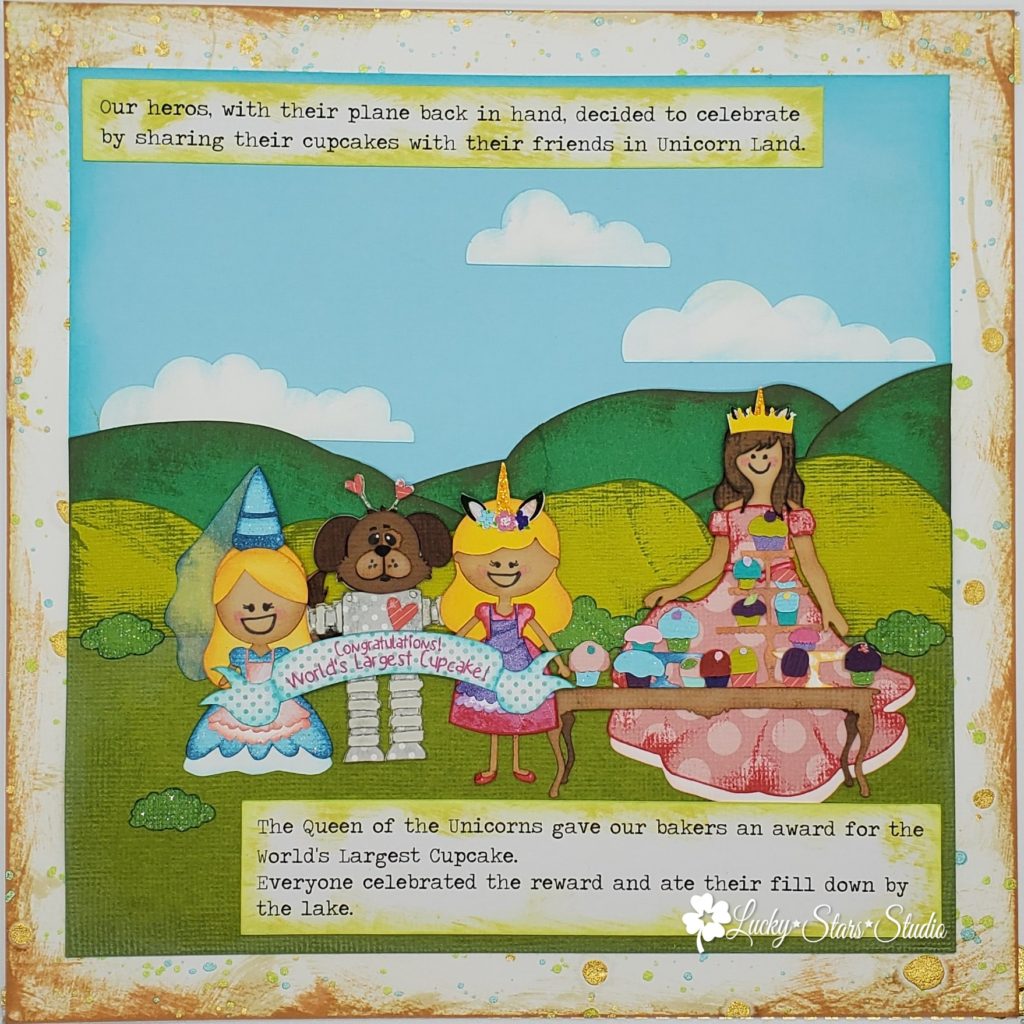
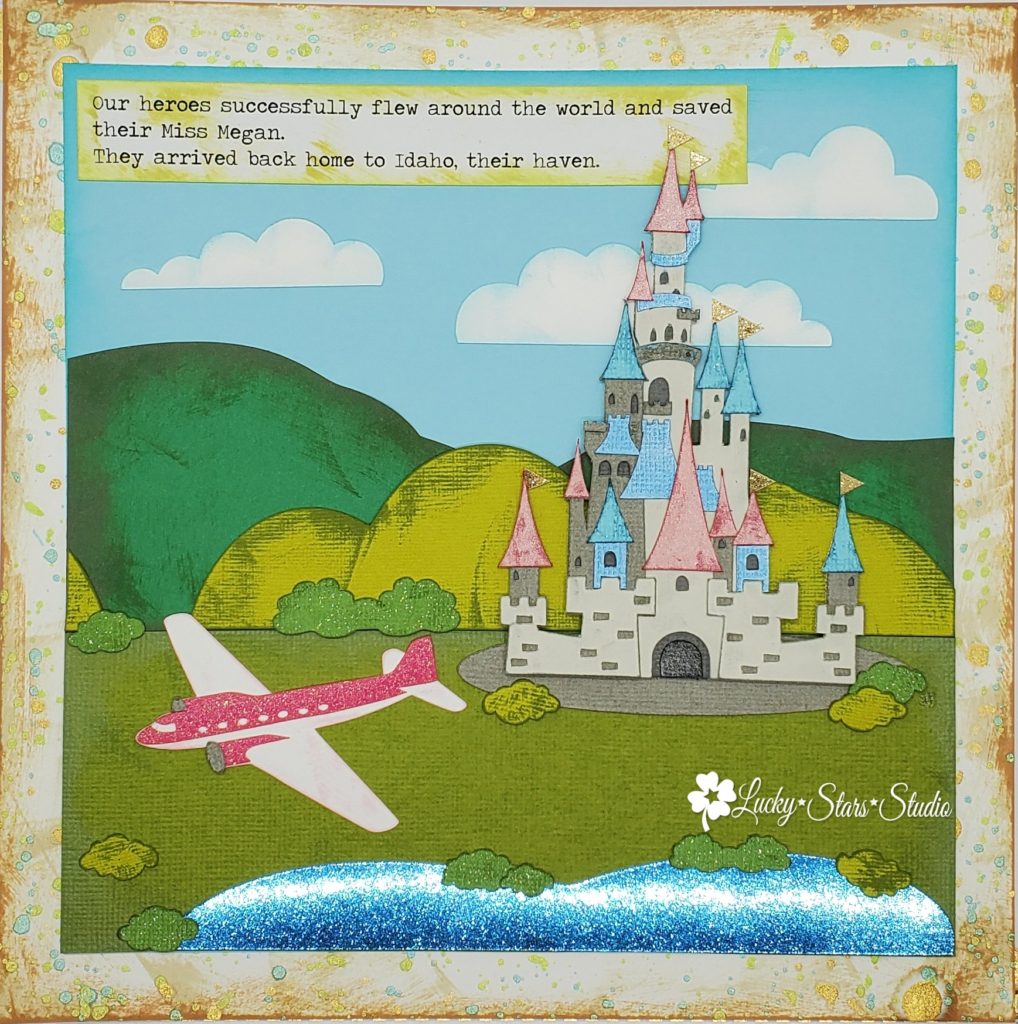
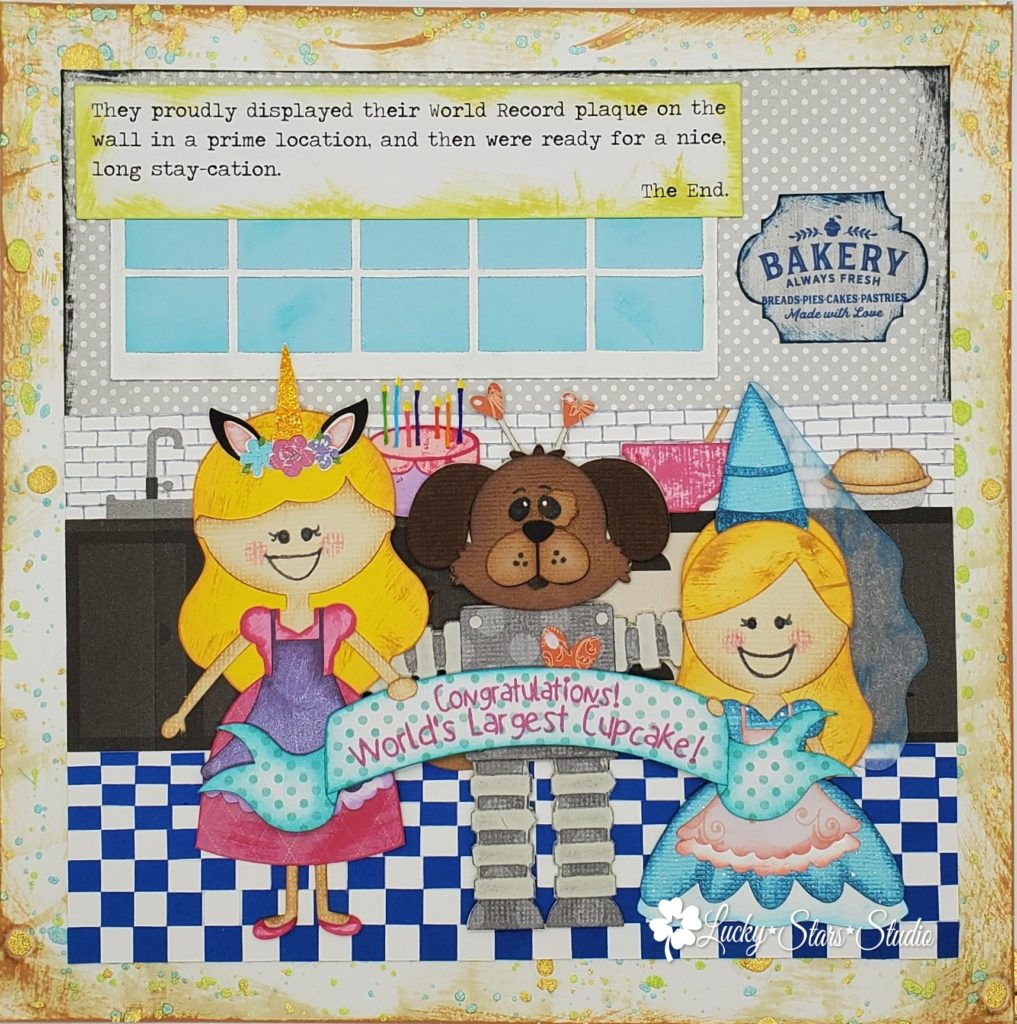
For Christmas this year, I made another little storybook titled, “The Cupcake Caper,” for my nieces and nephew featuring a story and game they made up (with some help). I think it turned out so cute! The story is about three bakers who travel the world giving away cupcakes. Then their plane gets kidnapped! To get their plane back they have to bake the world’s largest cupcake. Will they be able to do it? Spoiler: Of course they will. 🙂

The kids loved opening it up (it was wrapped up in multiple boxes, ha!) and seeing a story featuring themselves. It was so fun being able to read it to them. The two year old can tell you who everyone is in the book. So adorable!

Here it is:

Supplies Used:

Silhouette Cameo
Silhouette Design Studio, Business Edition
Paper background: Bazzill White Cardstock in Coconut Swirl, “Sprinkles” are in Heidi Swapp Color Shine Sprays in Citron, Teal, and Gold
Silhouette Design Store shapes
Glitter cardstock: DCWV Glitter pack
Adhesive: Scotch ATG (looove it!)
Thickers similar to these
Fiskers 12″ Rotary Paper Trimmer
Tsukineko Inks
Tim Holtz Distress Inks
Pen: Sharpie Black Pen
Stickles Glitter Glue
Rhinestones like these
Similar 8×8″ Scrapbook Album
Glossy Accents Dimensional Adhesive
Jolee’s Dimensional Stickers: Cupcakes
My printer: HP 8600Pro
The font used for the text: Traveling Typewriter

It was so fun to read it with them on Christmas and watch them excitedly look at their paper characters build a bigger and bigger cupcake to find the “Miss Megan.” The oldest niece was so excited to see the last HUGE cupcake! hahaha!

To create a copy of the book, I took photos of the pages and uploaded them to Shutterfly and created an 8″×8” photobook. 

Do you have a fun, special game or tradition in your family? How have you documented and recorded it?

Want to see more of my storybooks? Check them out here:
Margaret’s Butterflies
The Popcorn Farmer
The Golden Ship

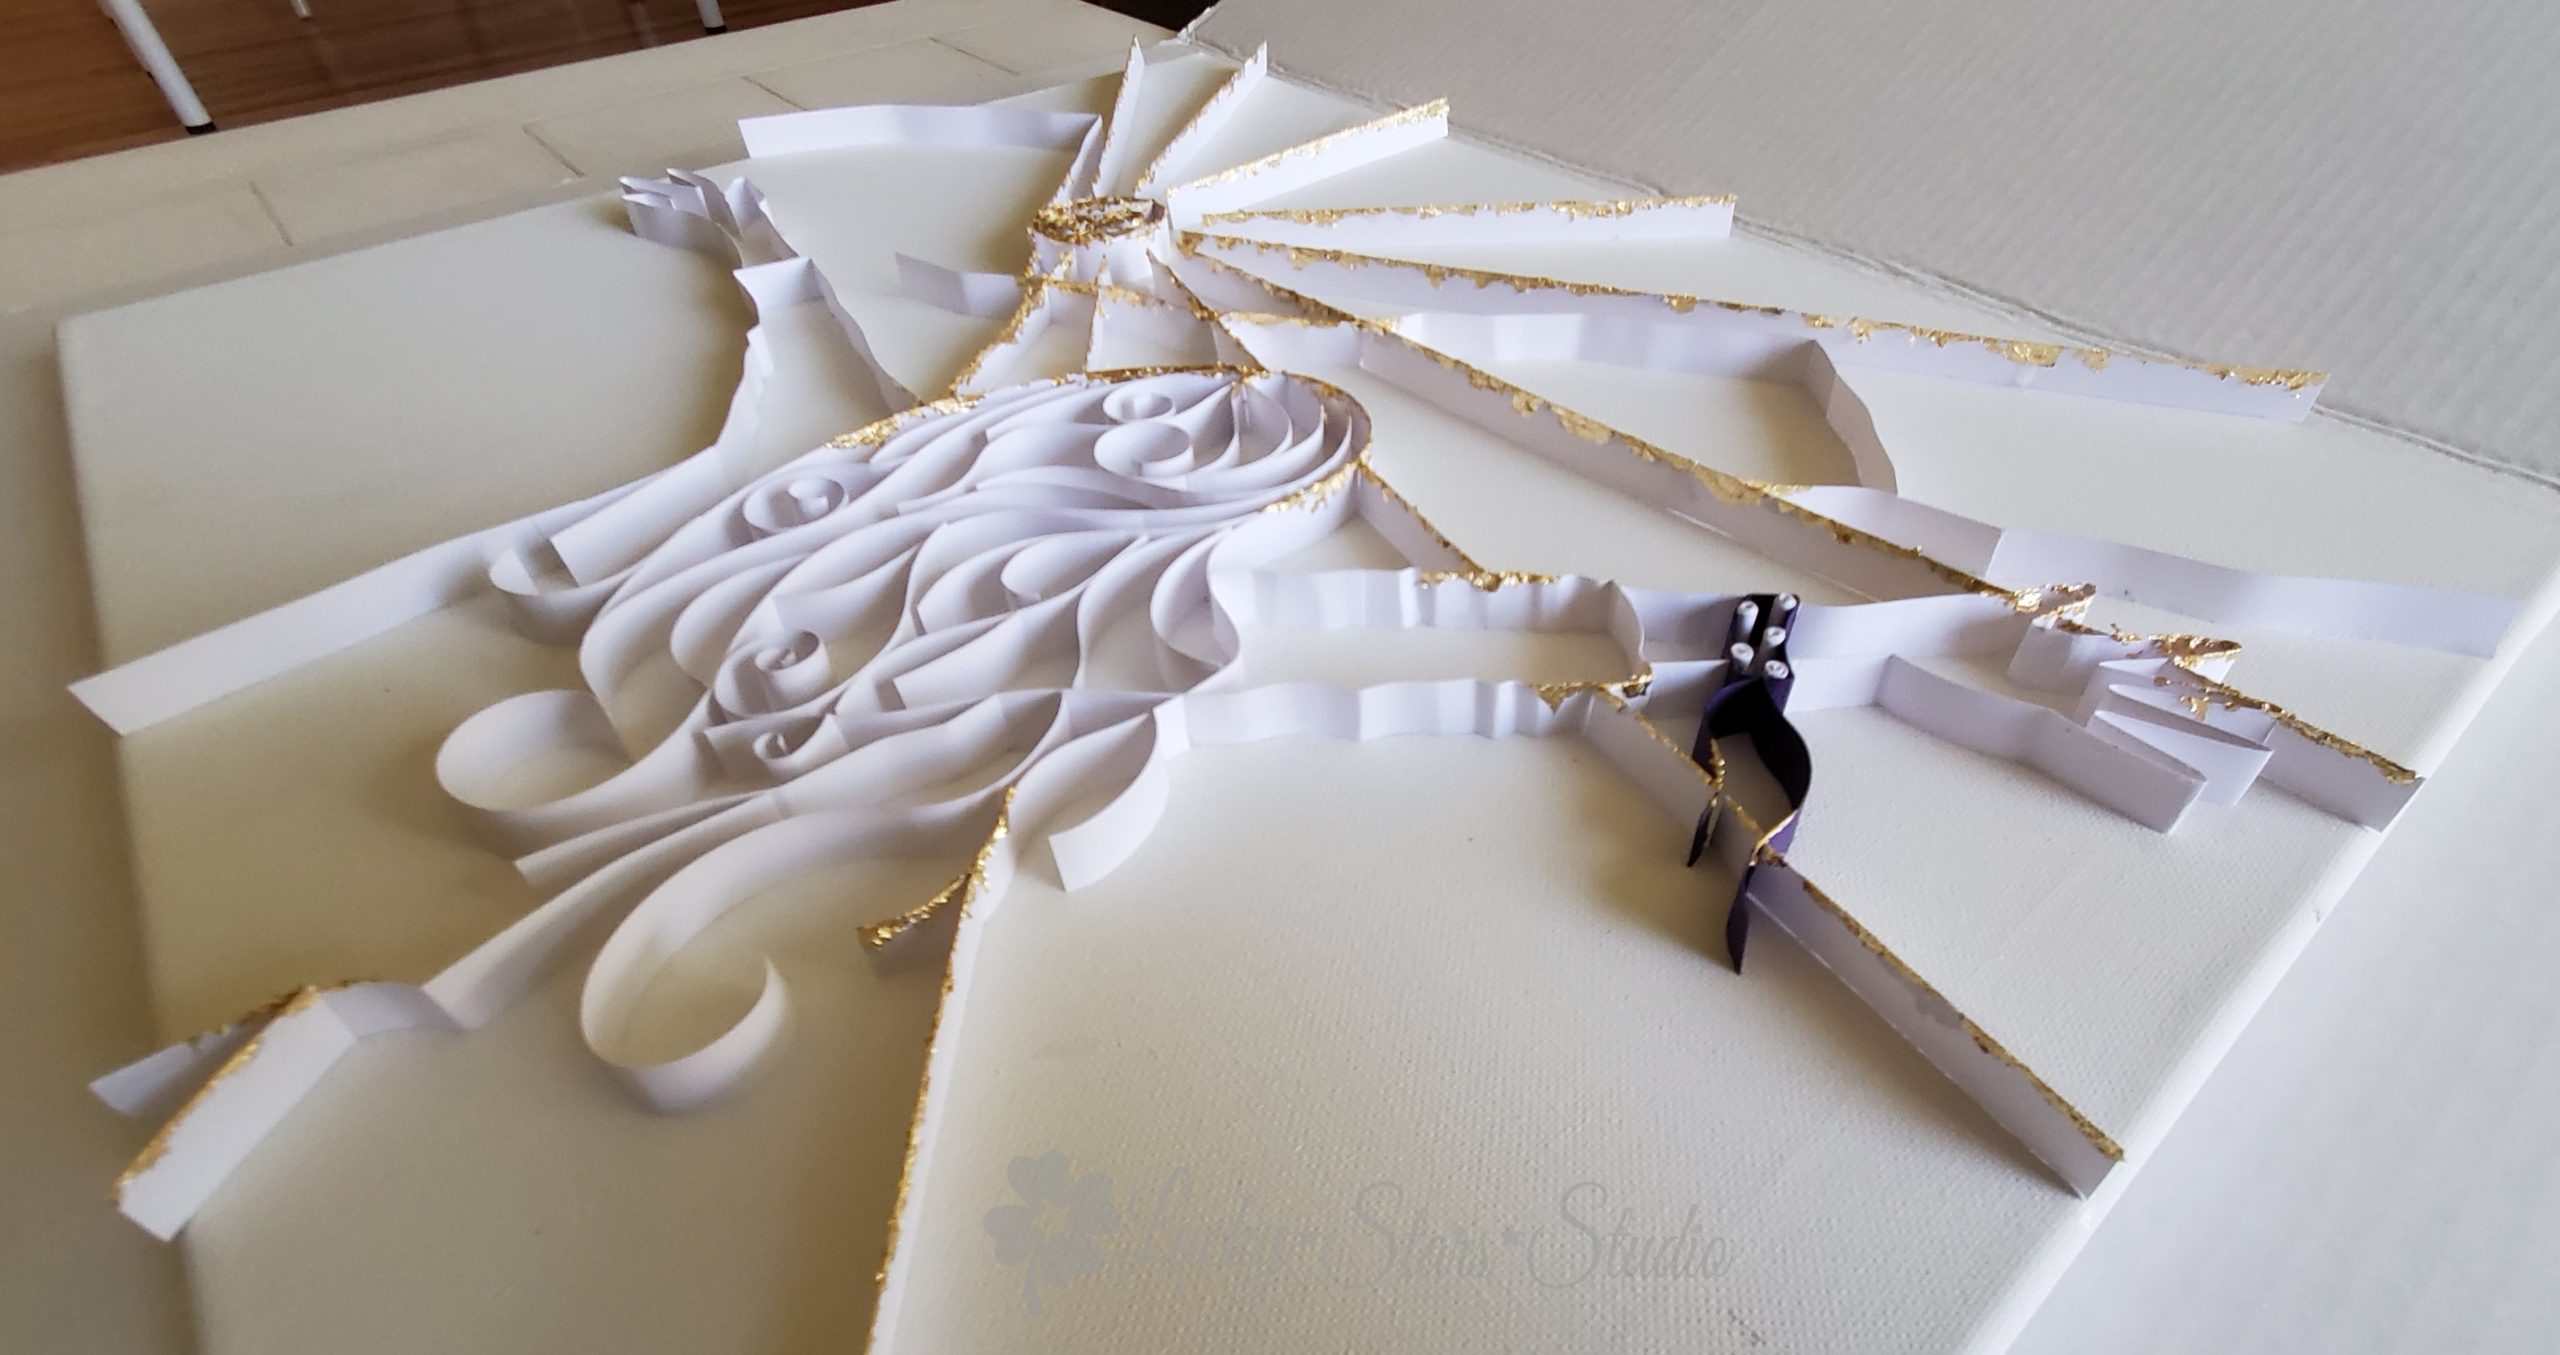
“Hope in My Heart” and “Hope in the Morning” Quilled Artwork

I wanted to create something to support International Mast Cell Disease Day that was a few weeks ago. I thought it would be fun to do something a little different for me. This year (and last year) I created quilled artwork that shows how I feel living with this rare disease. And typical of me, I didn’t quite get it done in time. Ha! (I’m currently trying to hard to get a big Christmas gift done on time!) But it’s finished and I’m happy with it!

So here it is!

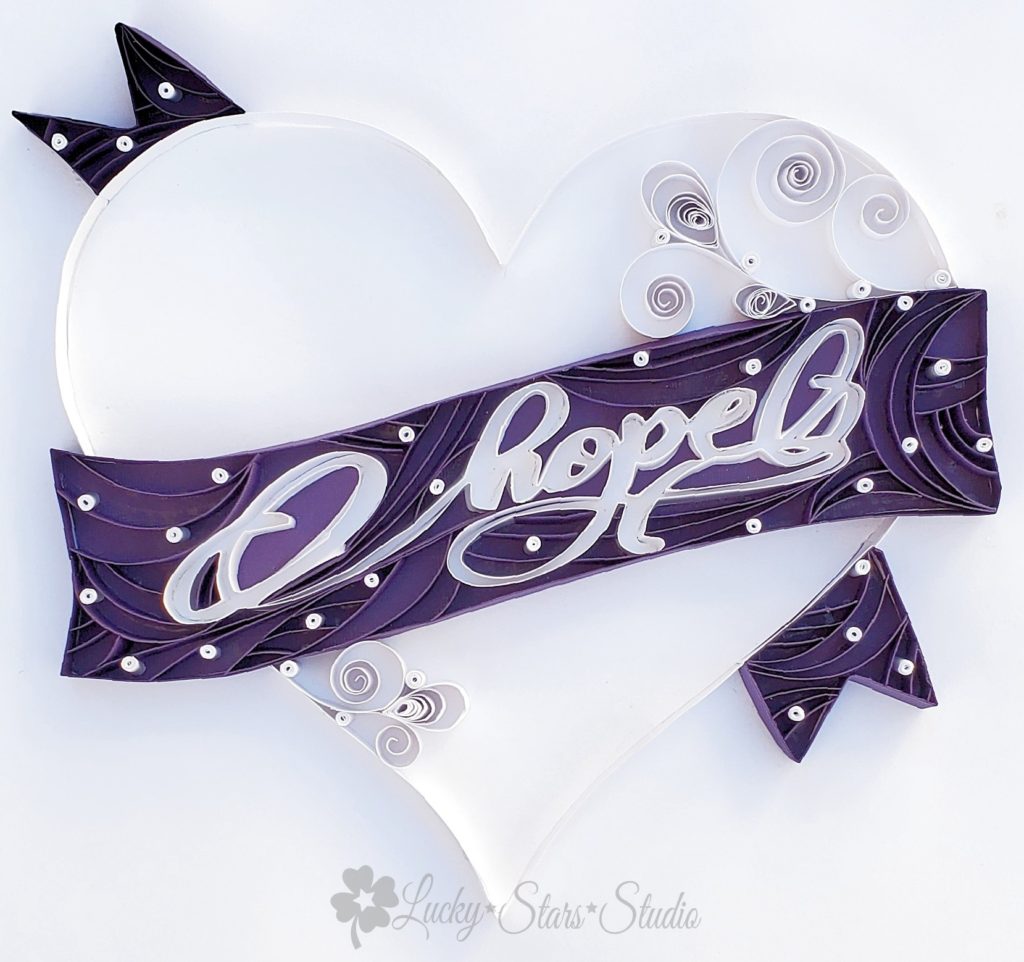
Hope in My Heart

Hope in My Heart Quilled Artwork
“Hope in My Heart” Quilled Paper, 12×12-inch. 2020.

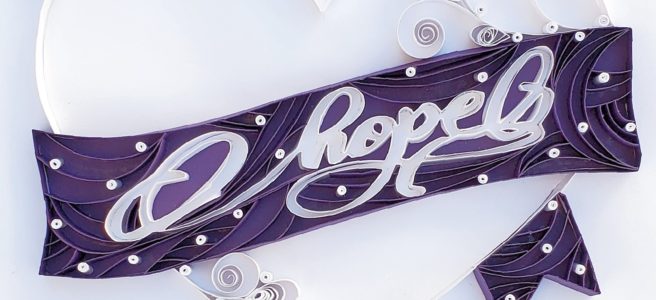
This quilled artwork piece features a paper heart is wrapped in a purple ribbon with white polka dots, which is the official mast cell disease ribbon. I hope that as more awareness is raised about this family of diseases that more doctors will take it seriously and be willing to treat it. I hope more treatment options will become available and perhaps even a cure will be one day available. Raising awareness and raising money for this cause can help bring these hopes closer to a possibility.

I thought of this ribbon wrapped heart last year while I was working on ideas for this next piece.

Hope in the Morning

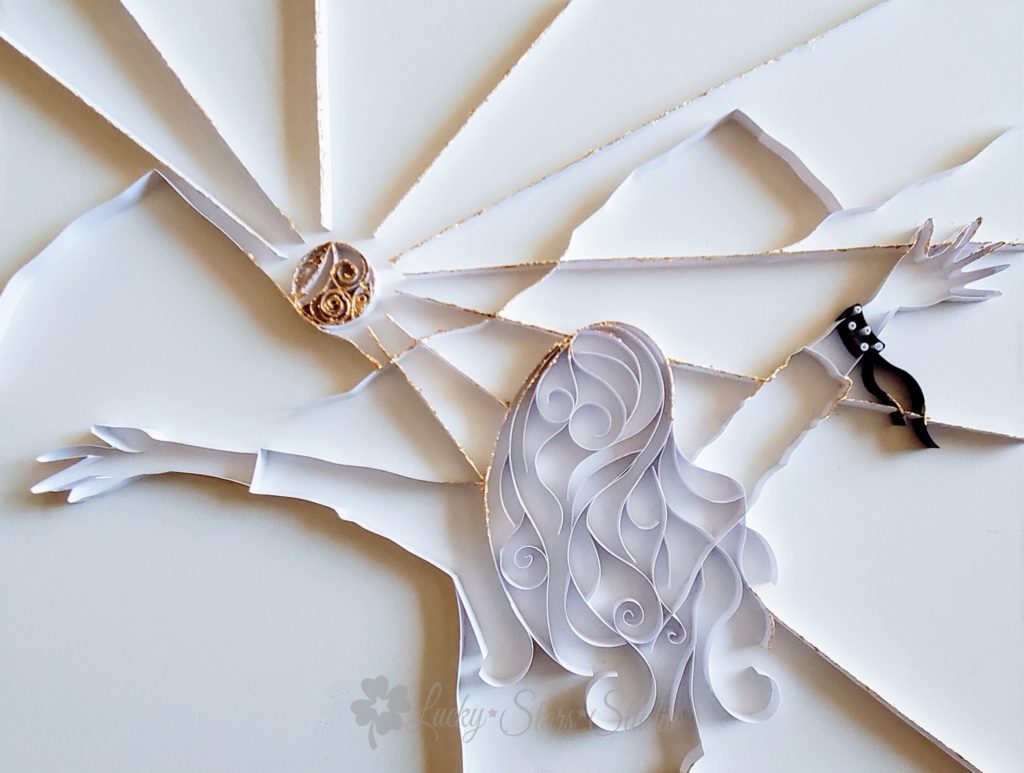
“Hope in the Morning” was created as a submission to the 2019 Rare Disease Art Contest. I felt very inspired creating this piece. While I didn’t place in the contest, I was really happy with how my submission turned out.

My home is nestled at the foot of the Wasatch Mountains and each morning I get to watch the sun rise over these glorious mountains. Each morning it fills my heart with happiness and hope in the new day. And each sunrise brings the beauty and hope of a new day where symptoms are manageable and new treatments can be discovered.

Hope in the Morning Quilled Artwork
“Hope in the Morning” Quilled Paper and Gold Leaf on Canvas, 16×20-inch. 2019.

Both pieces are a style of paper art called quilling. I just love it. Its not my usual form of paper art, but it suited the look I wanted for both pieces. Its always fun to try and explore new art forms, right?

Hope in the Morning Quilled Artwork
“Hope in the Morning” Quilled Paper and Gold Leaf on Canvas, 16×20-inch. 2019.

If you would like to help patients like me, please consider dontating to TMS, the foundation that supports Mast Cell Diseases. 💜💜

If there is an interest, I might consider making digital prints available in my Etsy Shop with proceeds going to TMS. Interested in the original of the Hope in My Heart? Please email me.

Socially distanced hugs to you!

XOXO
-m

Check out These New Earrings in the Shop!

I thought it would be fun to highlight some new earrings in the shop I’ve posted. This new batch has T.E.N. new styles! Woohoo! Here they are: 
Faux Leather Styles

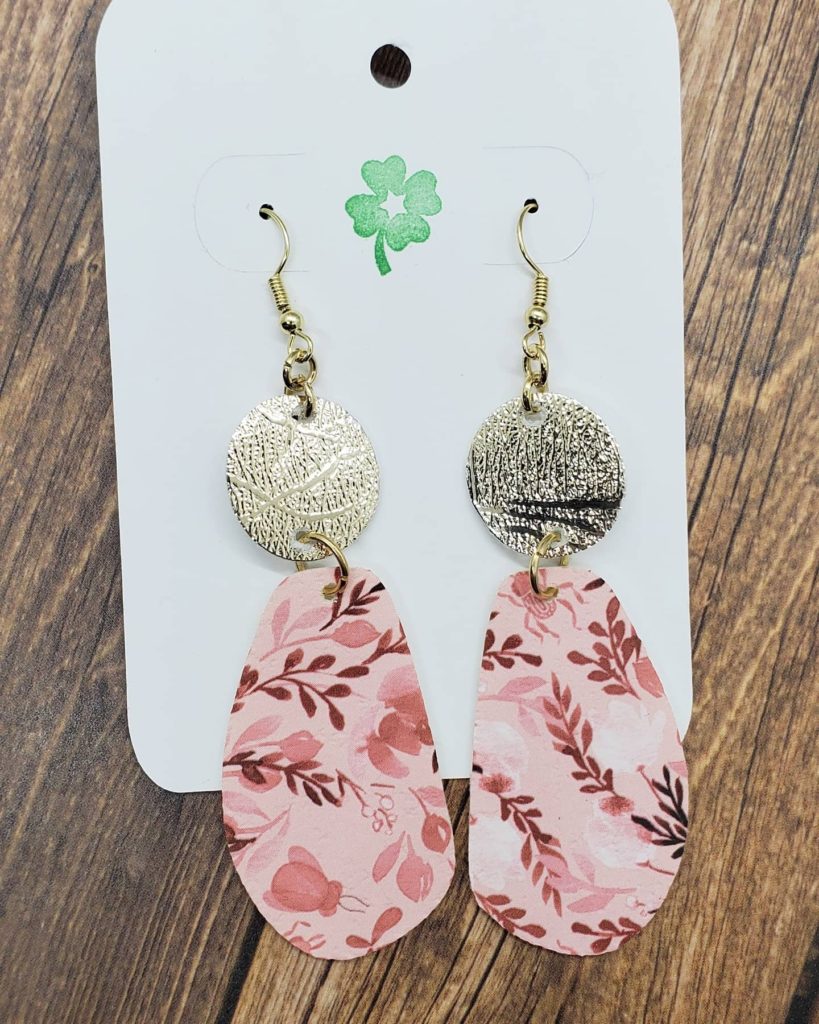
Demeter Style Earrings
These Earrings are just so lovely and are the sister earrings to the Aphrodite Earrings. The pink floral pattern has little scarabs and ladybugs flitting through the flowers and vines.

Demeter Style Earrings

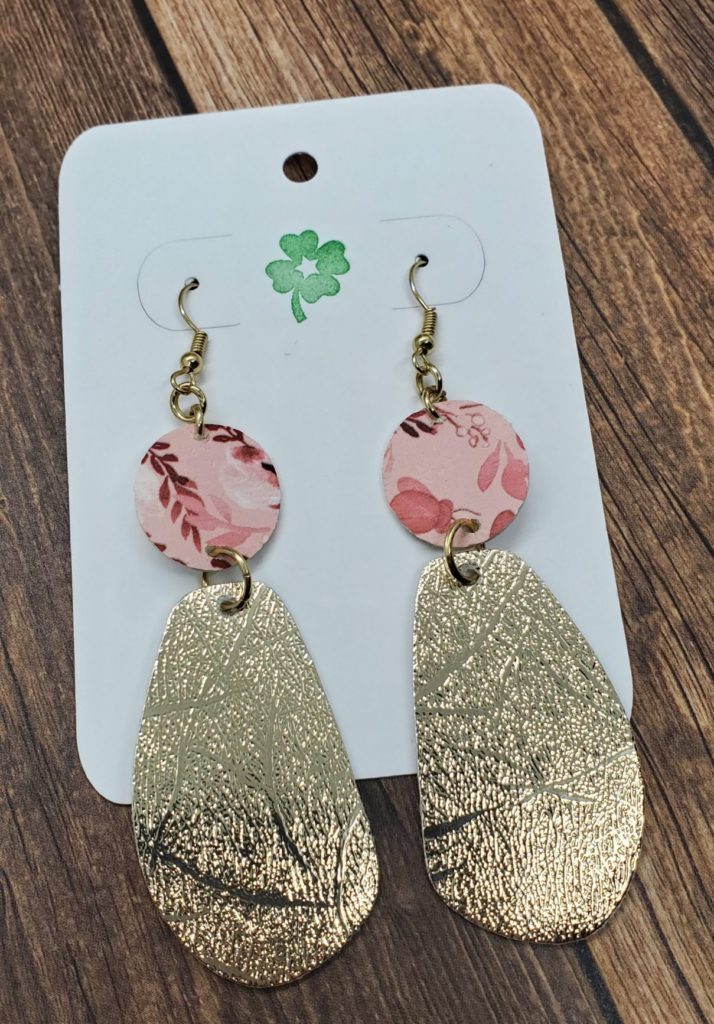
Aphrodite Style Earrings
The Aphrodite Style Earrings are a beautiful compliment to the Demeter Style earrings. I just love the gold foil and pink combo of both of these earrings.

Aphrodite Style Faux Leather Earrings

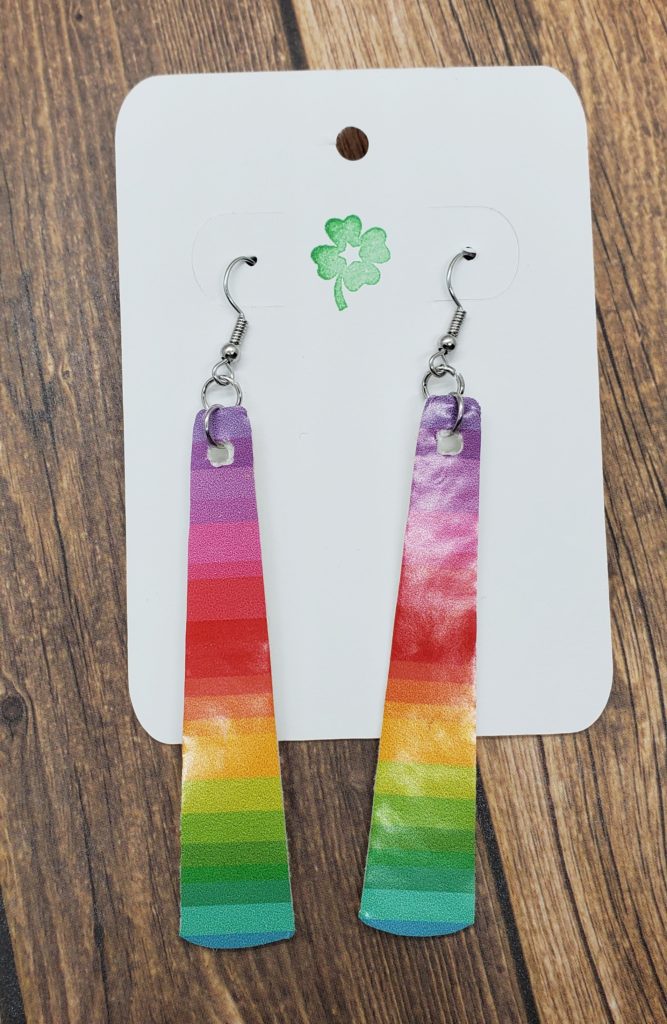
Rainbow Bridge Style Earrings
These fun and long earrings will definitely draw everyone’s eyes to your face!
Rainbow Bridge Faux Leather Earrings

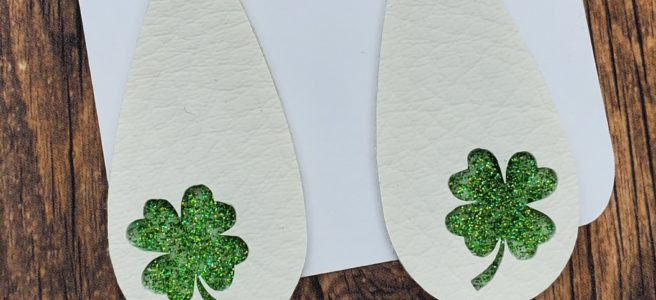
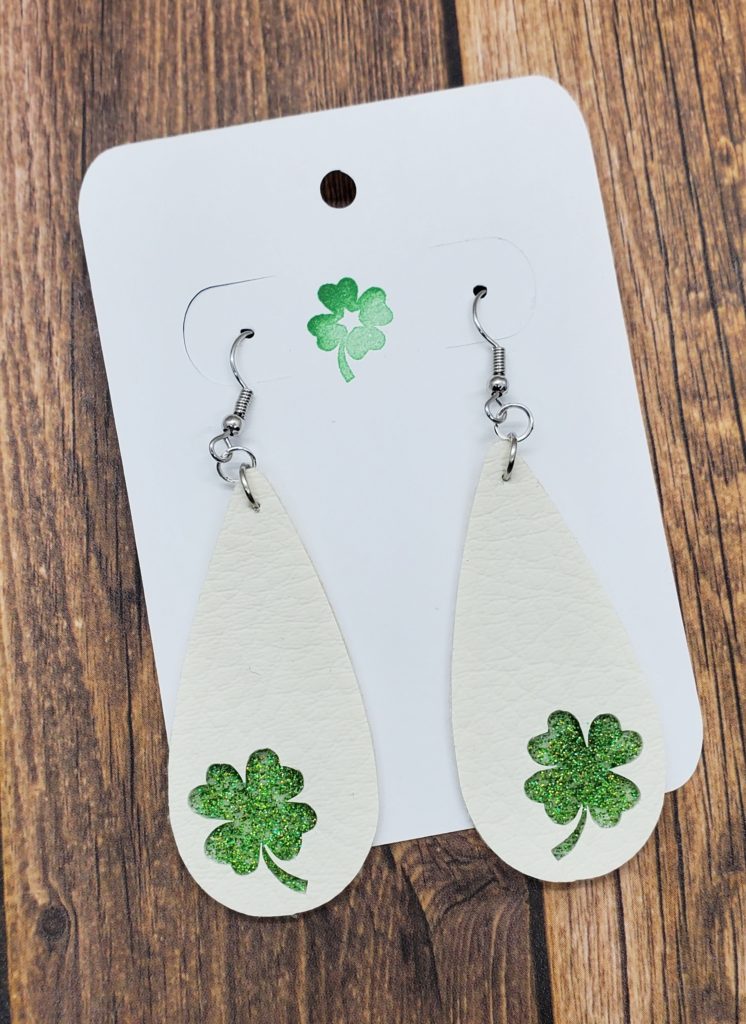
White Lucky Clover Style Earrings
My new favorite! The clovers are so glittery!

White Lucky Clover Faux Leather Earrings

Faux Suede Style

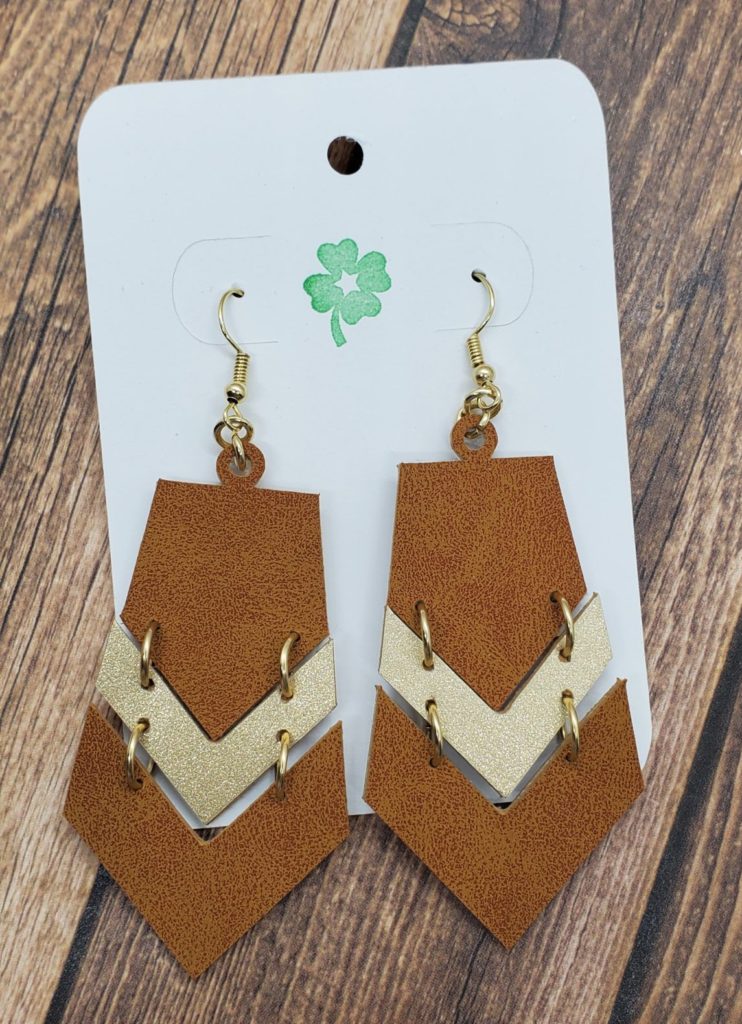
Artemis Style Angled Drop Earrings
These are such a pretty combo of a caramel brown suede and subtle sparkily gold. I love them!

Artemis Style Angled Drop Faux Suede Earrings

Charming Earring Styles

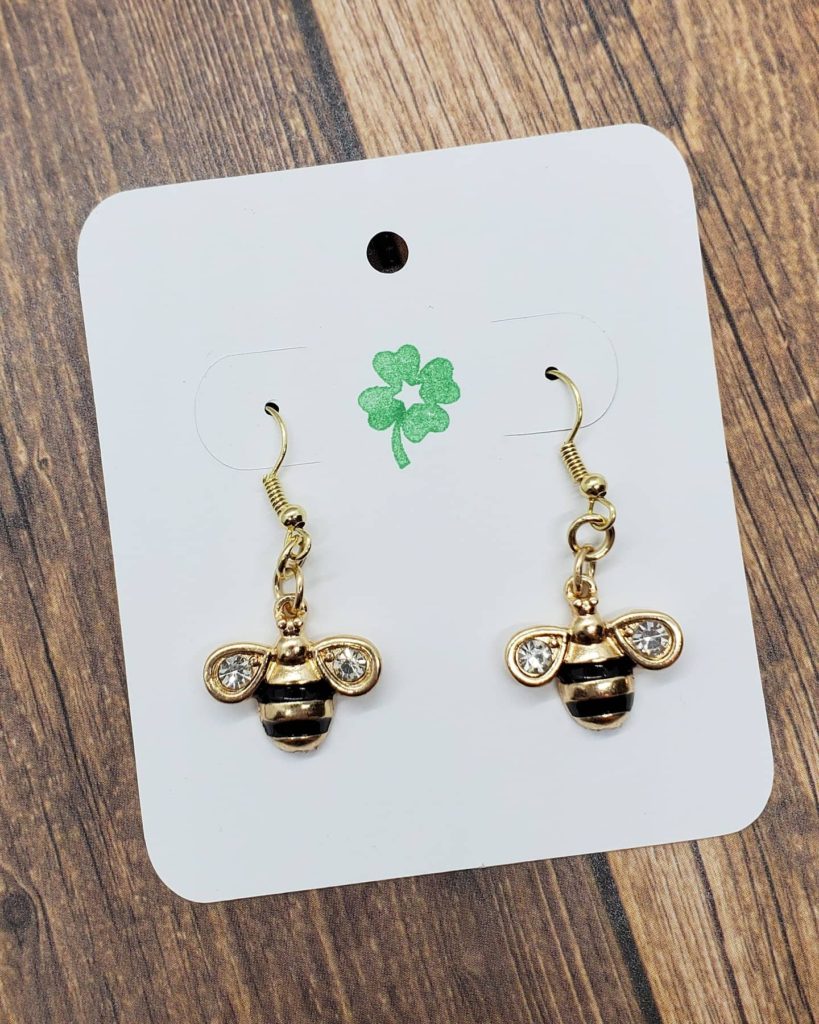
Golden Bee Earrings
These pretty golden bees feature a little rhinestone in each wing that catch the light. If you’re a bee lover, you definitely need these in your life!

Golden Bee Earrings

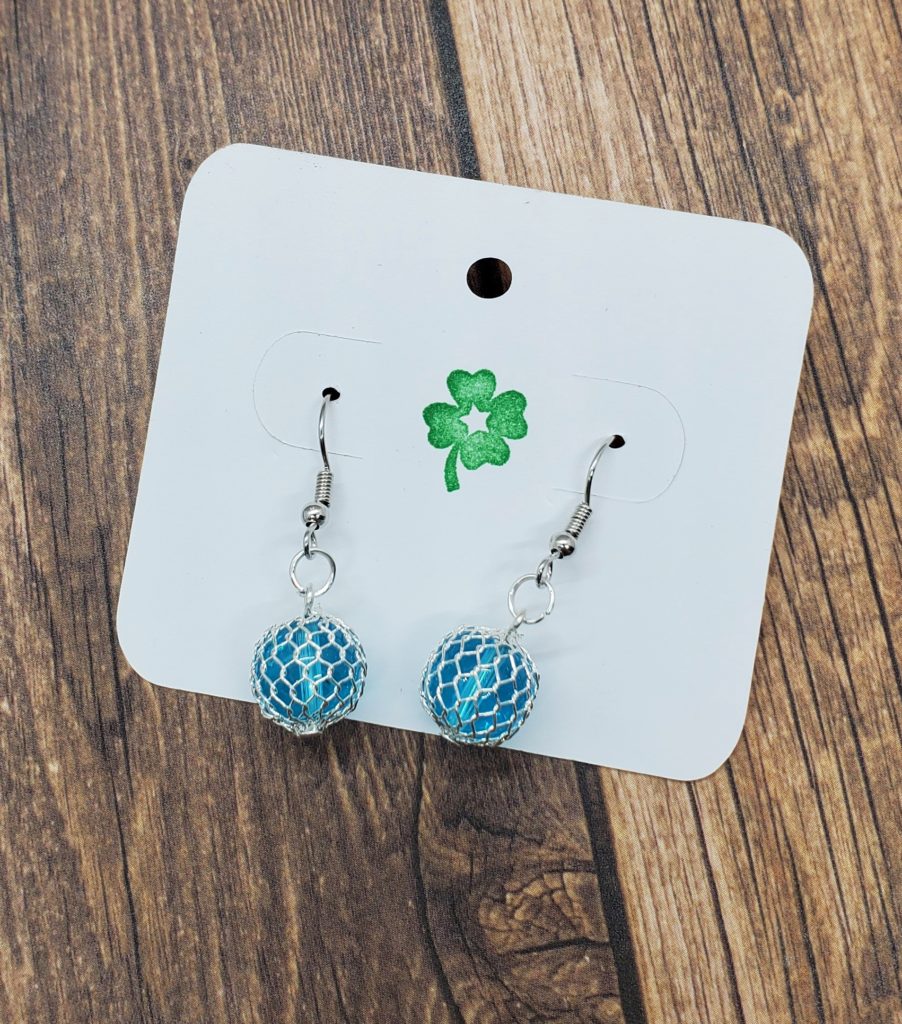
Sea Glass Bouy Ball Earrings
I love the blue color of these earrings and the silver netting is so interesting.

Sea Glass Buoy Ball Earrings

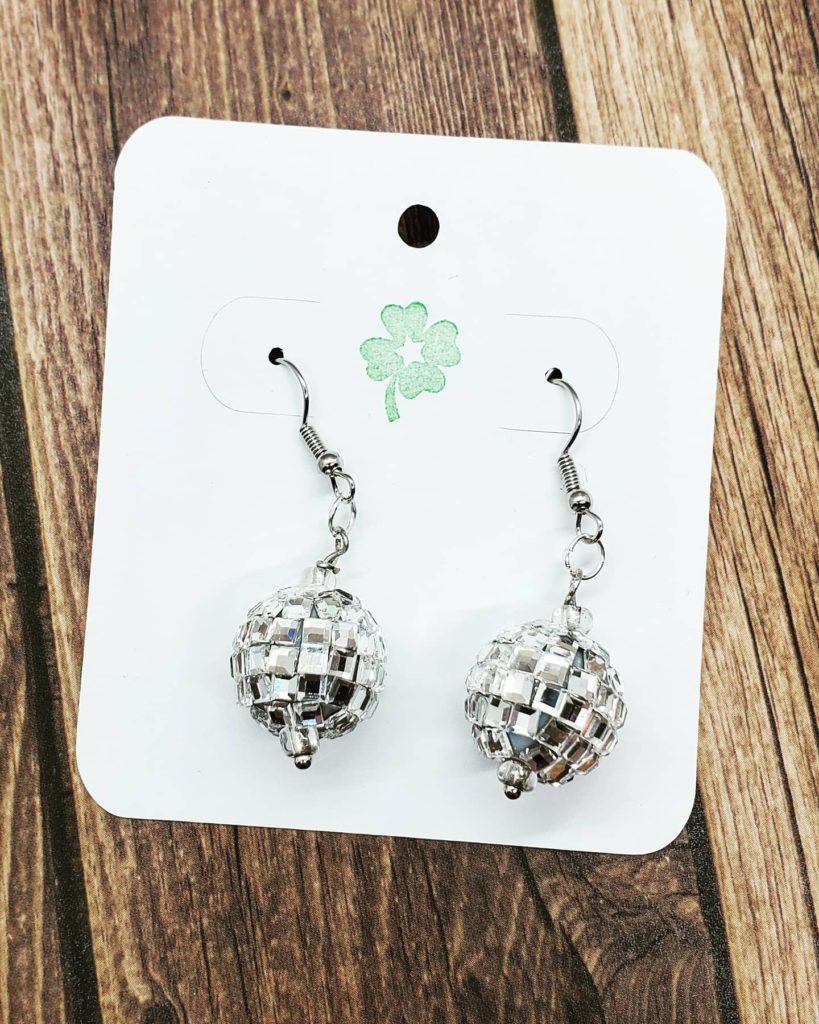
Disco Ball Earrings
Because who doesn’t need disco ball earrings in their collection?! haha! These definitely are a pair of party earrings!

Disco Ball Earrings

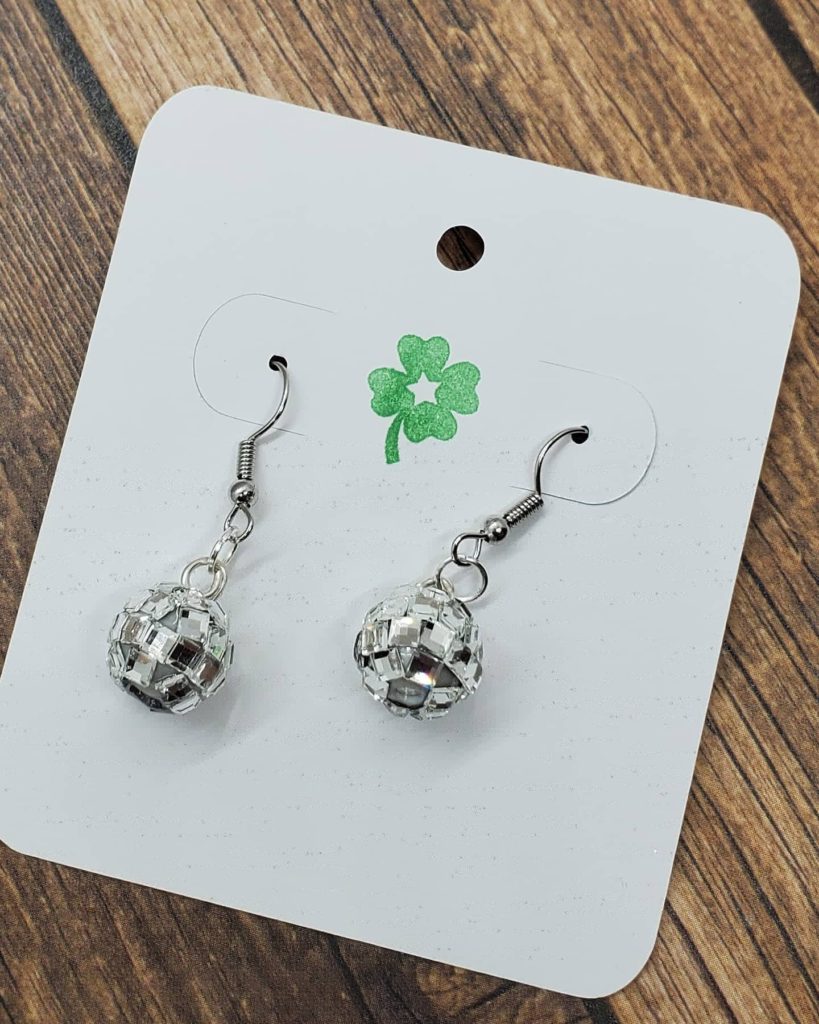
Mini Disco Ball Earrings
Perfect for when you are in a party mood, but in a chill party mood, ya know?

Mini Disco Ball Earrings

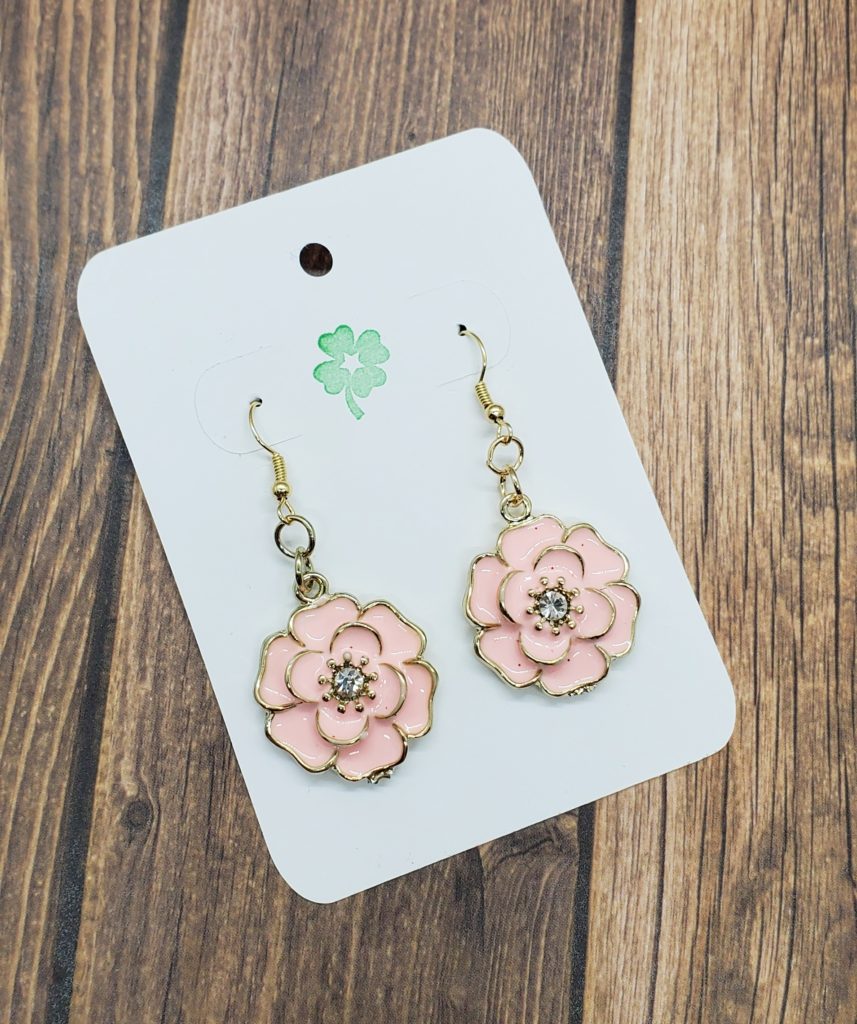
Pink and Gold Flower Earrings
These lovely pink flowers are edged in gold and feature a little light-catching rhinestone center.

Pink and Gold Flower Earrings

Pick up one or all of these earrings in the shop today! Thanks for supporting me in my adventures. 🙂